Activity: Dried Floral Sun Catcher
These beautiful little sun catchers can be made in less than an hour and make a fun activity for kids of any age, and especially those working to hone their fine motor skills. Plus, they make great gifts! Which is perfect because once you do one, you’ll want to do many, many more!
Disclosure: Little Goose Garden is a participant in the Amazon Services LLC Associates Program. This post contains affiliate links that may earn me a commission if you click through and make a purchase.
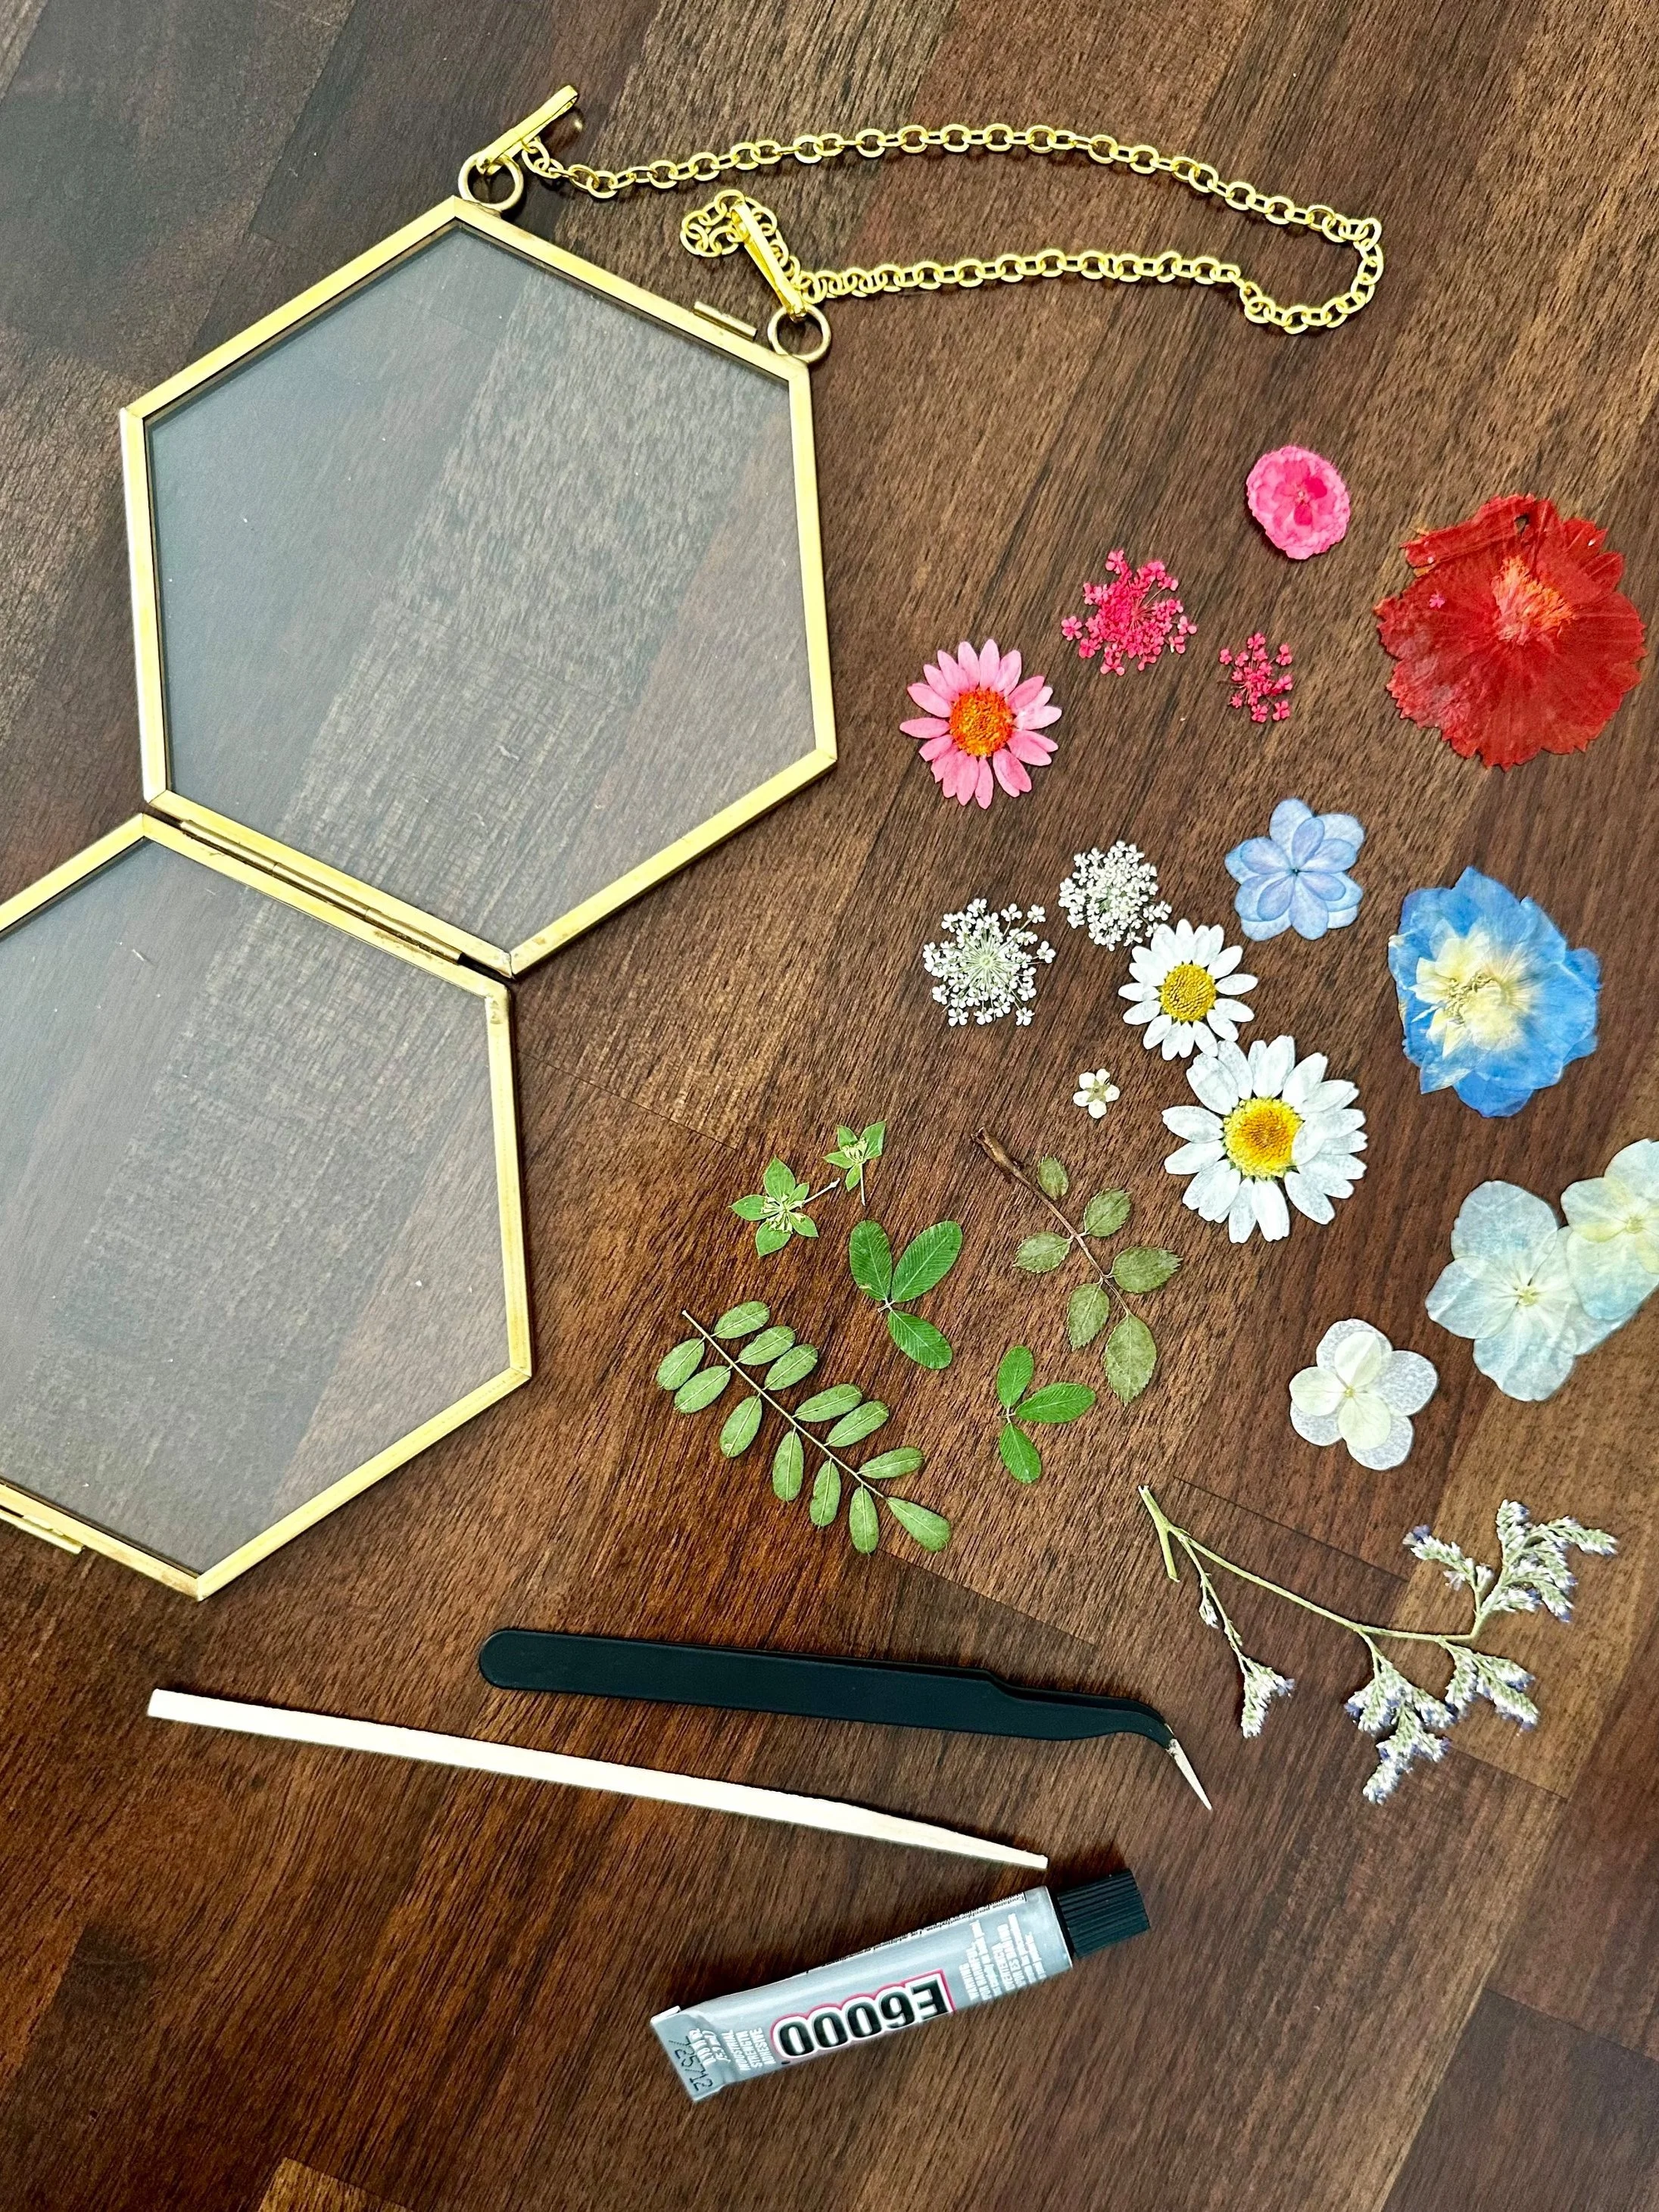
Materials:
Hanging floating frame (These come with a pair of tweezers)
Pressed and dried flowers - I prefer to press my own with a press like this, but you can also purchase some already pressed, like these.
E6000 craft glue - you can find bottles with precision tips to avoid needing another instrument to apply it.
Stir stick, q-tip, or something with a fine tip to apply the glue
Paper plate or wax paper - this is to keep that glue off your work surface
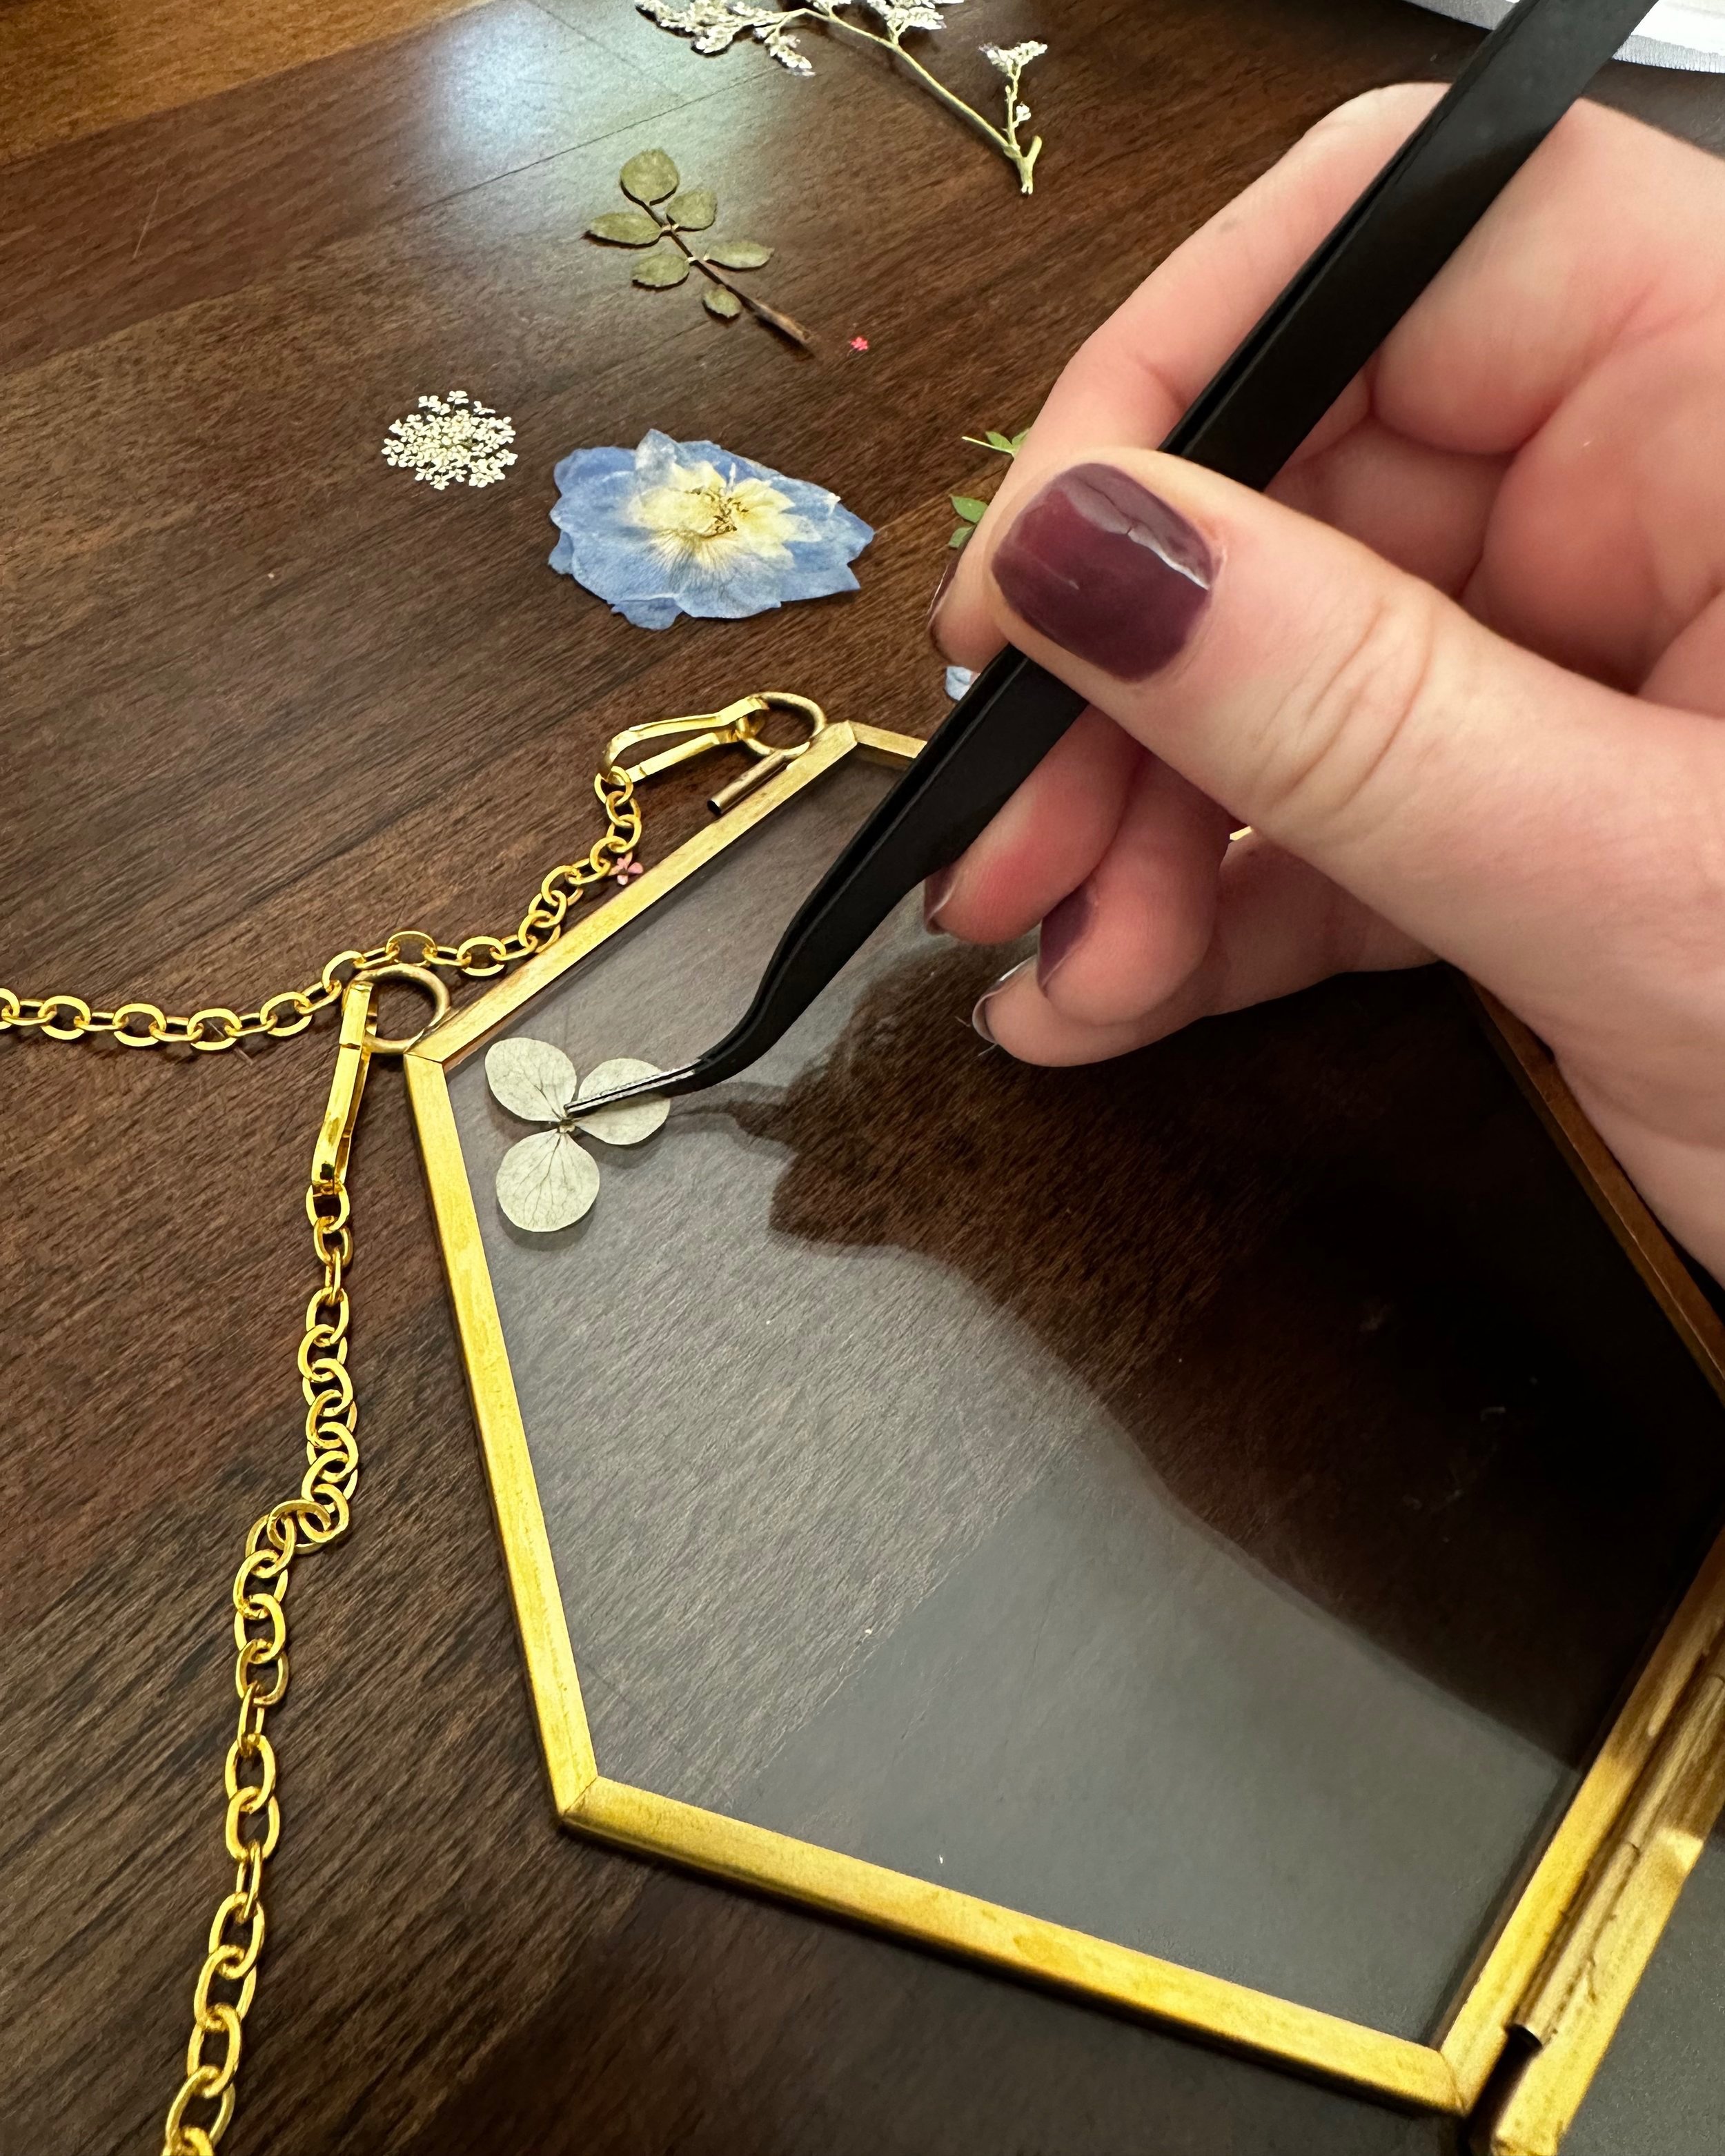
(Optional) Tweezers - I find that this helps to pick up the flowers without damaging them.
STEP 1: Gather Supplies
For those new around here, I always suggest getting EVERYTHING you need and having it nearby. Mostly because I almost always forget something myself. Don’t be like me.
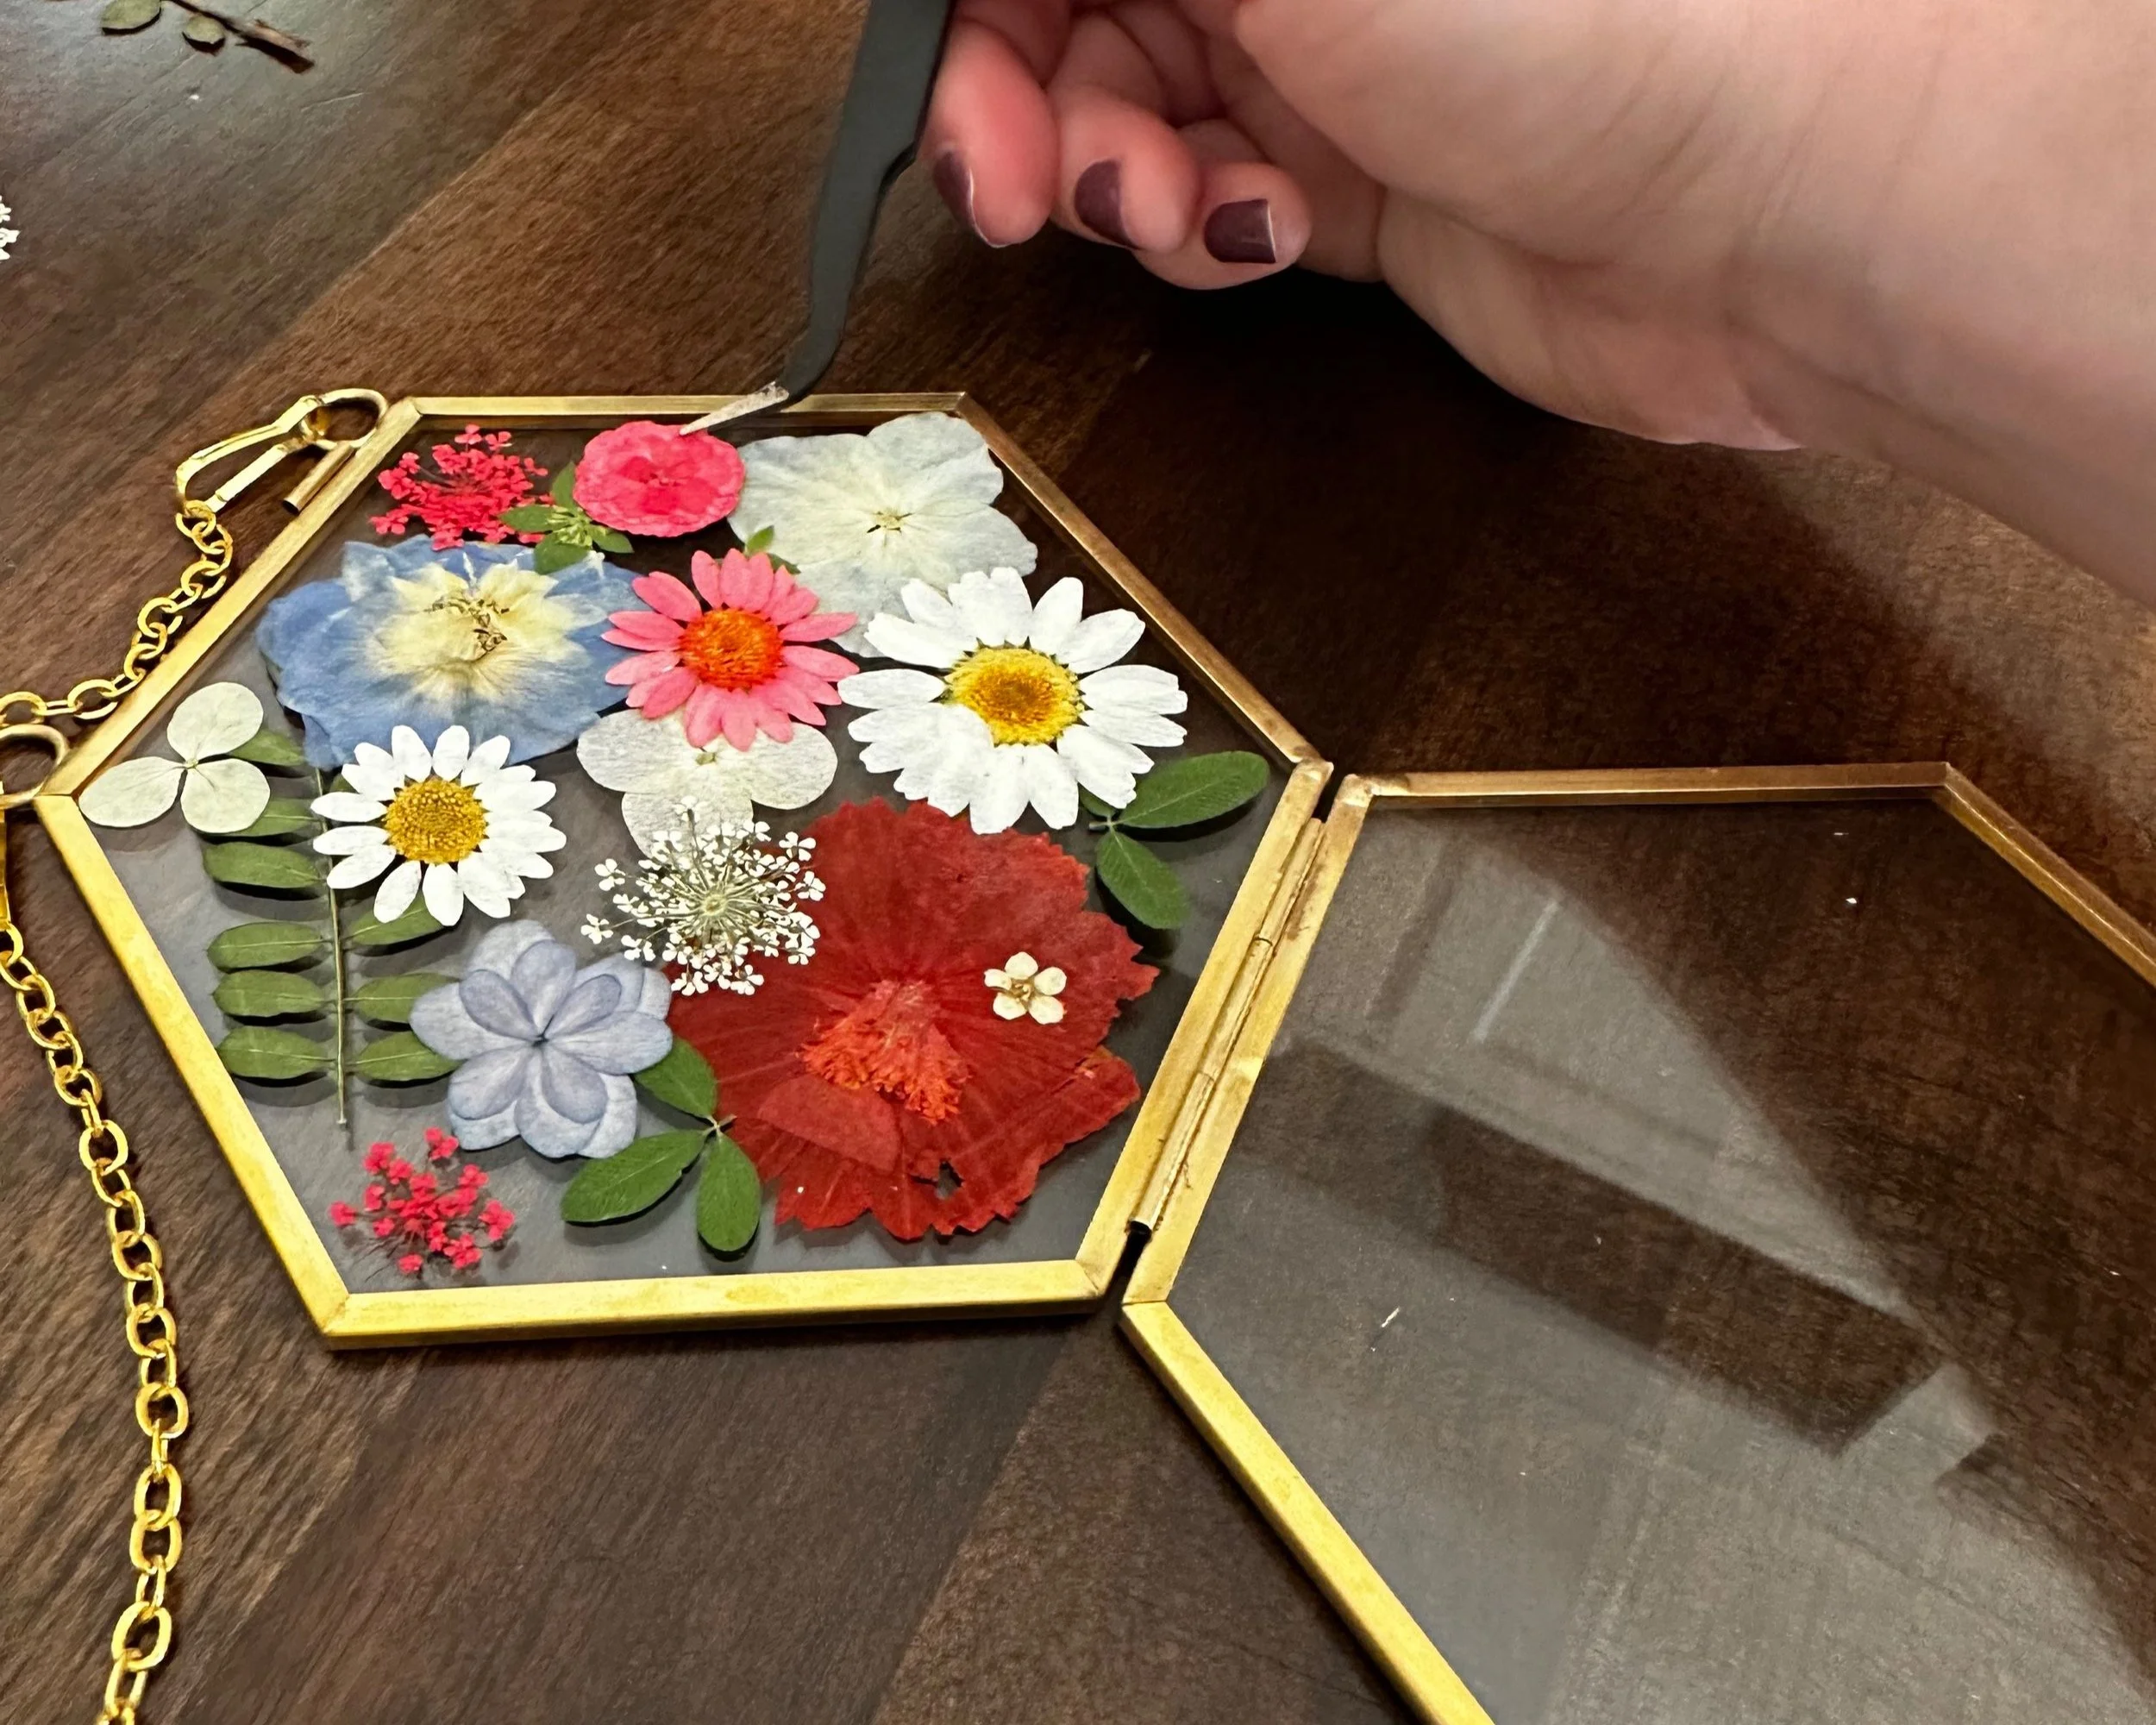
STEP 2: Practice Flower Placement
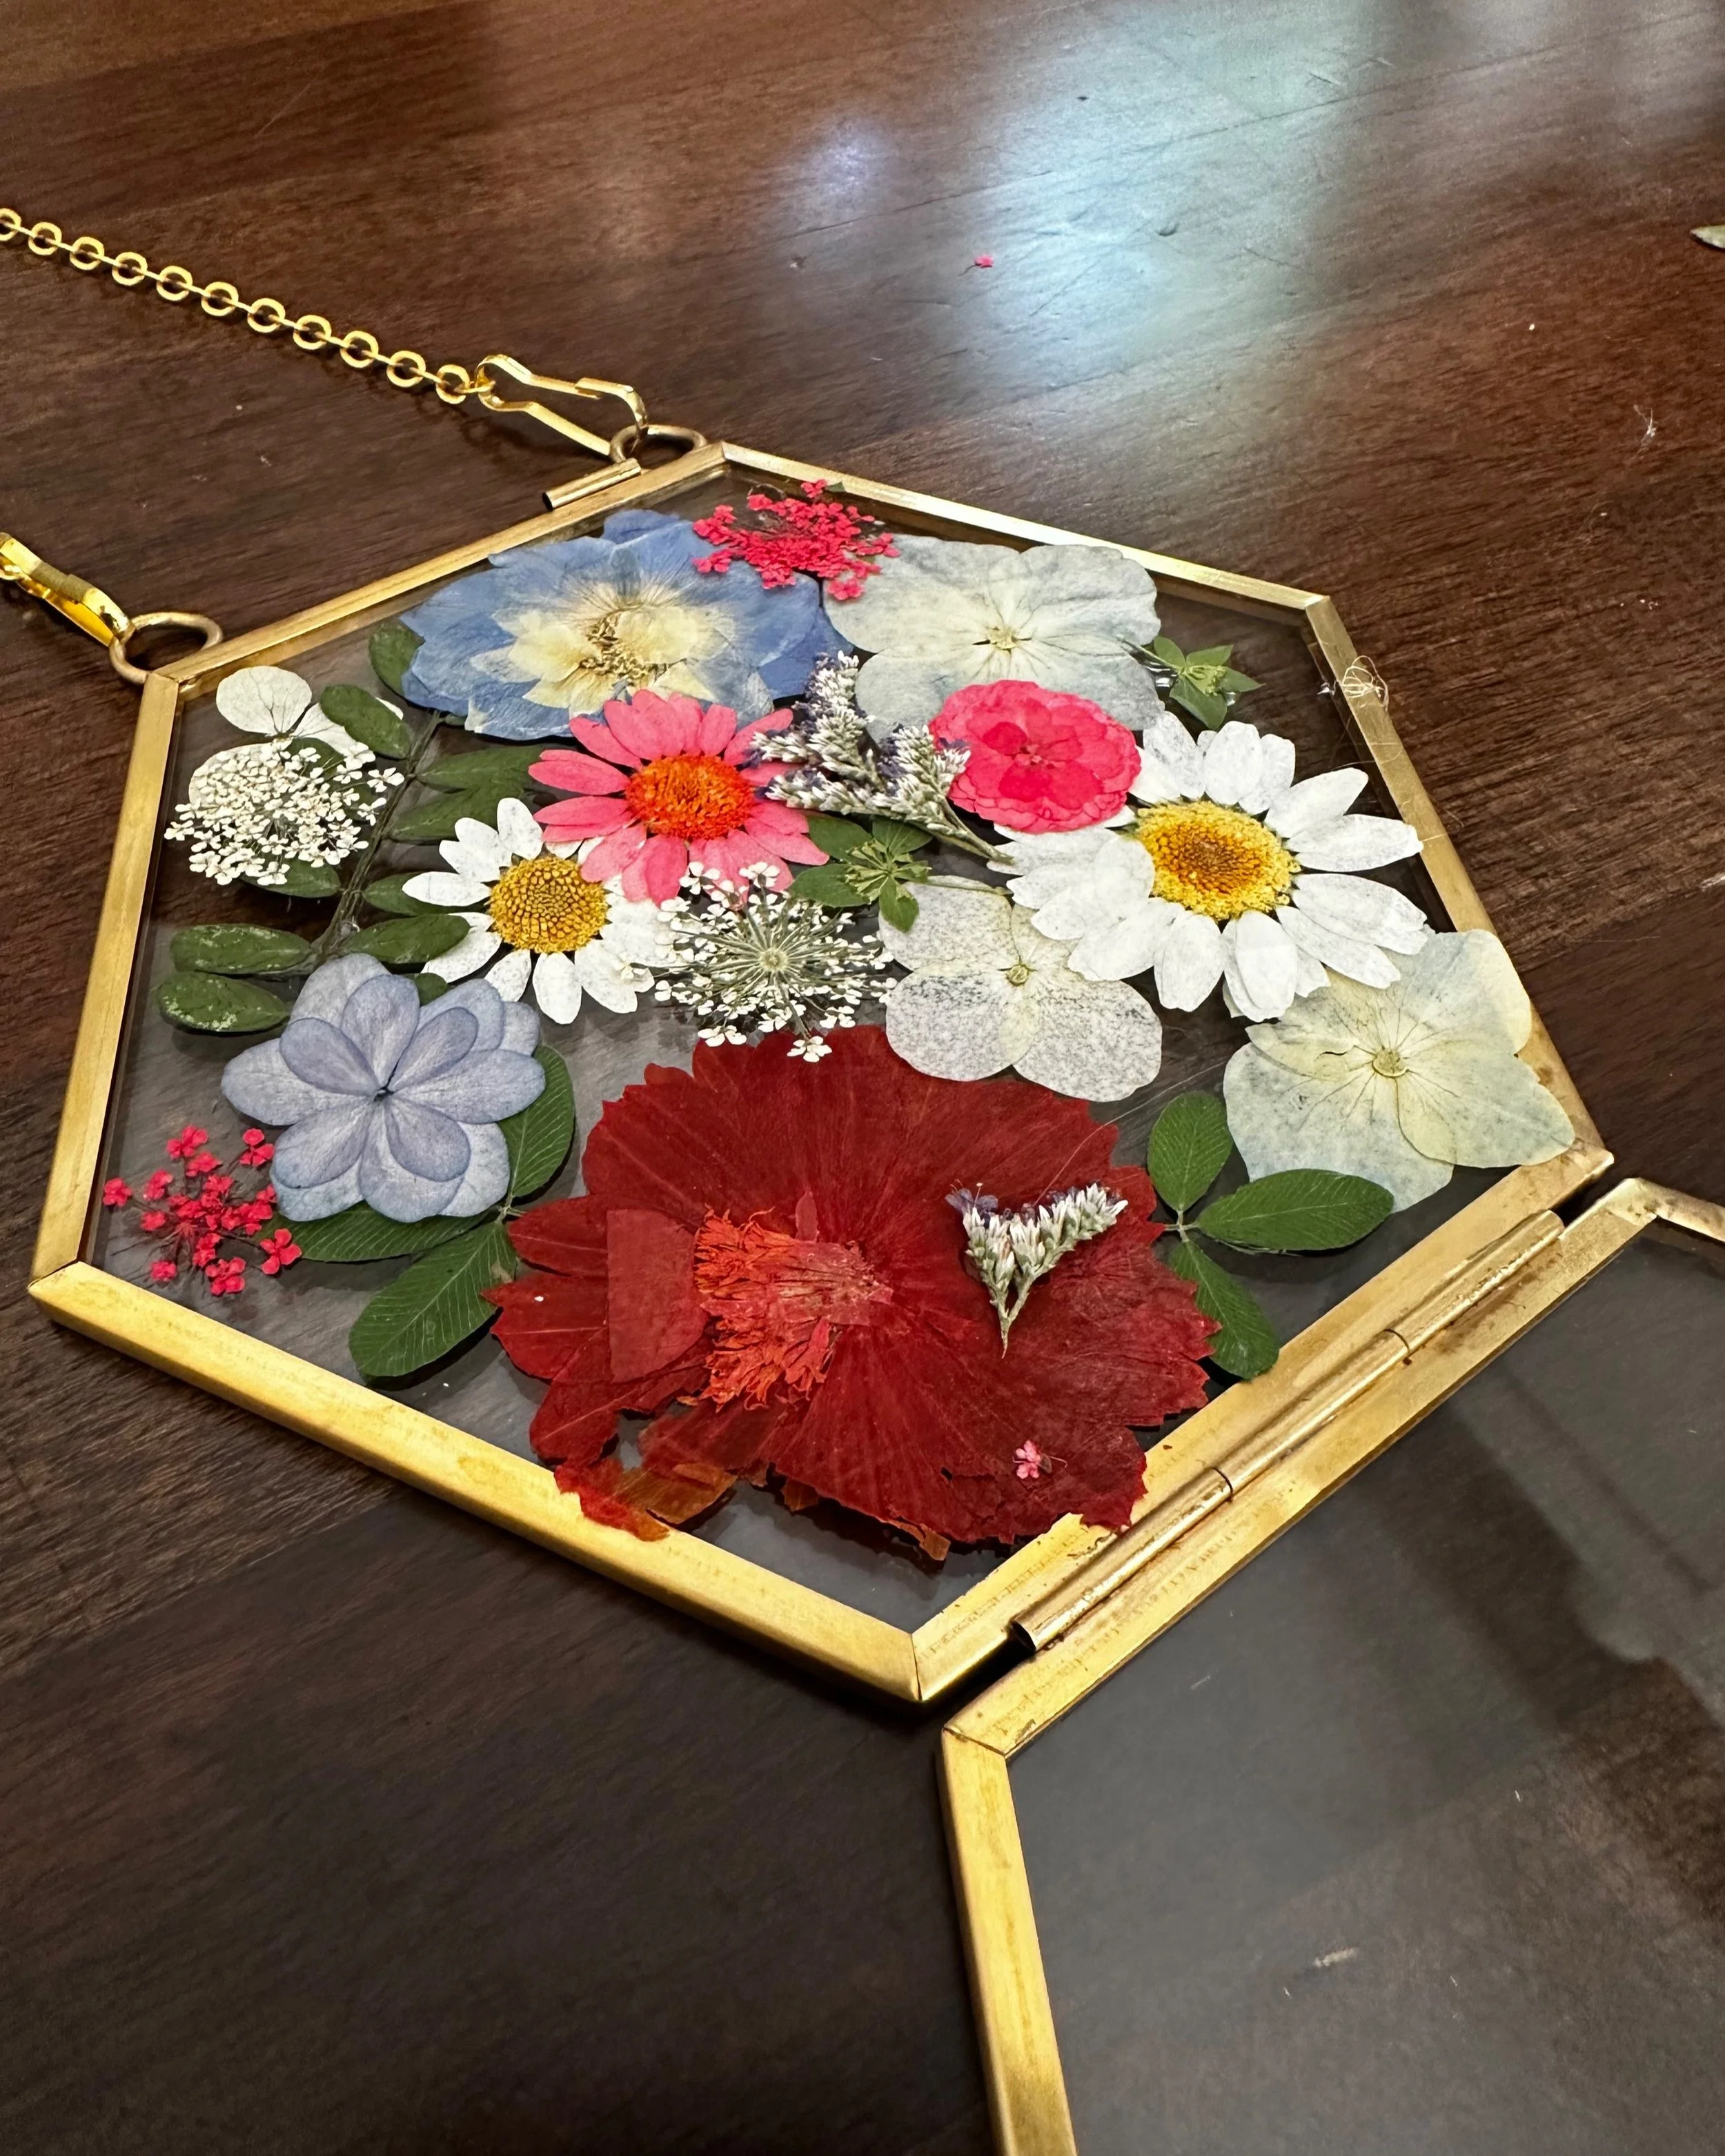
Start by configuring the placement of your flowers. This is completely up to you. There’s no wrong way to do this. Do you like it densely packed or a little more minimal? Play with both ways until you find what you really like.
While this step isn’t necessary, I find it helpful to have an idea of what will fit and what looks nice.
Once you’re happy with the placement, I recommend taking a picture to reference the arrangement. Then you’ll remove all the flowers and set them to the side.
TIP: Make sure you keep the top of the frame in mind. I place the chain away from me so when I look down at the project, it’s oriented how it will hang.
STEP 3: Glue & Place
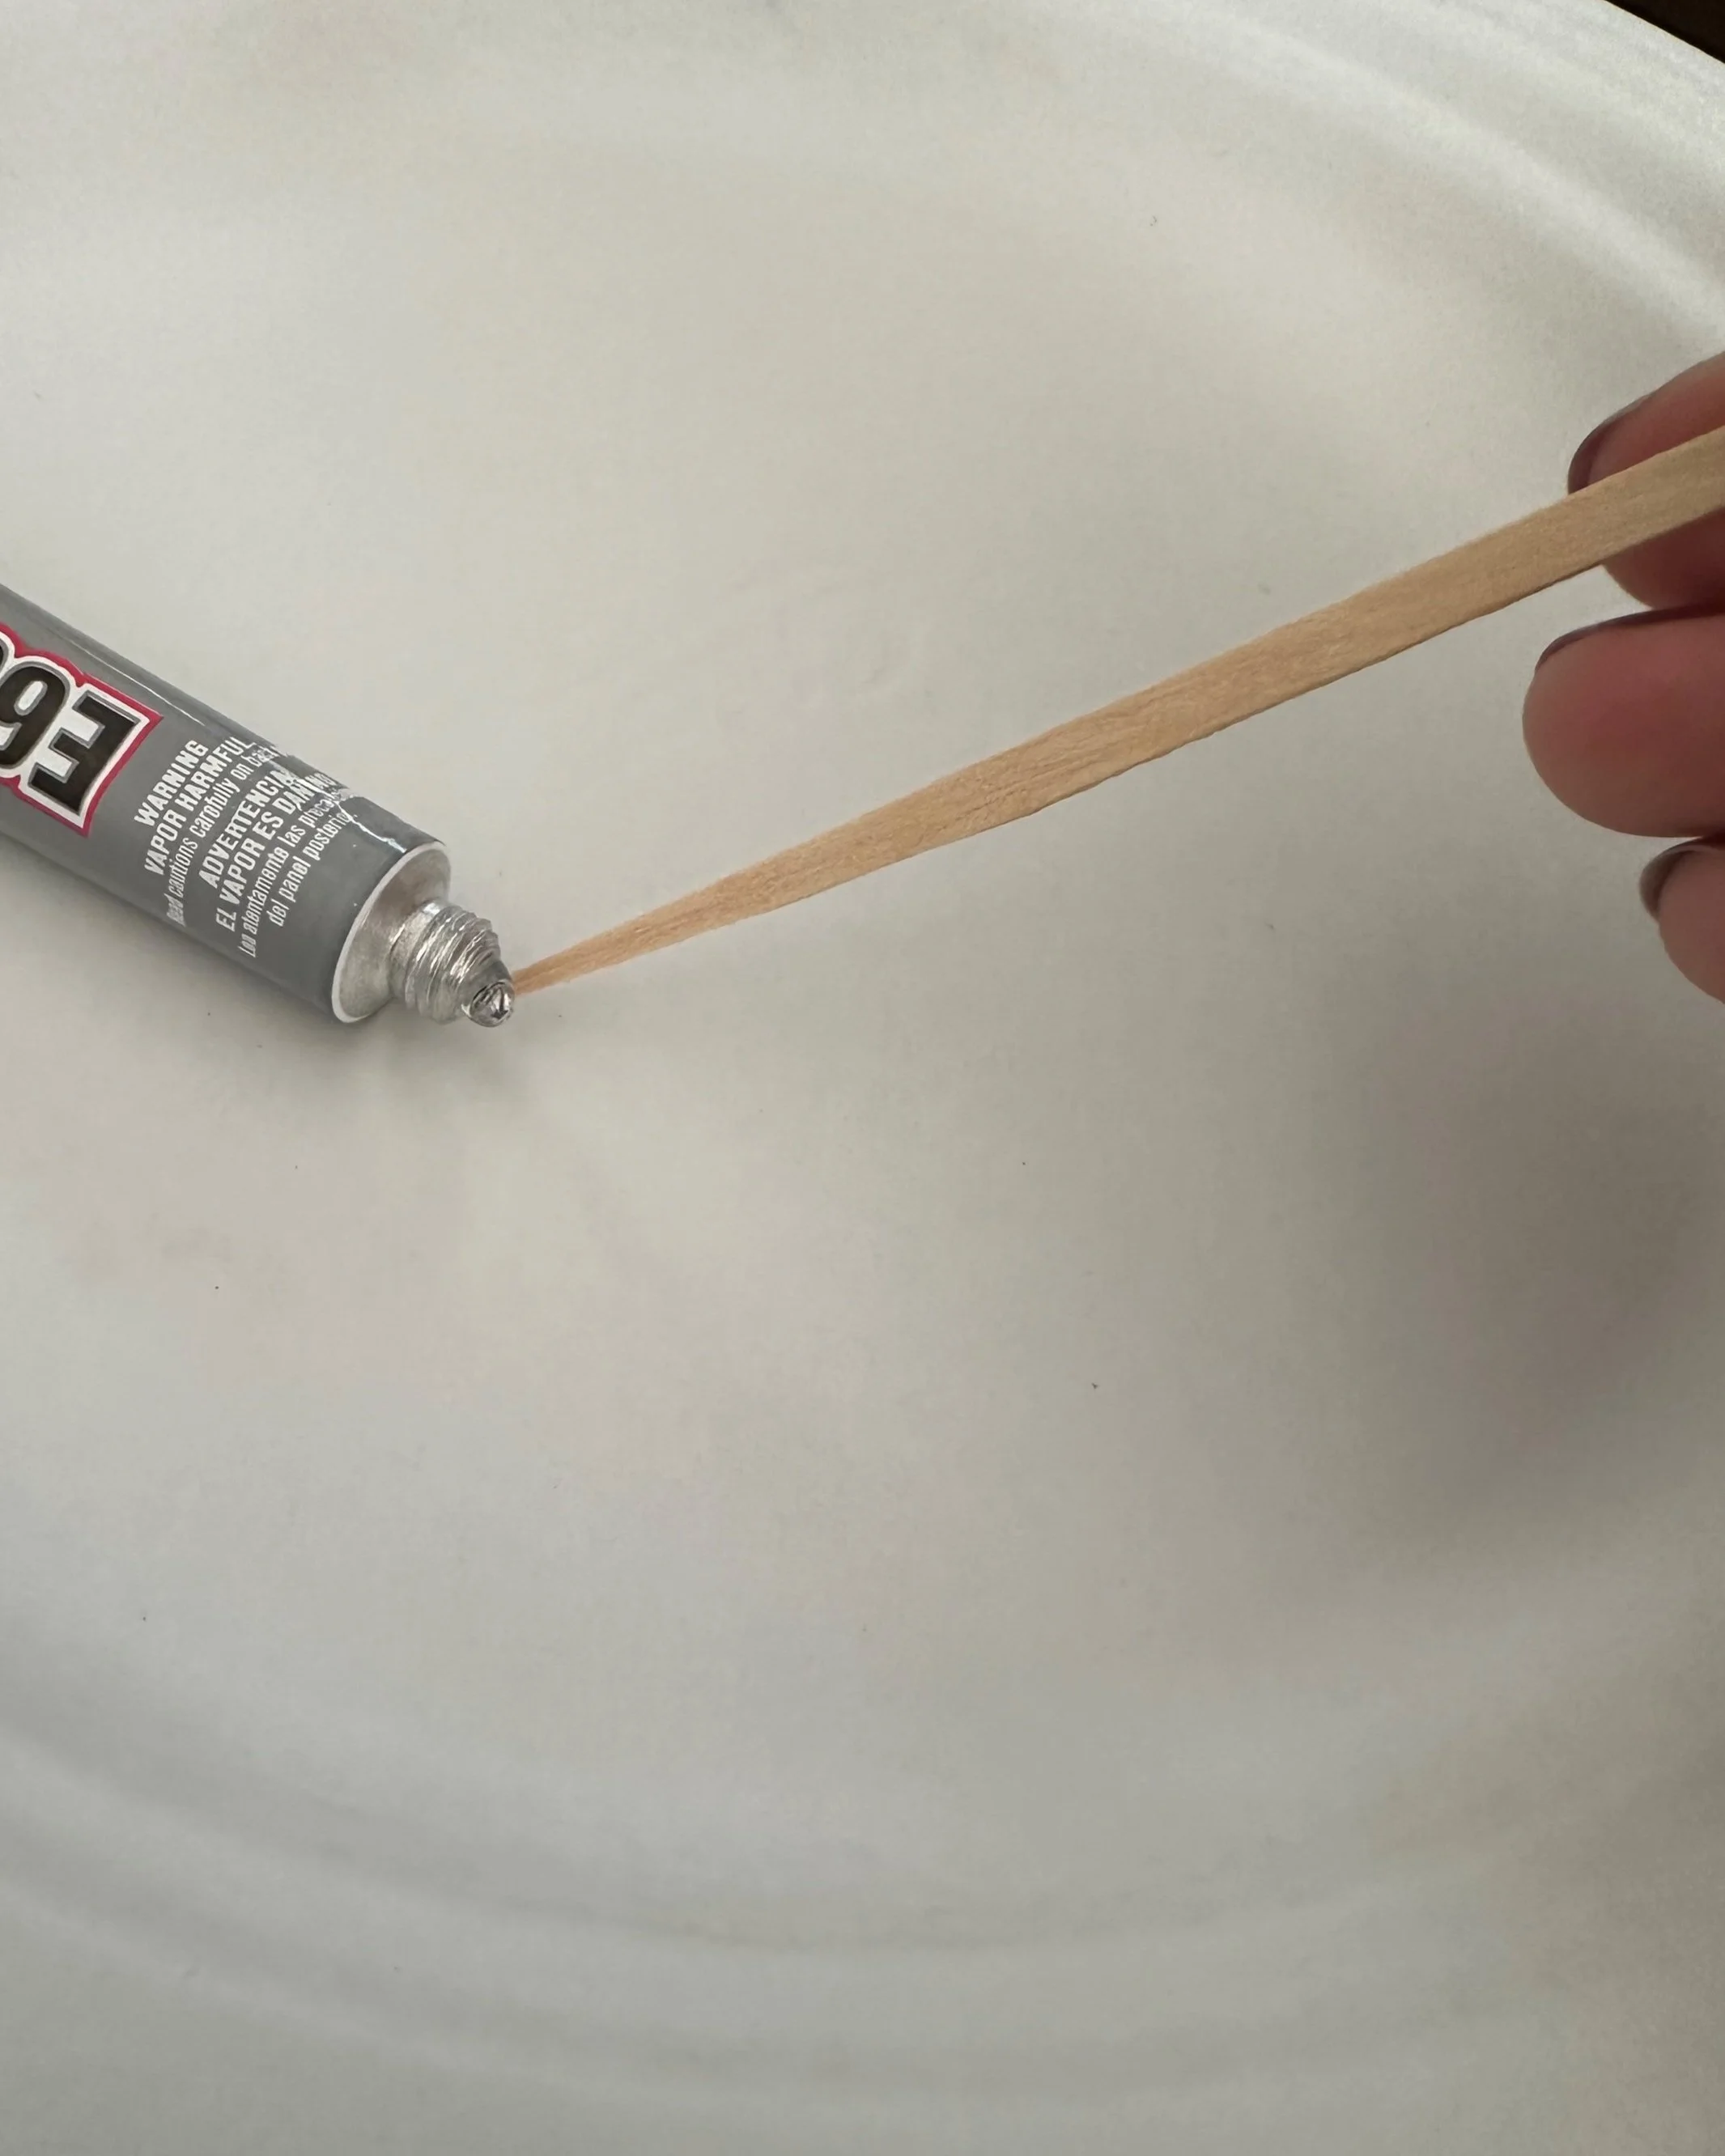
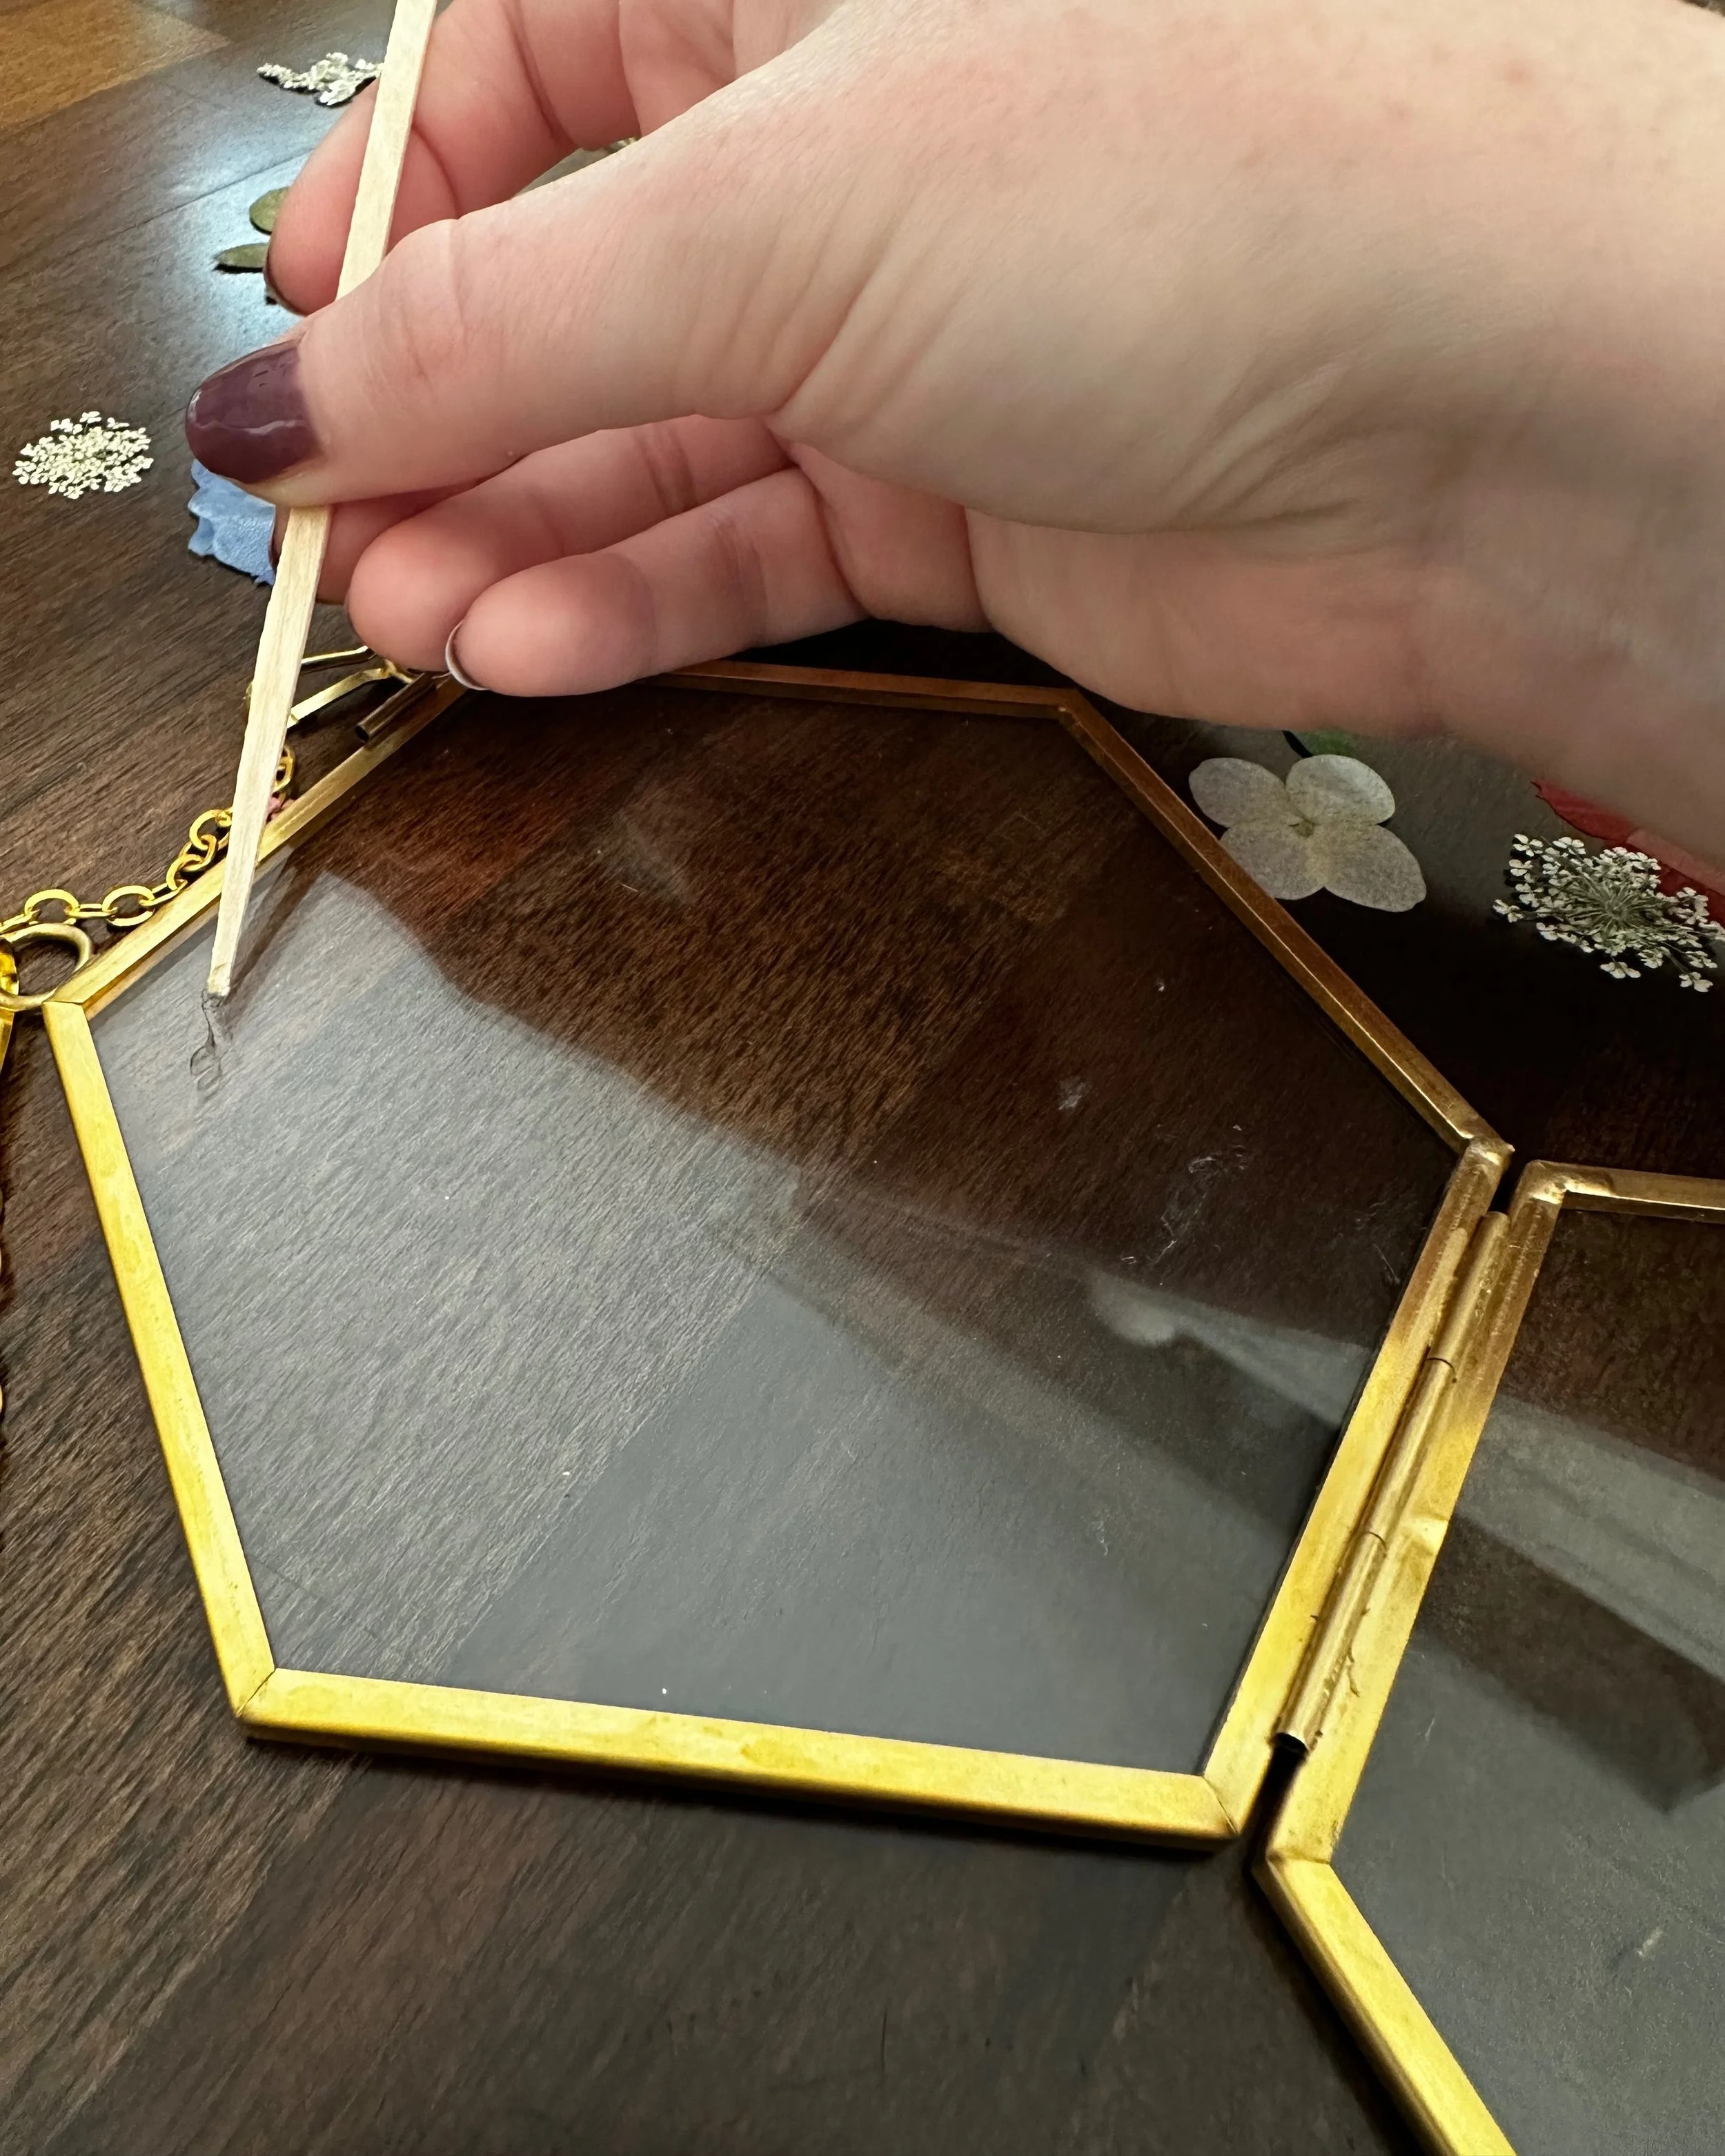
If you’re using E6000 glue without a precision tip, I recommend dispensing some onto the paper plate or wax paper. This makes it easier to put some on your applicator. With a little bit of glue on my applicator, I gently “paint” it onto the glass surface. Then I pick up the flower with a pair of tweezers and set the back side into the glue.
The great thing about E6000 glue is that it’s thick and tacky but doesn’t dry super quickly. That gives you time to change your mind on which flower to put in that area. Even still, because it’s thick, it’s going to hold onto that flower really well. So make sure you’re positive about that placement before fully setting that flower into the glue.
Repeat your gluing until you’re satisfied with the project.
STEP 4: Close the Frame & Hang
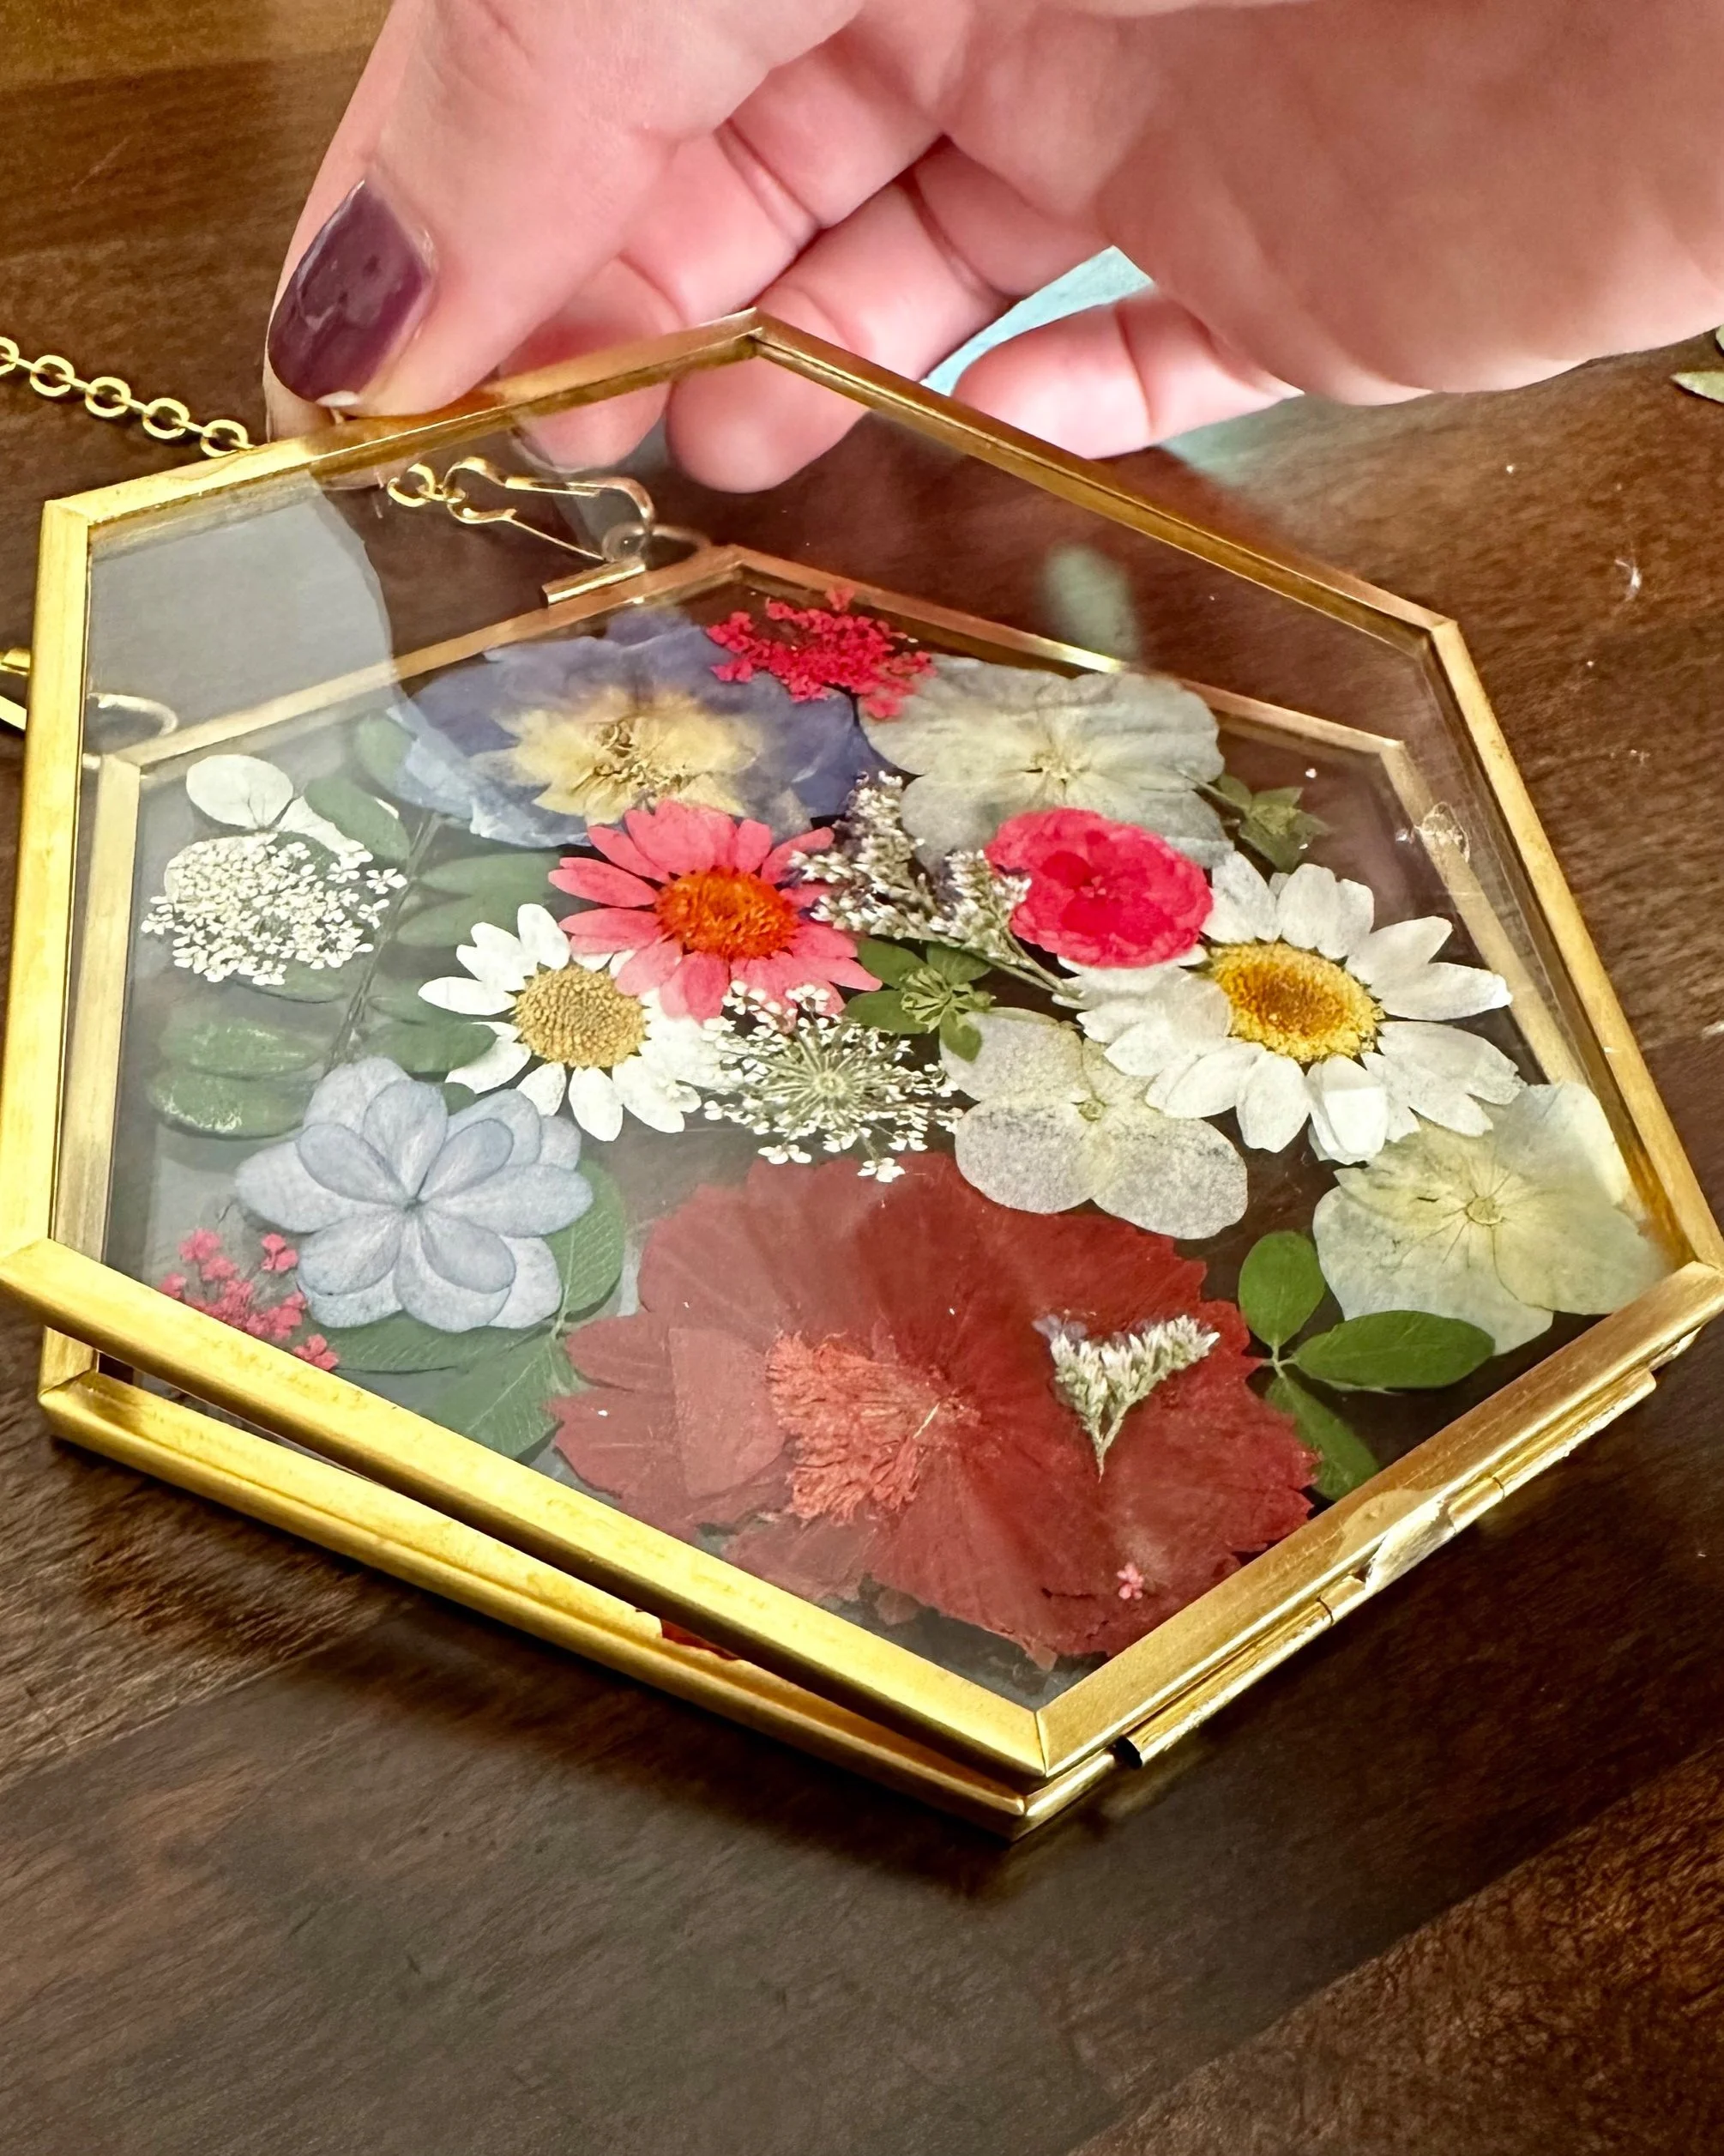
After all your flowers are glued down, just close the frame and it’s ready to hang!
You can absolutely wait until the glue is dried, but I don’t. If you think that one day you may want to redo it, then I would recommend letting it dry overnight before closing.
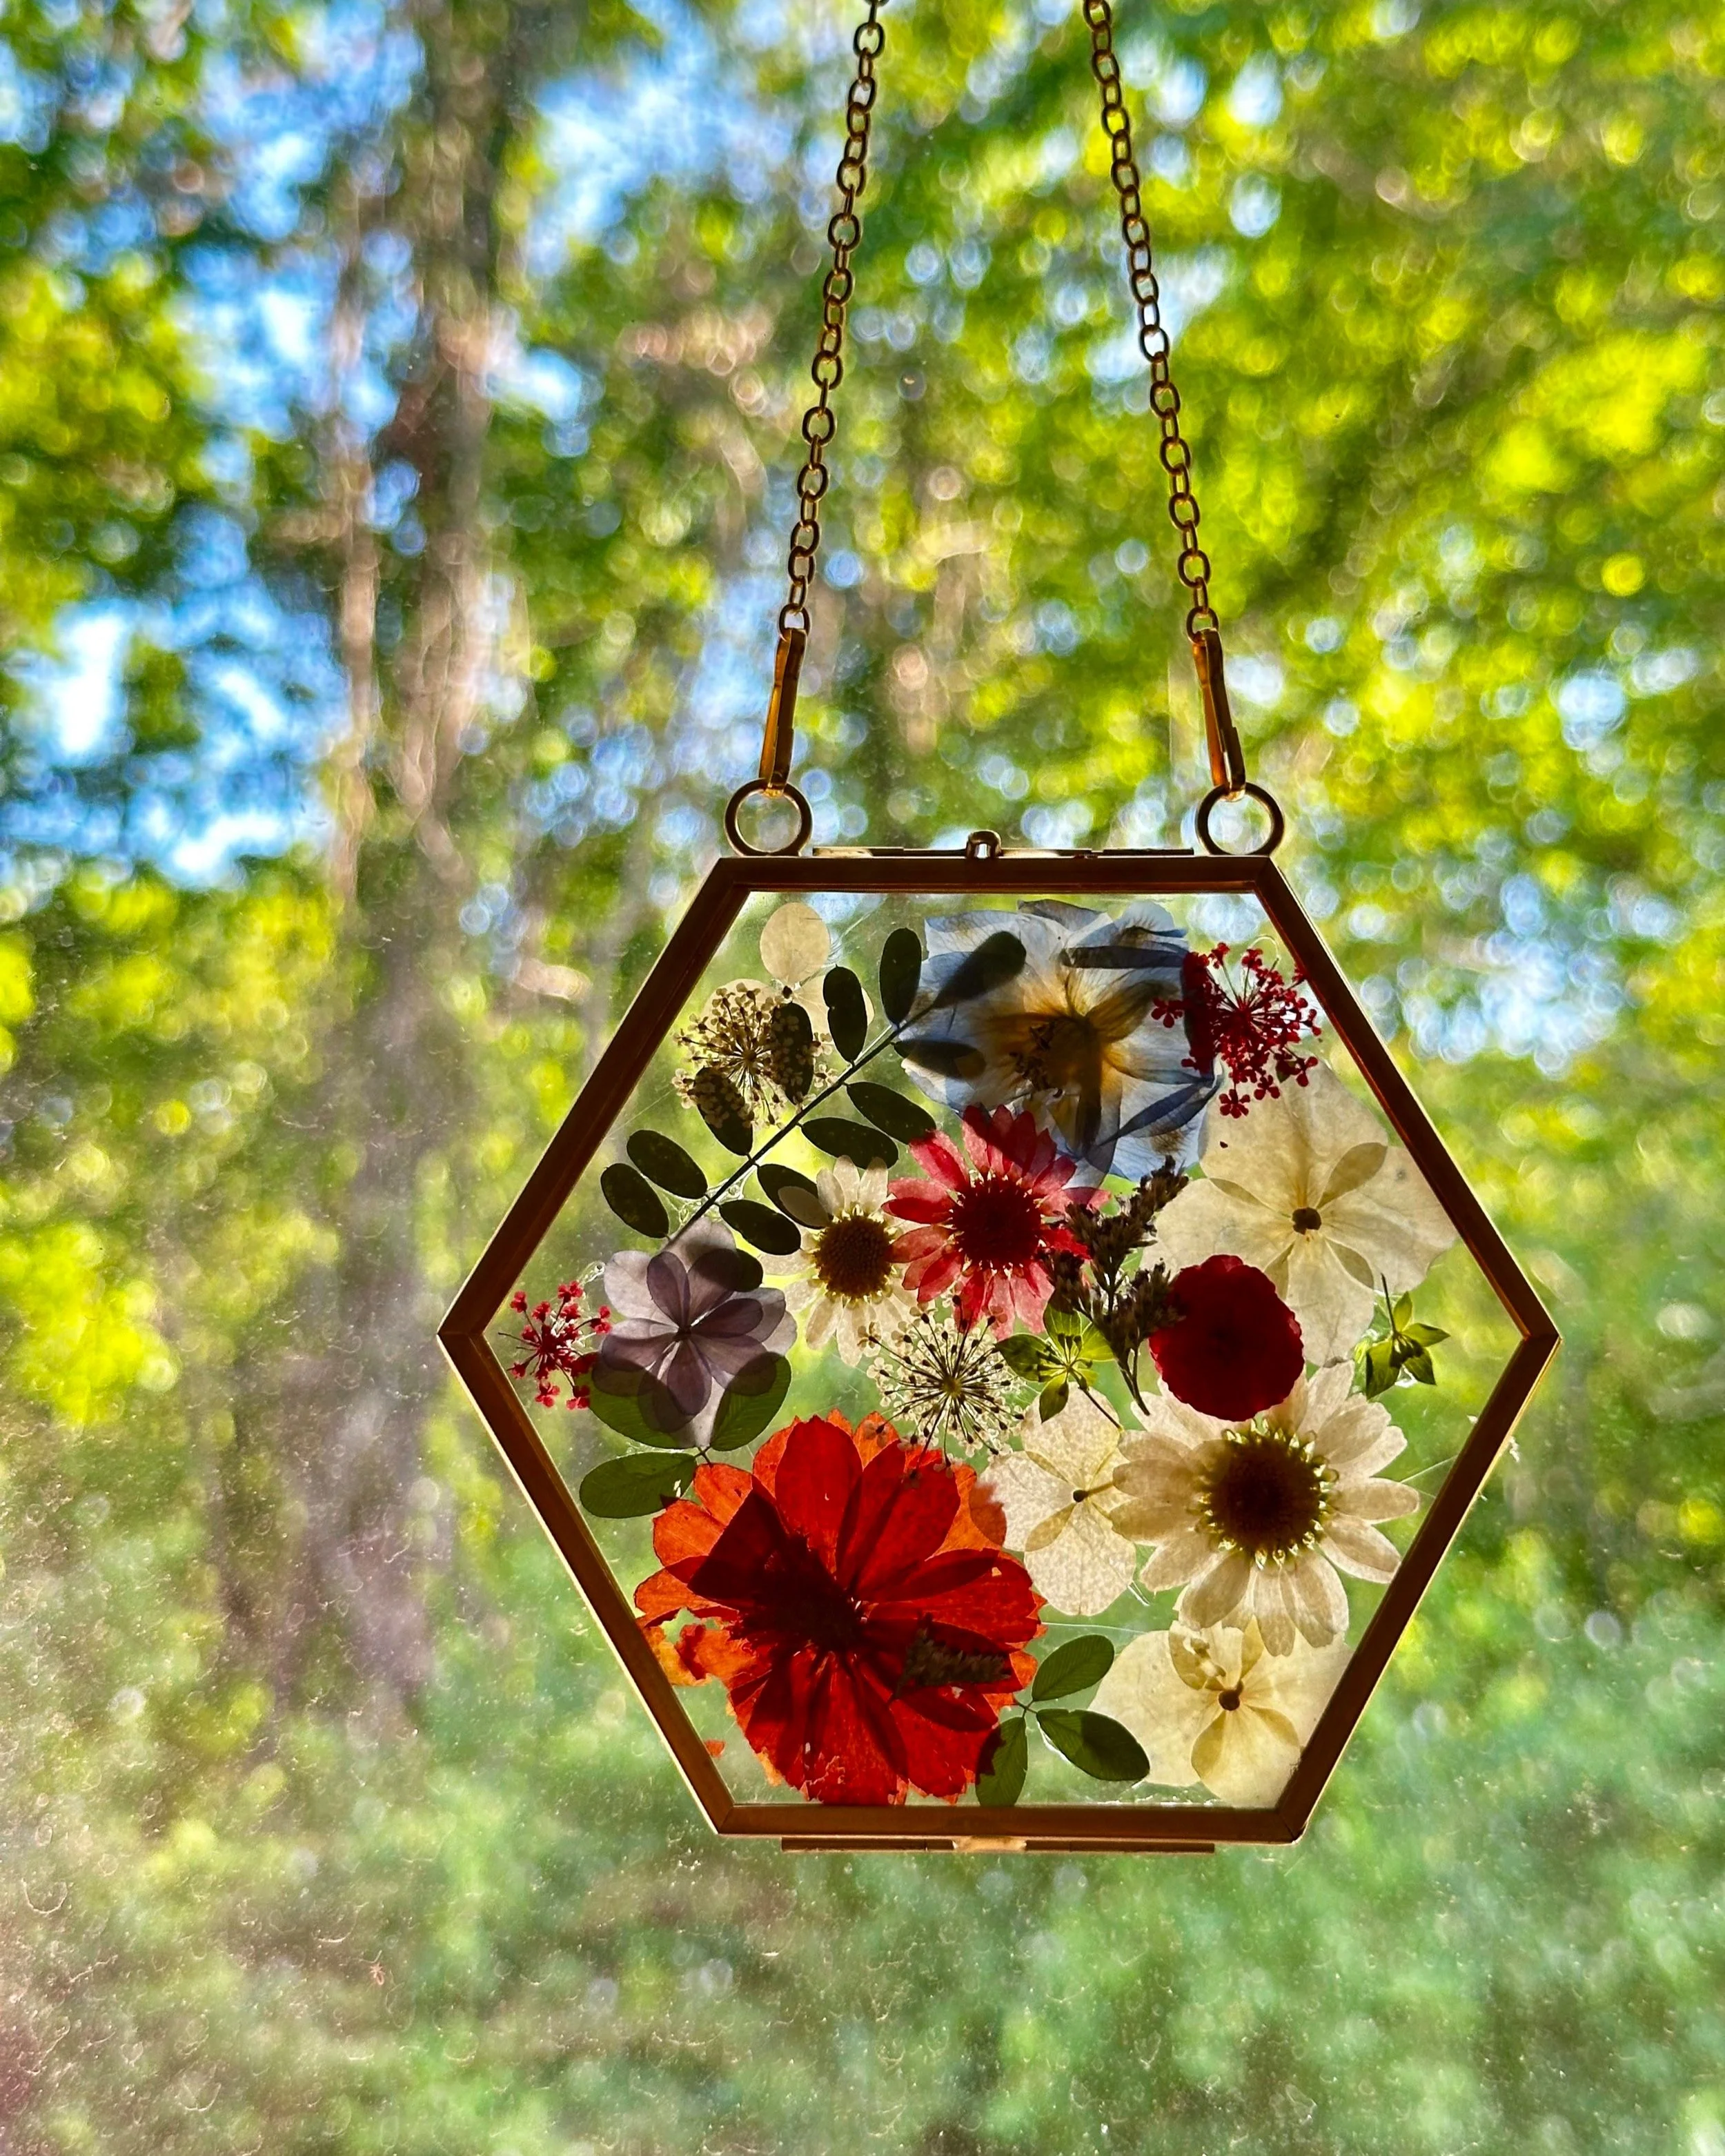
When hanging, I recommend a strong suction cup on a window. I would also advise NOT hanging it from a door so that it doesn’t swing around and break. But if you’re like me and have a weird French door where only one side opens, then feel free to hang from the stationary side.
Honestly, you can hang it wherever you want. It’s yours to enjoy. Where can you hang it where the sun can come through and you’ll see it every day? That’s the spot.
Enjoy, my friends!

