How to Make a Terrarium
Hi friends!
Now that I’ve taught you how to care for a terrarium, I think it’s best to teach you how to MAKE one. I might have done that backwards but maybe it’s better to know what care it requires before getting all the supplies and making one. If only my impulsive side did that with everything…
Materials Needed:
A good soil blend -
I recommend something that drains well because, while tropical plants like the moisture, if the roots sit in too much water, they can rot.
Horticultural charcoal -
This provides a layer of drainage and filtration to keep moisture away from the roots until it’s needed.
Vermiculite -
This layer will go closest to your soil and soak up and store moisture, much like the charcoal.
Coffee Filter -
A coffee filter is something most people have around their house and it acts as the barrier between your layers of charcoal and vermiculite. By putting this layer in, you get a more defined line between your layers. Once it gets wet, it basically disappears so you won’t even notice it.
Scissors
A jar or lidded glass container -
I recommend one that is taller than it is wide. A little less than half the container will be your layered drainage and soil.
PLANTS! -
Because a terrarium is enclosed and humid by design, tropical plants do best in this environment. It’s also best to take into account your container size when choosing plants. A plant that gets too tall will get compacted at the top of your jar and require more pruning. For small containers, this may mean one plant, for larger containers try a cluster of different colors and textures. Or, try moss! Moss makes a beautiful terrarium and it’s perfect for small containers. Whatever you choose, less is often more. Remember that plants grow and even if it looks sparse now, it will fill out quickly.
Decorations (Optional)
Step 1: PREP
Make sure your jar is clean when you begin. This may seem like a no-brainer but as someone who loves to make terrariums out of antique containers, I always make sure I give it a good bath first.
I also make sure I have everything ready in my workspace. I can’t tell you how many times I’ve forgotten a component and had to wash my dirty hands to go find it.
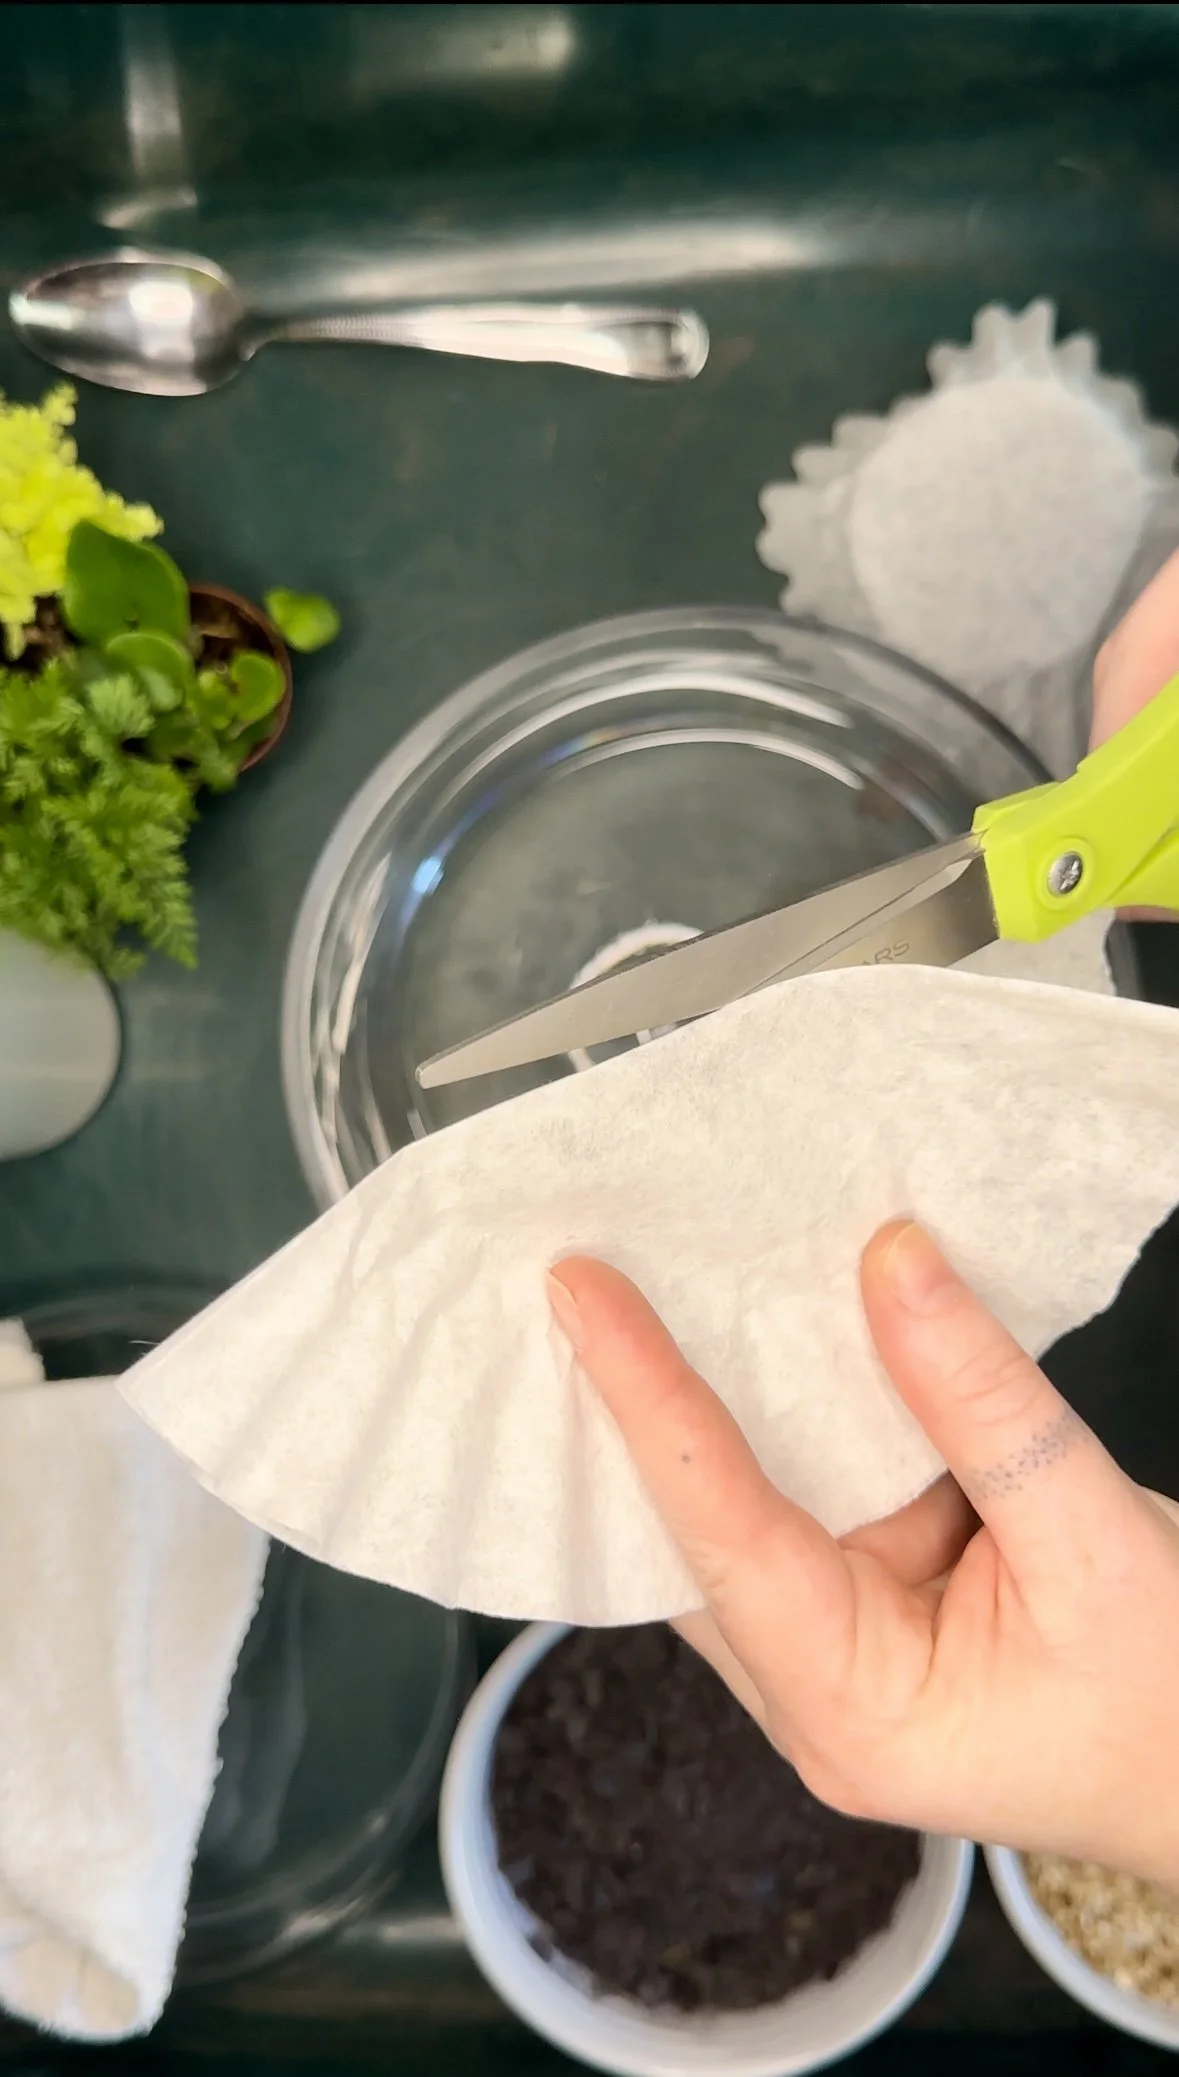
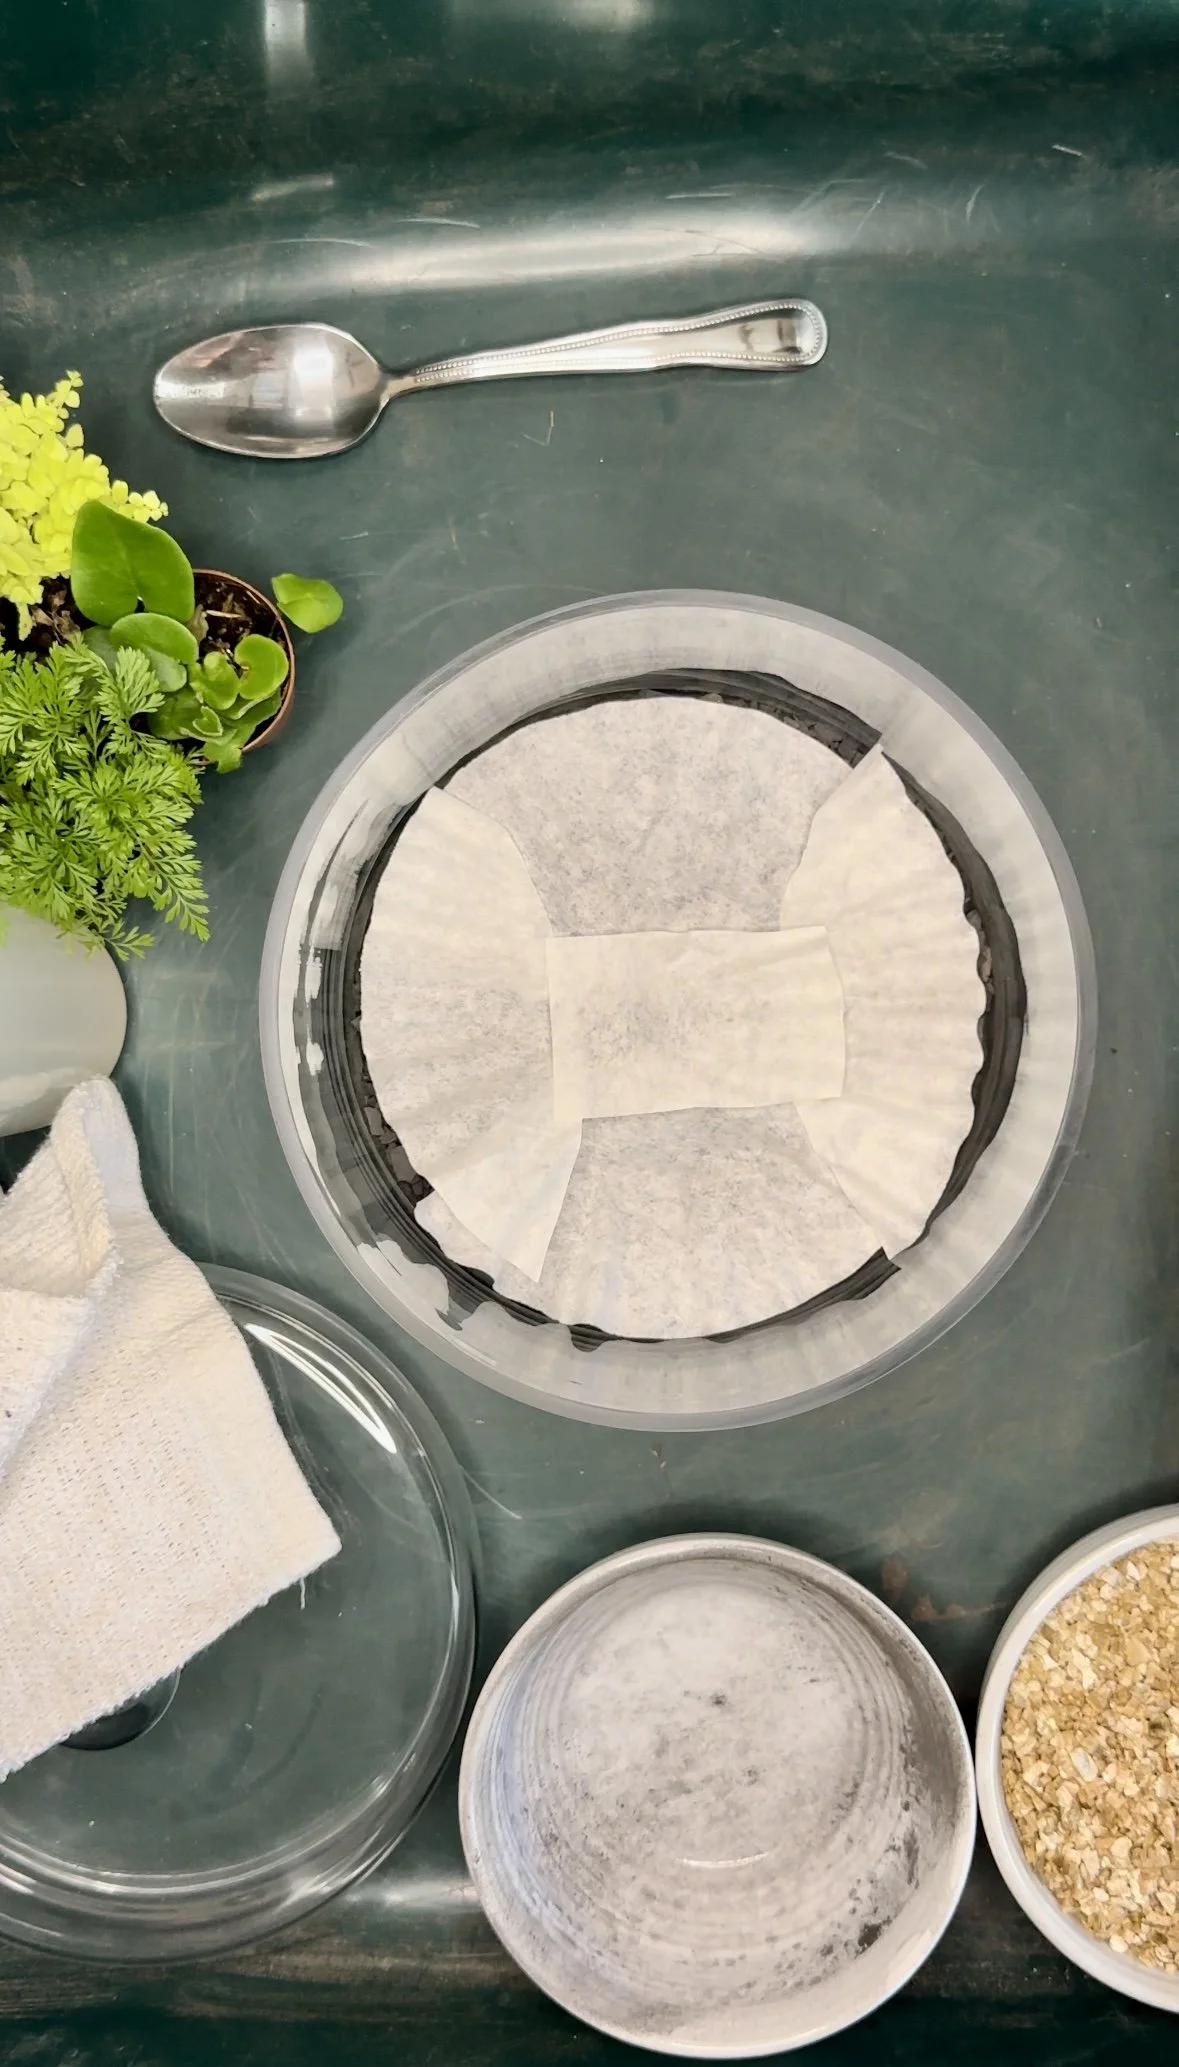
Go ahead and trim your coffee filter to line between the layers. I fold mine in half a few times to prevent having to cut all the way around it. I trim it so it fits just inside the edges of my container. You can always do this during that step, but I find it useful to do it before hand. If your container is larger than the diameter of a single coffee filter, feel free to use multiple and find the configuration that works best.
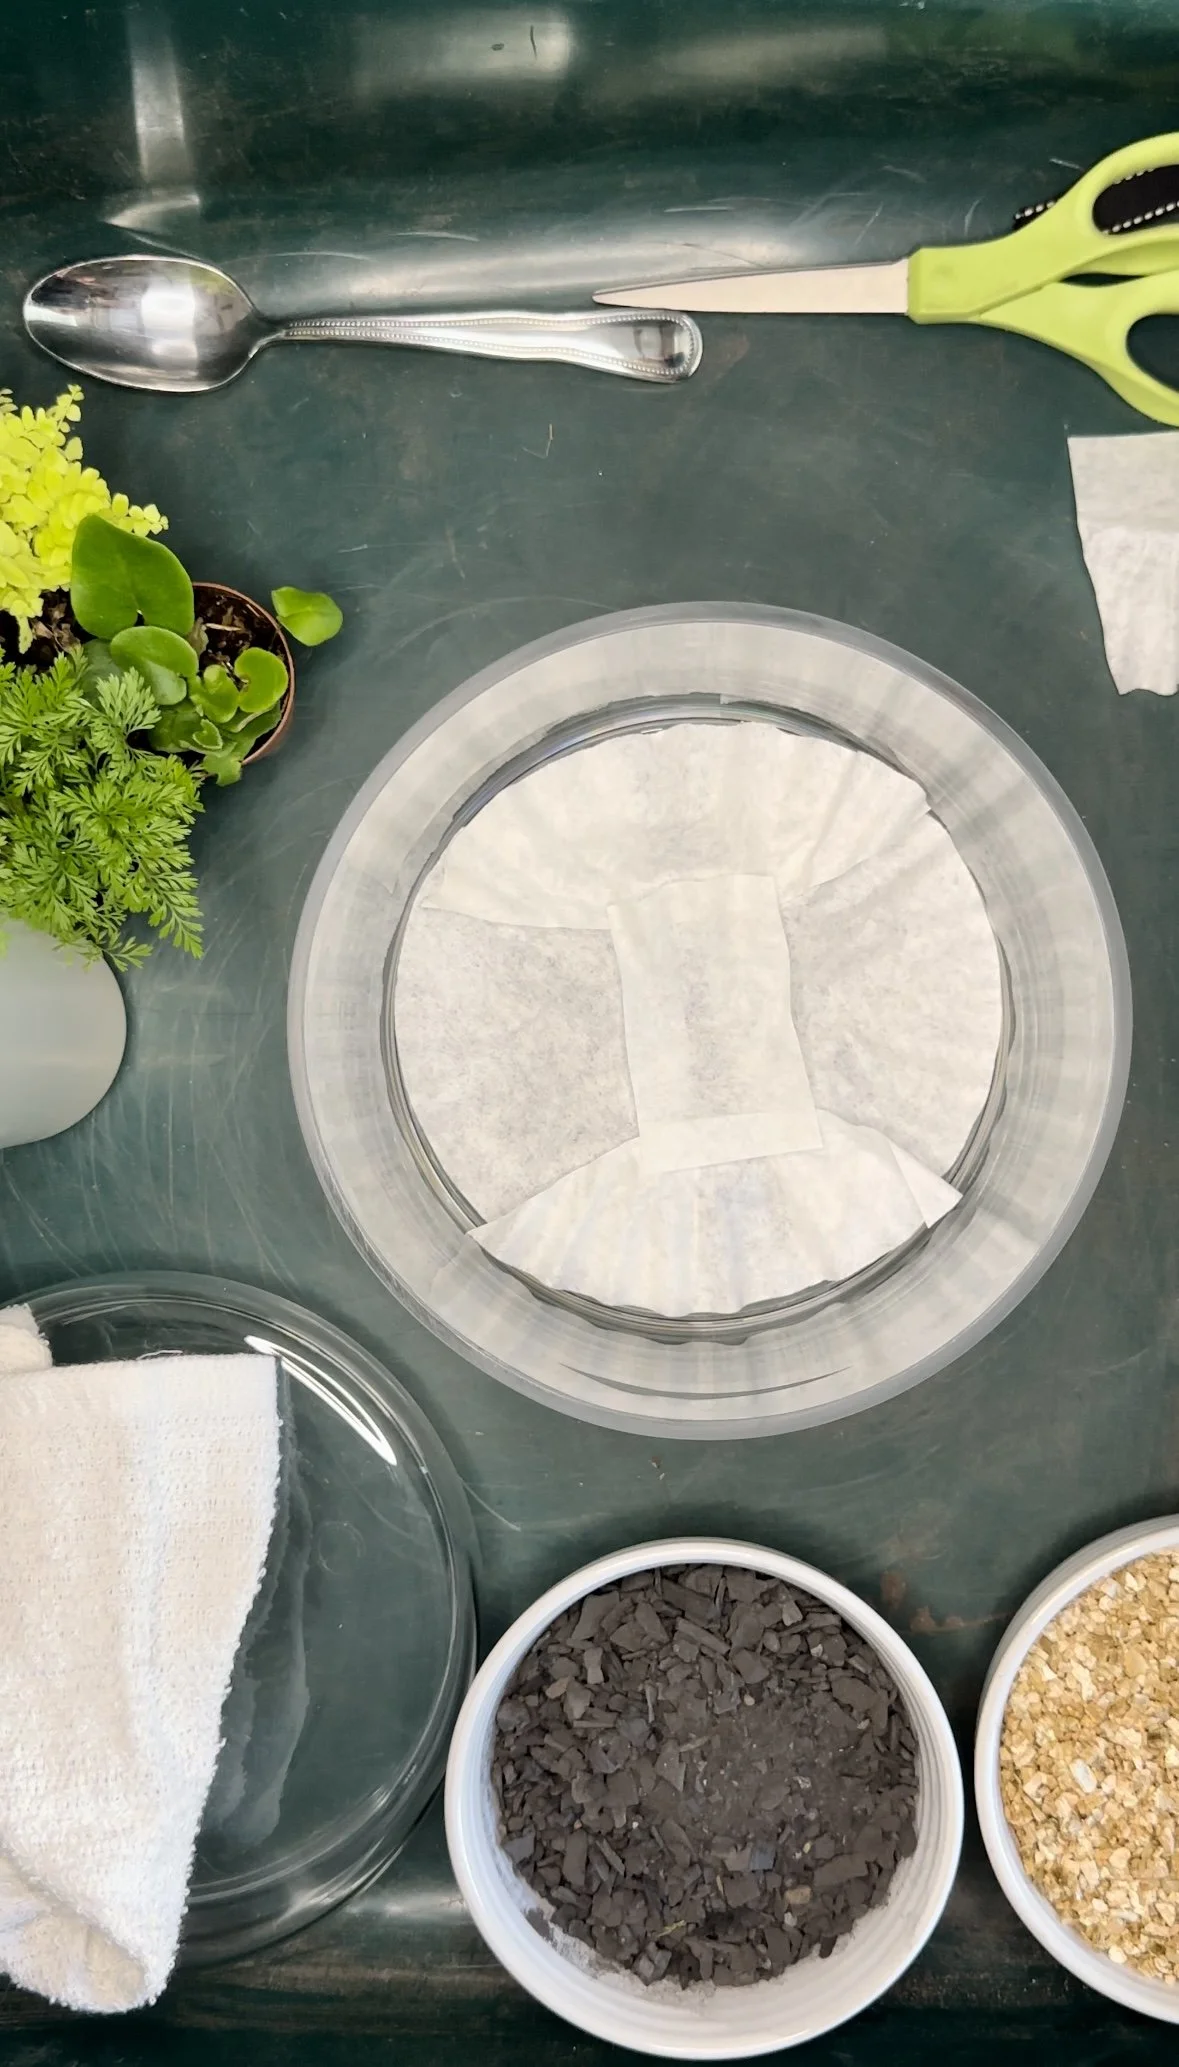
You can see below that coffee filter was a little small for my container so I cut mine to line between the layers more completely. I had some overlap but the water will still pass through just fine.
Pro tip: Keep a spoon nearby. Yes, like the one from your kitchen. I find it’s super helpful to have a smaller tool to push some soil around once those plants start filling up the space.
Step 2: LAYERS
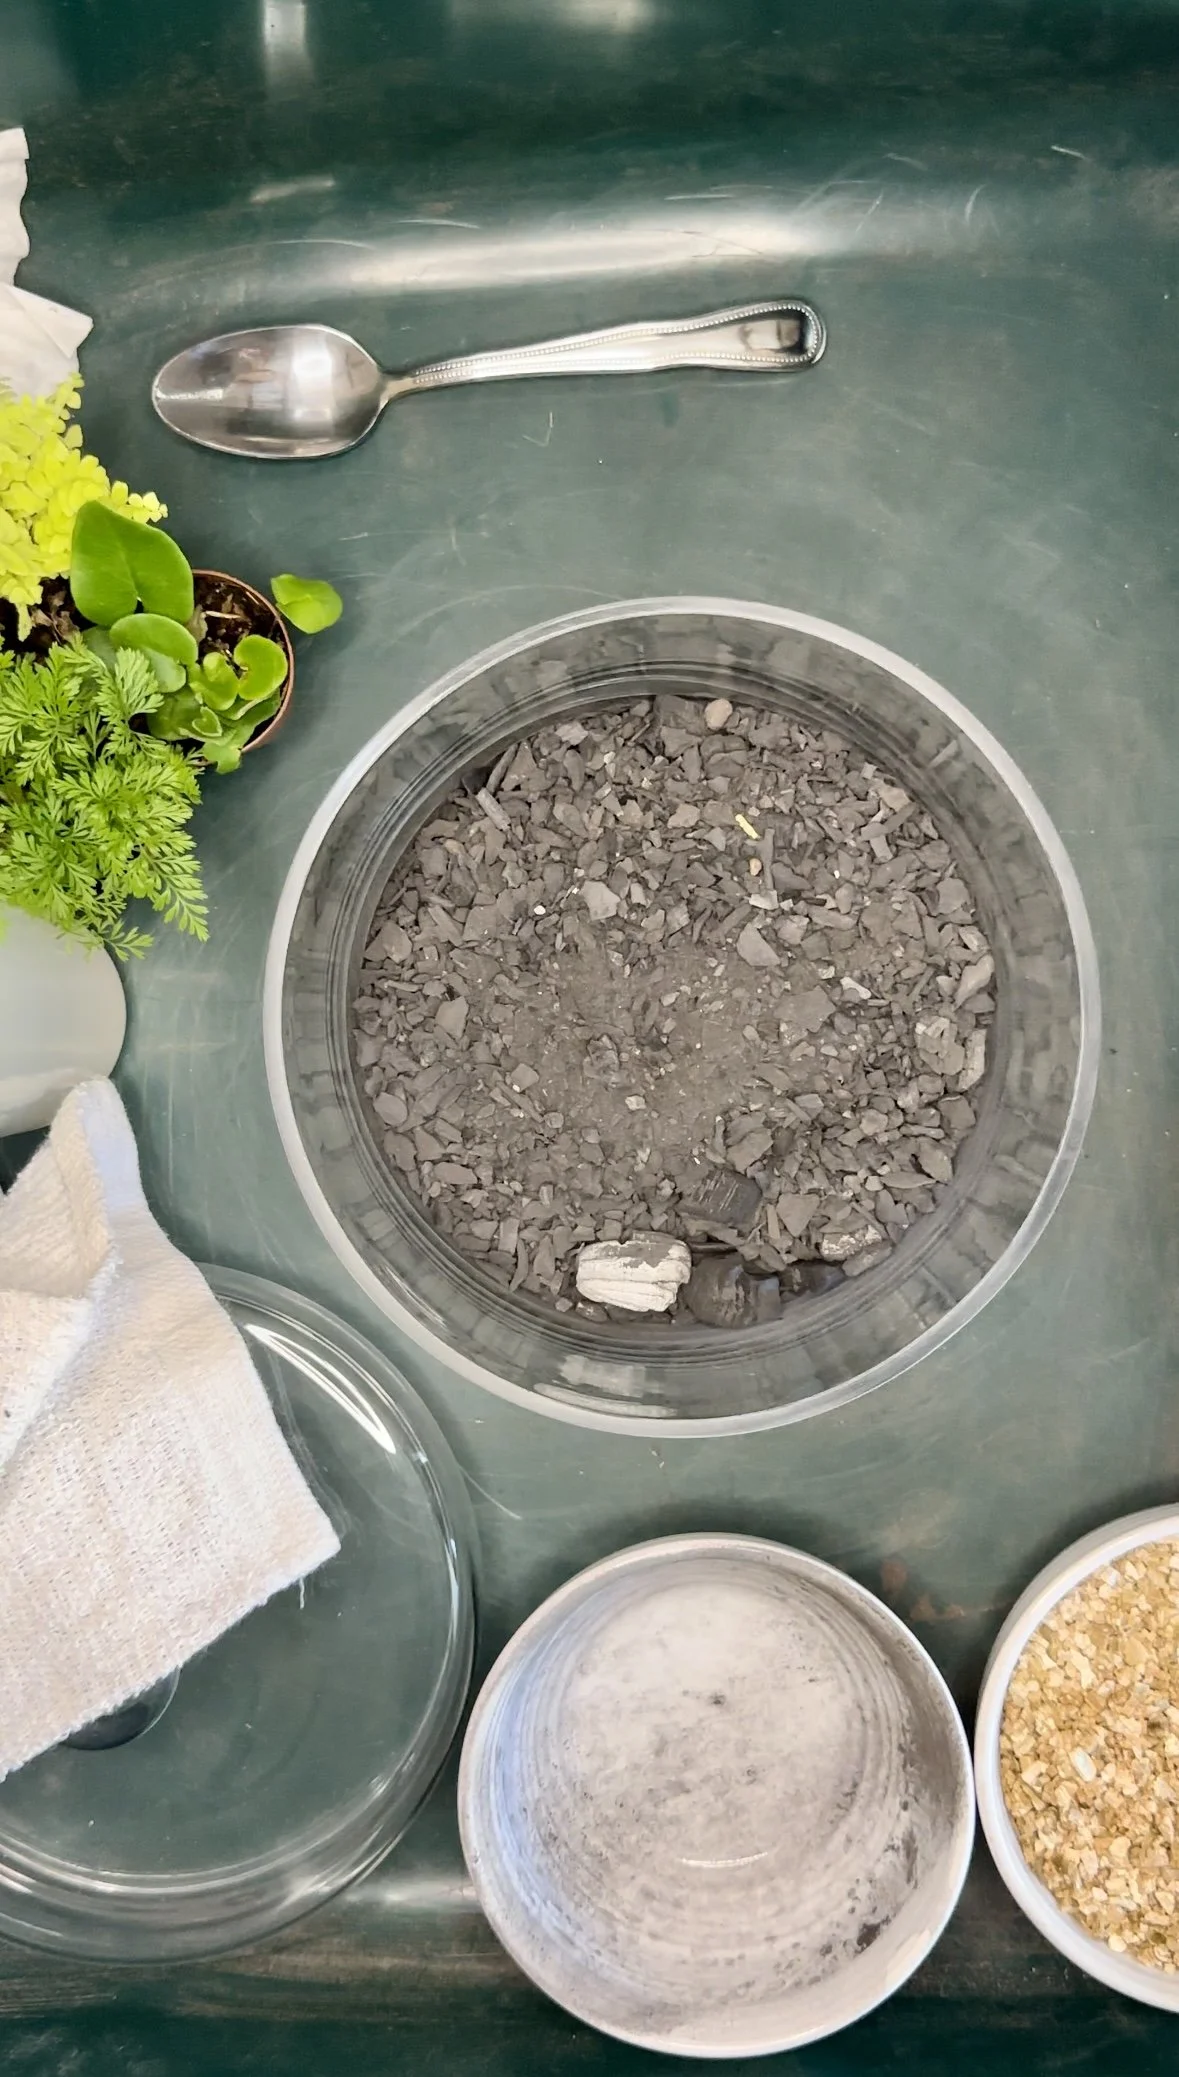
Charcoal
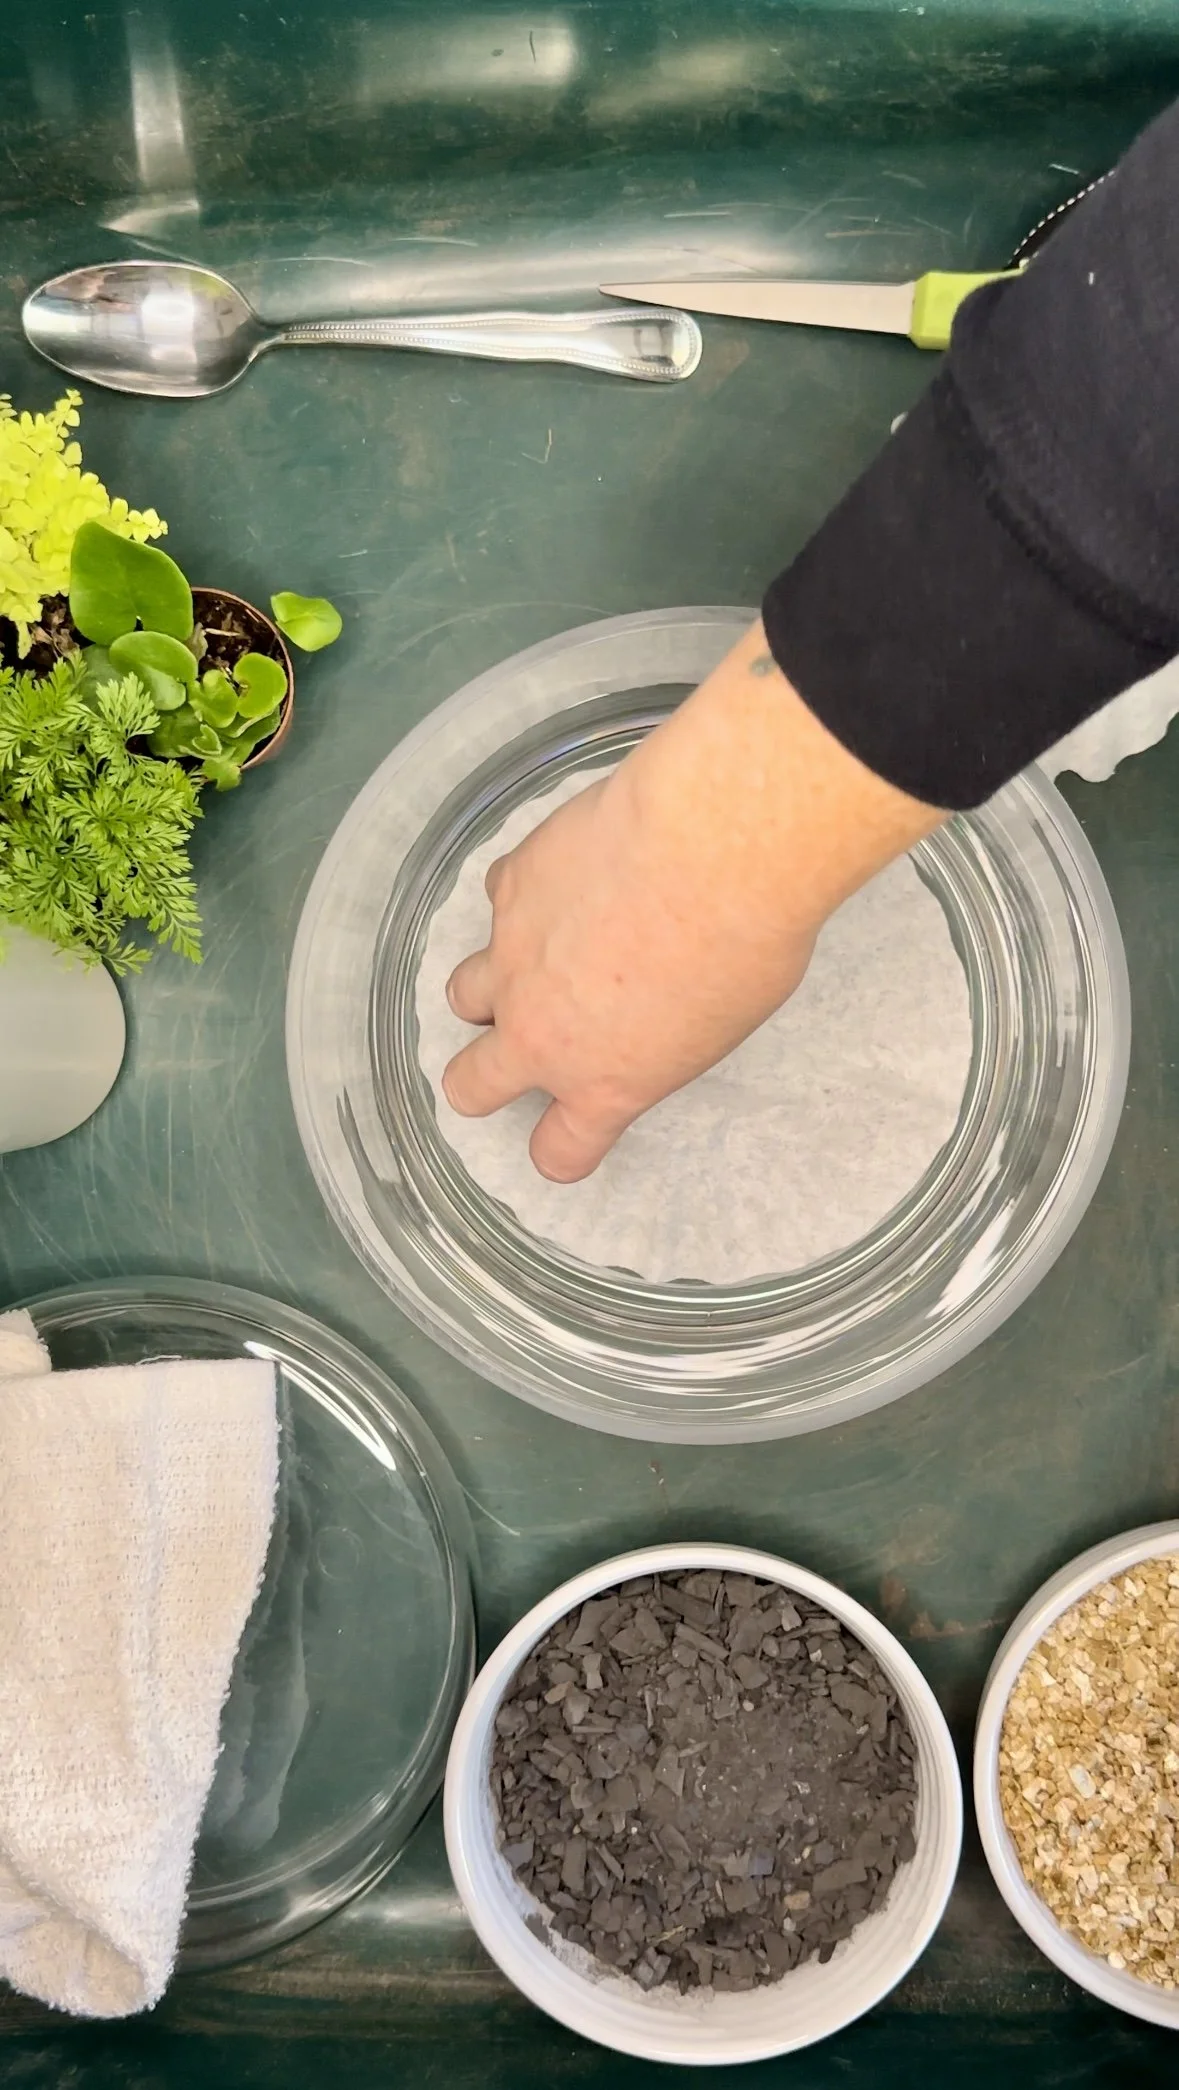
The first layer to go into your container will be the charcoal. I try for about an inch of charcoal in large terrariums, and about half an inch in smaller ones. There’s no right or wrong answer here, so don’t worry about breaking out that ruler.
For both the charcoal and vermiculite, I like to keep them level to provide equal absorption for all the soil. But this is also completely up to you. Go with your heart.
Coffee Filter
Next, I lay my coffee filter across the top of the charcoal. Sometimes it moves when adding the next layer, but don’t worry about it showing on the edges because once it gets wet, it goes pretty transparent.
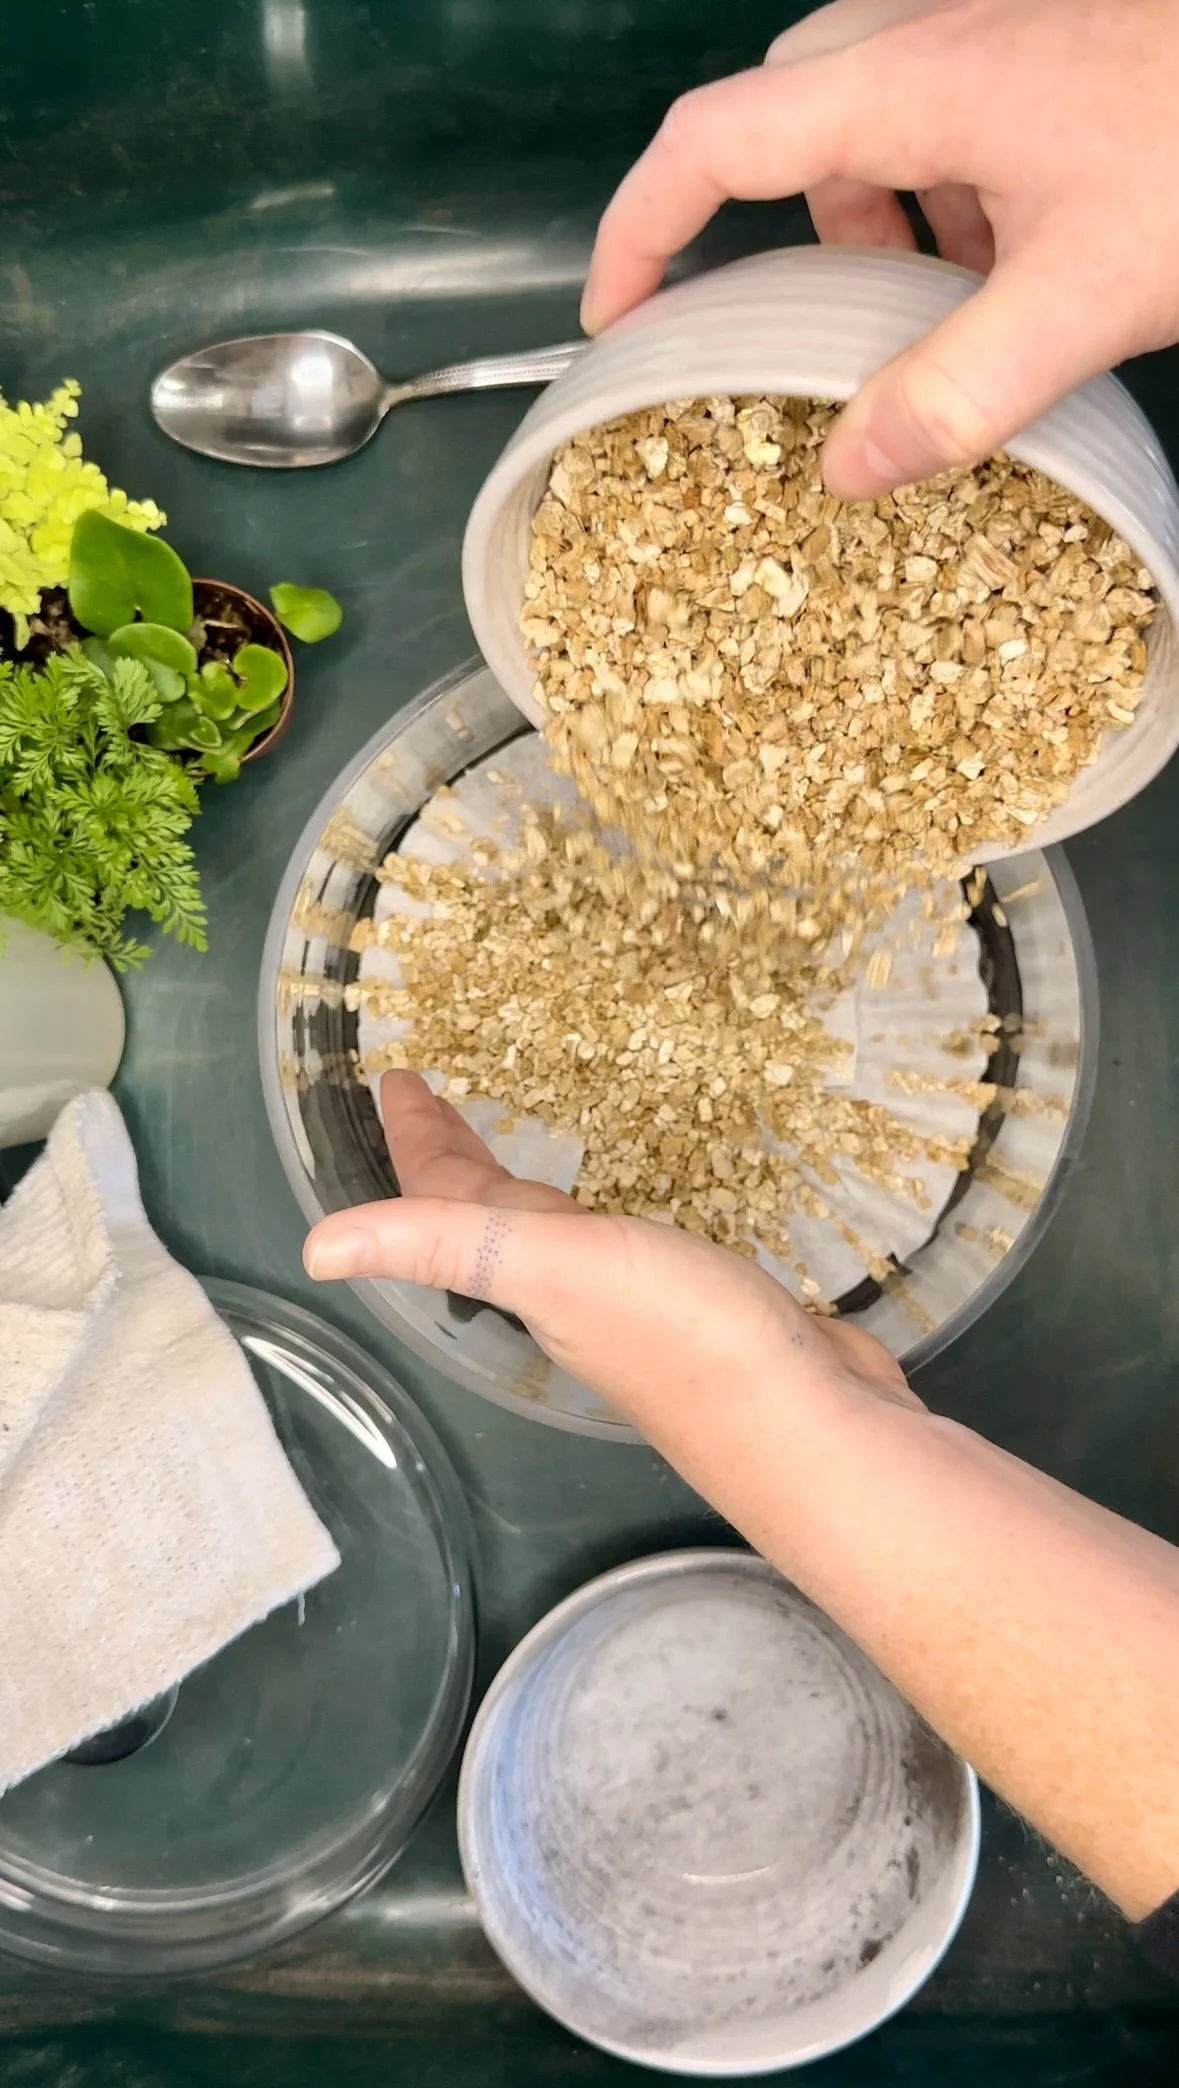
Vermiculite
Now that the charcoal is all cutely blanketed by the filter, you can add the vermiculite. Try to match the depth of the charcoal. I like the look of equal drainage layers. Again, go with your heart.
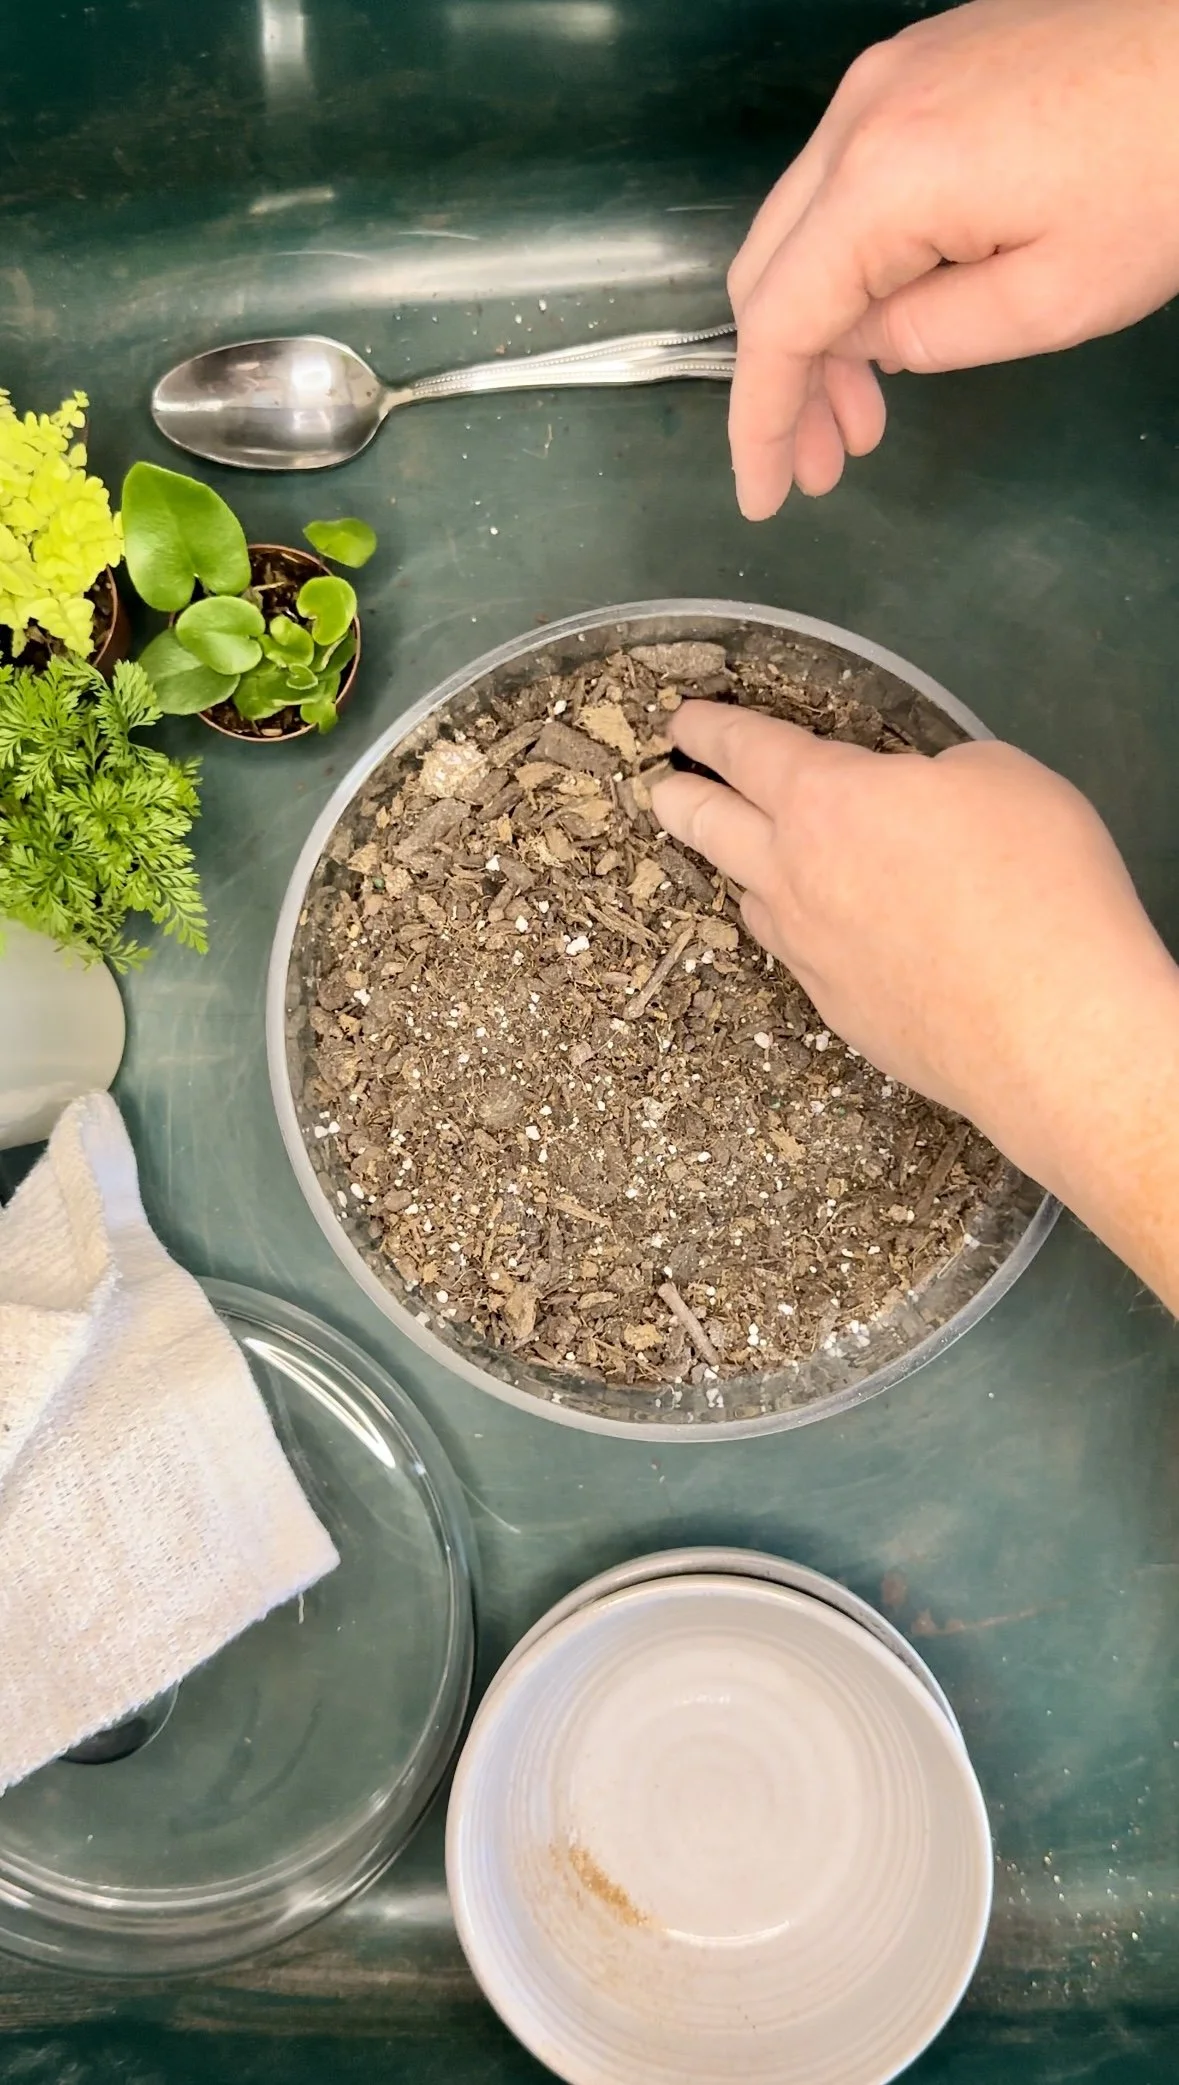
Soil
The final step to creating the layers is adding soil. The depth of the soil is going to depend on the size of your plants and your container. Try to add enough soil that the plant will have an extra inch or two of soil than it currently has. For example, if your plant is in a 2 inch deep pot now, strive for 3-4 inches of soil.
If you choose to add moss, you can get away with less soil because the roots aren’t very deep.
With the soil, feel free to add movement through “hills” and “valleys.” Especially when using mostly low growing plants or moss, you can add height by having more soil on one side and less on the other. This is fun to do it you have decorations so they can go in the foreground and the plants can go in the background but still have a big presence with the added height.
Charcoal
Coffee Filter
Vermiculite
Soil
A look at the layers of the finished product
Step 3: PLANTING
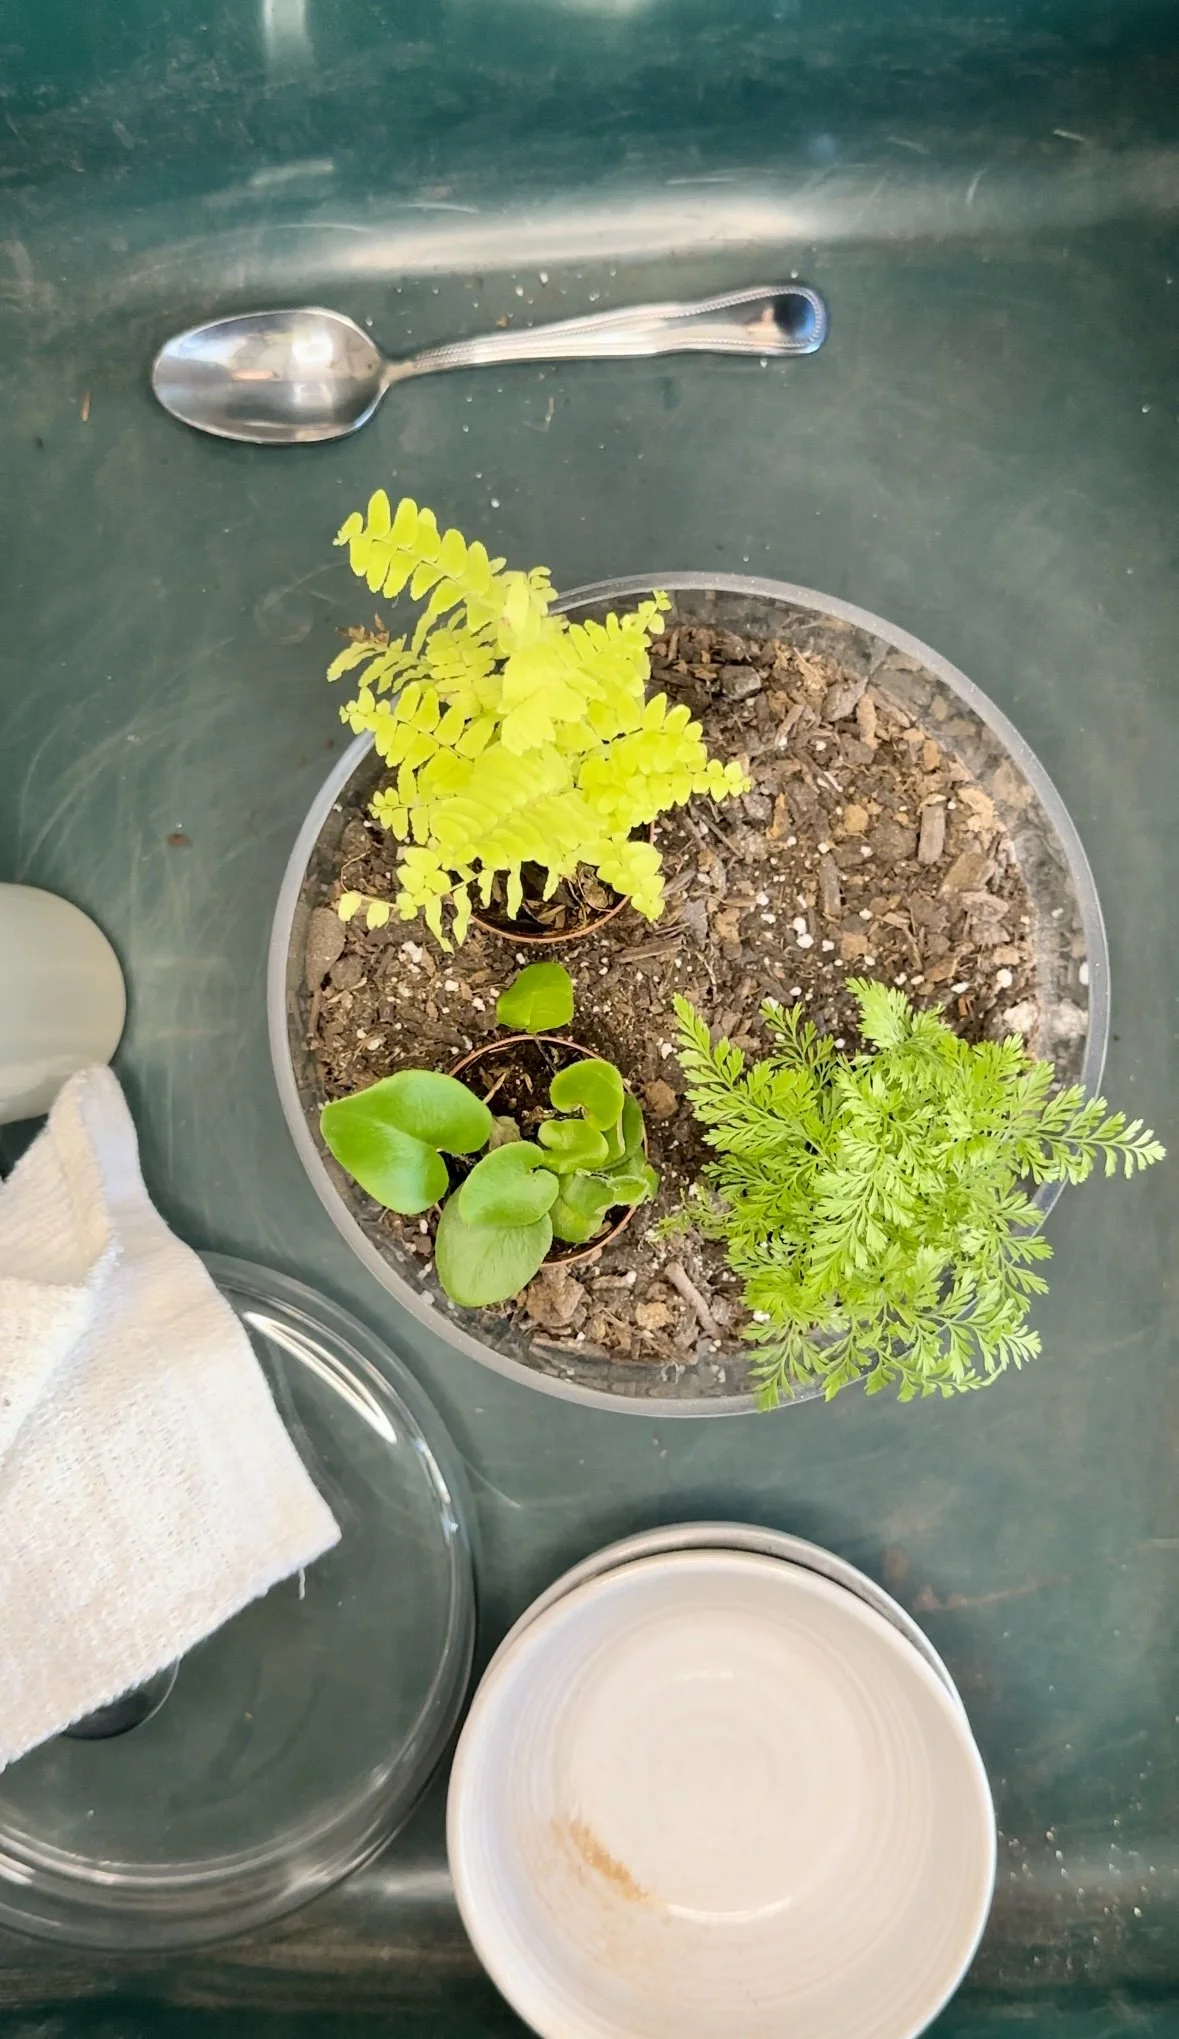
Here comes the fun part! I suggest testing arrangements while your plants are still in the nursery pots to prevent shocking them by moving them too much. Once you’ve worked out the configuration you want, it’s time to plant!
I usually start with the biggest plant, or the center most plant, depending on my arrangement. I do this just because I find it creates an anchor for the other plants to complement. It’s like having a focal point and then adding additional items to enrich the display as a whole. Some people prefer to work their way around the edges first, or from “back” to “front.” I personally like having a 360 degree design so I can enjoy every angle even when I rotate it for even light exposure.
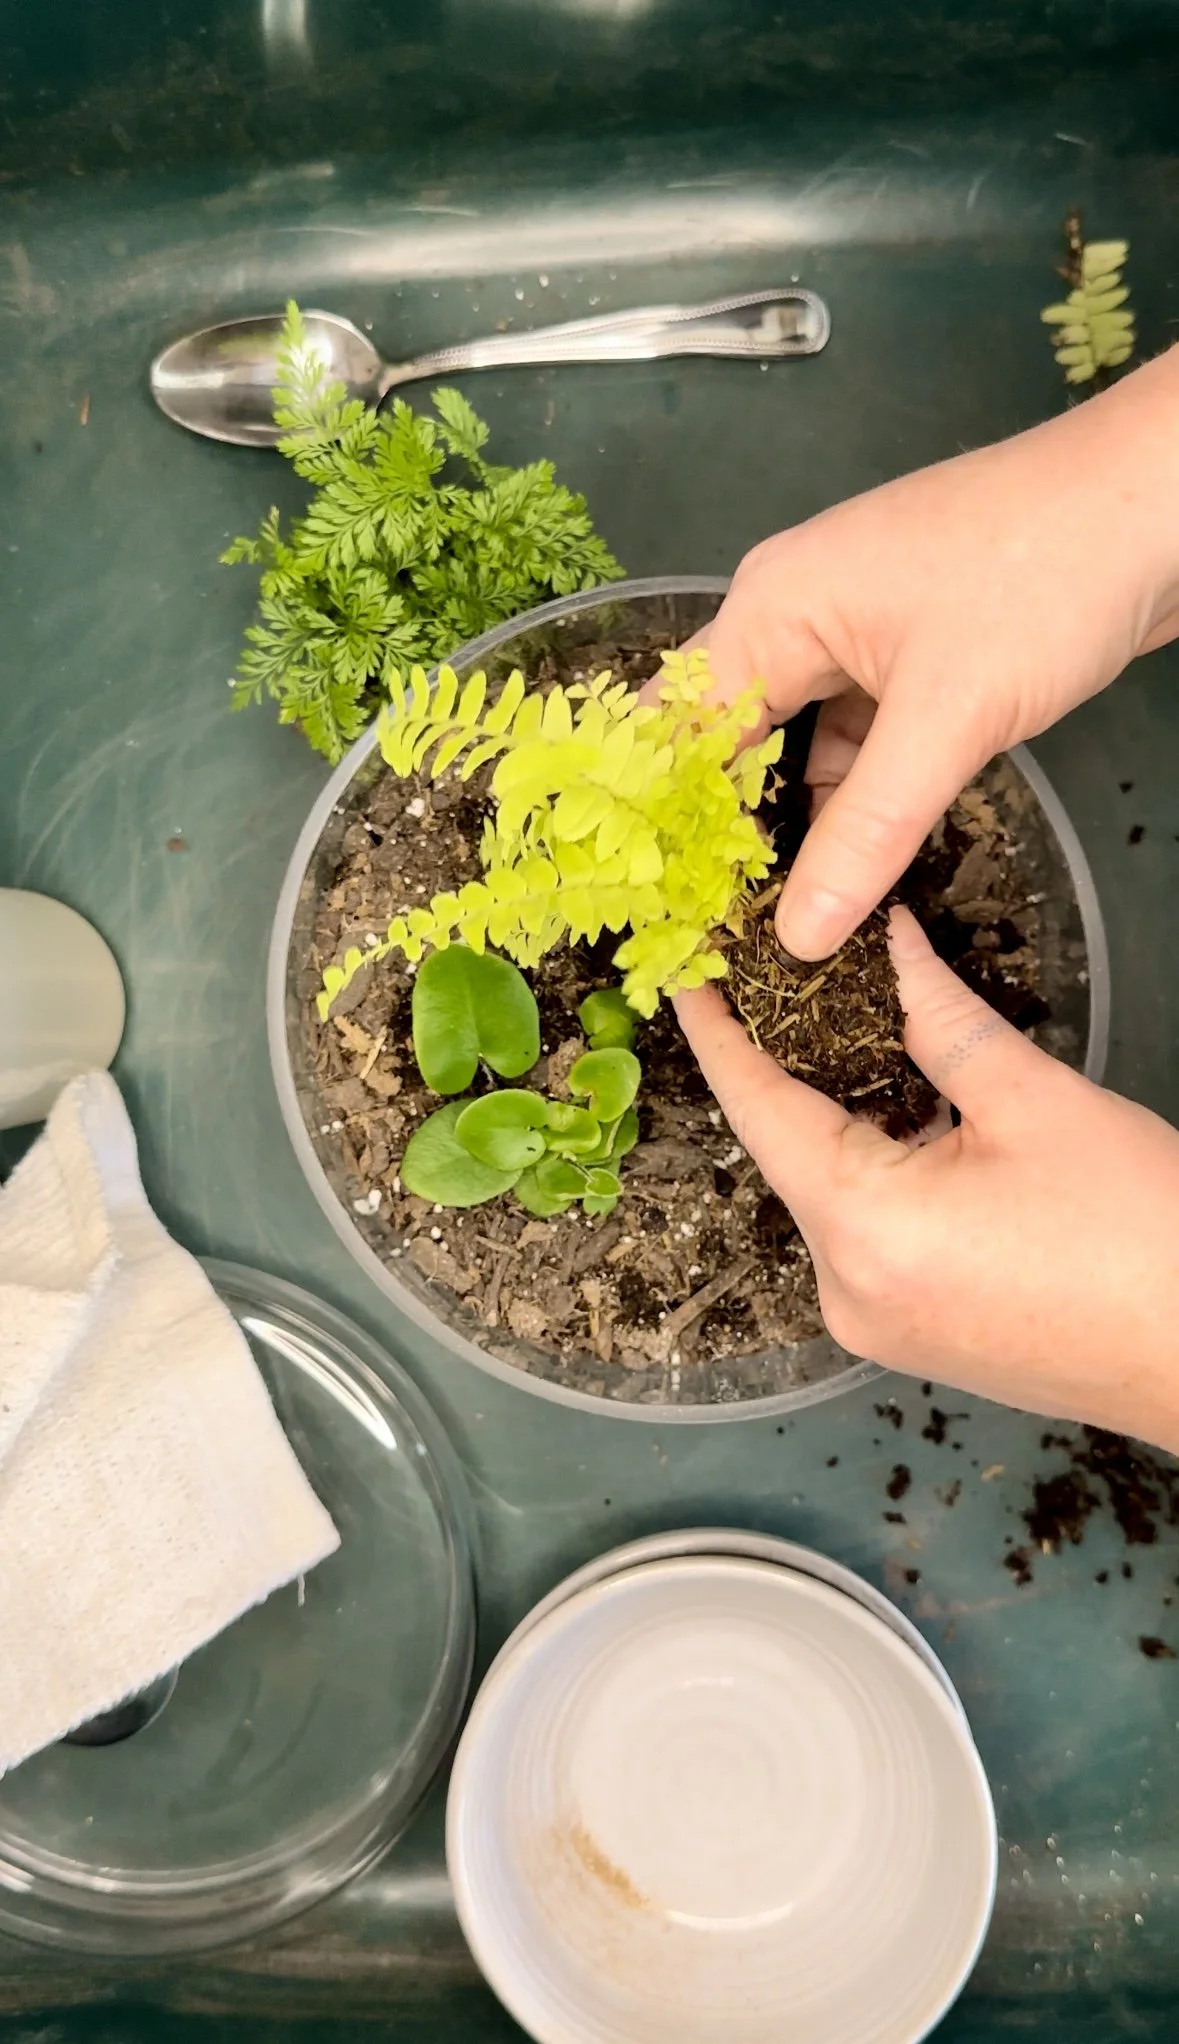
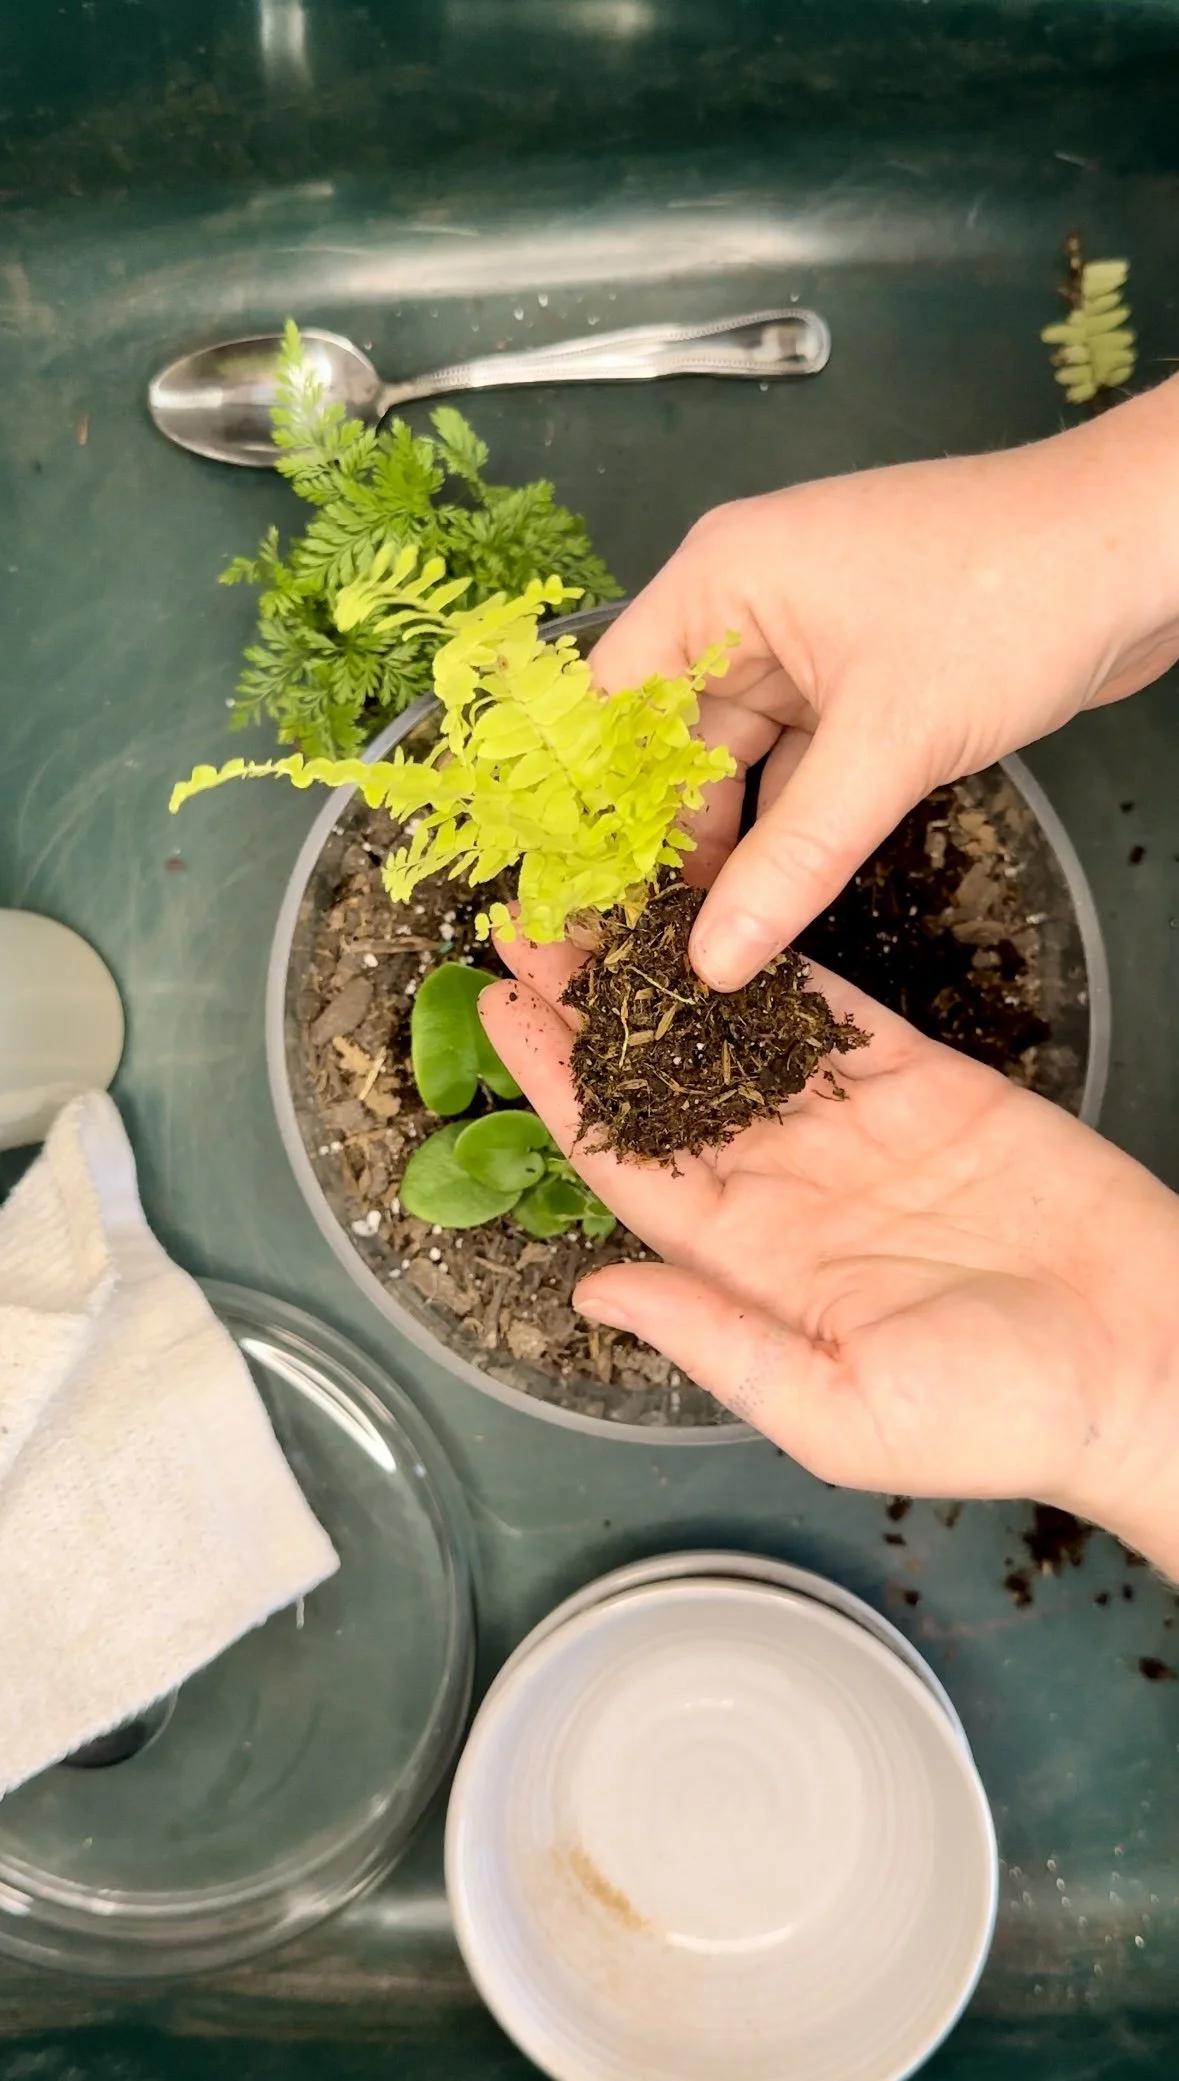
To plant, just move some of the soil to the side, creating a hole for the root ball to sit into. Next, gently remove your plant from the nursery pot and work off some of the older soil. By loosening the soil, you encourage root growth in it’s new home.
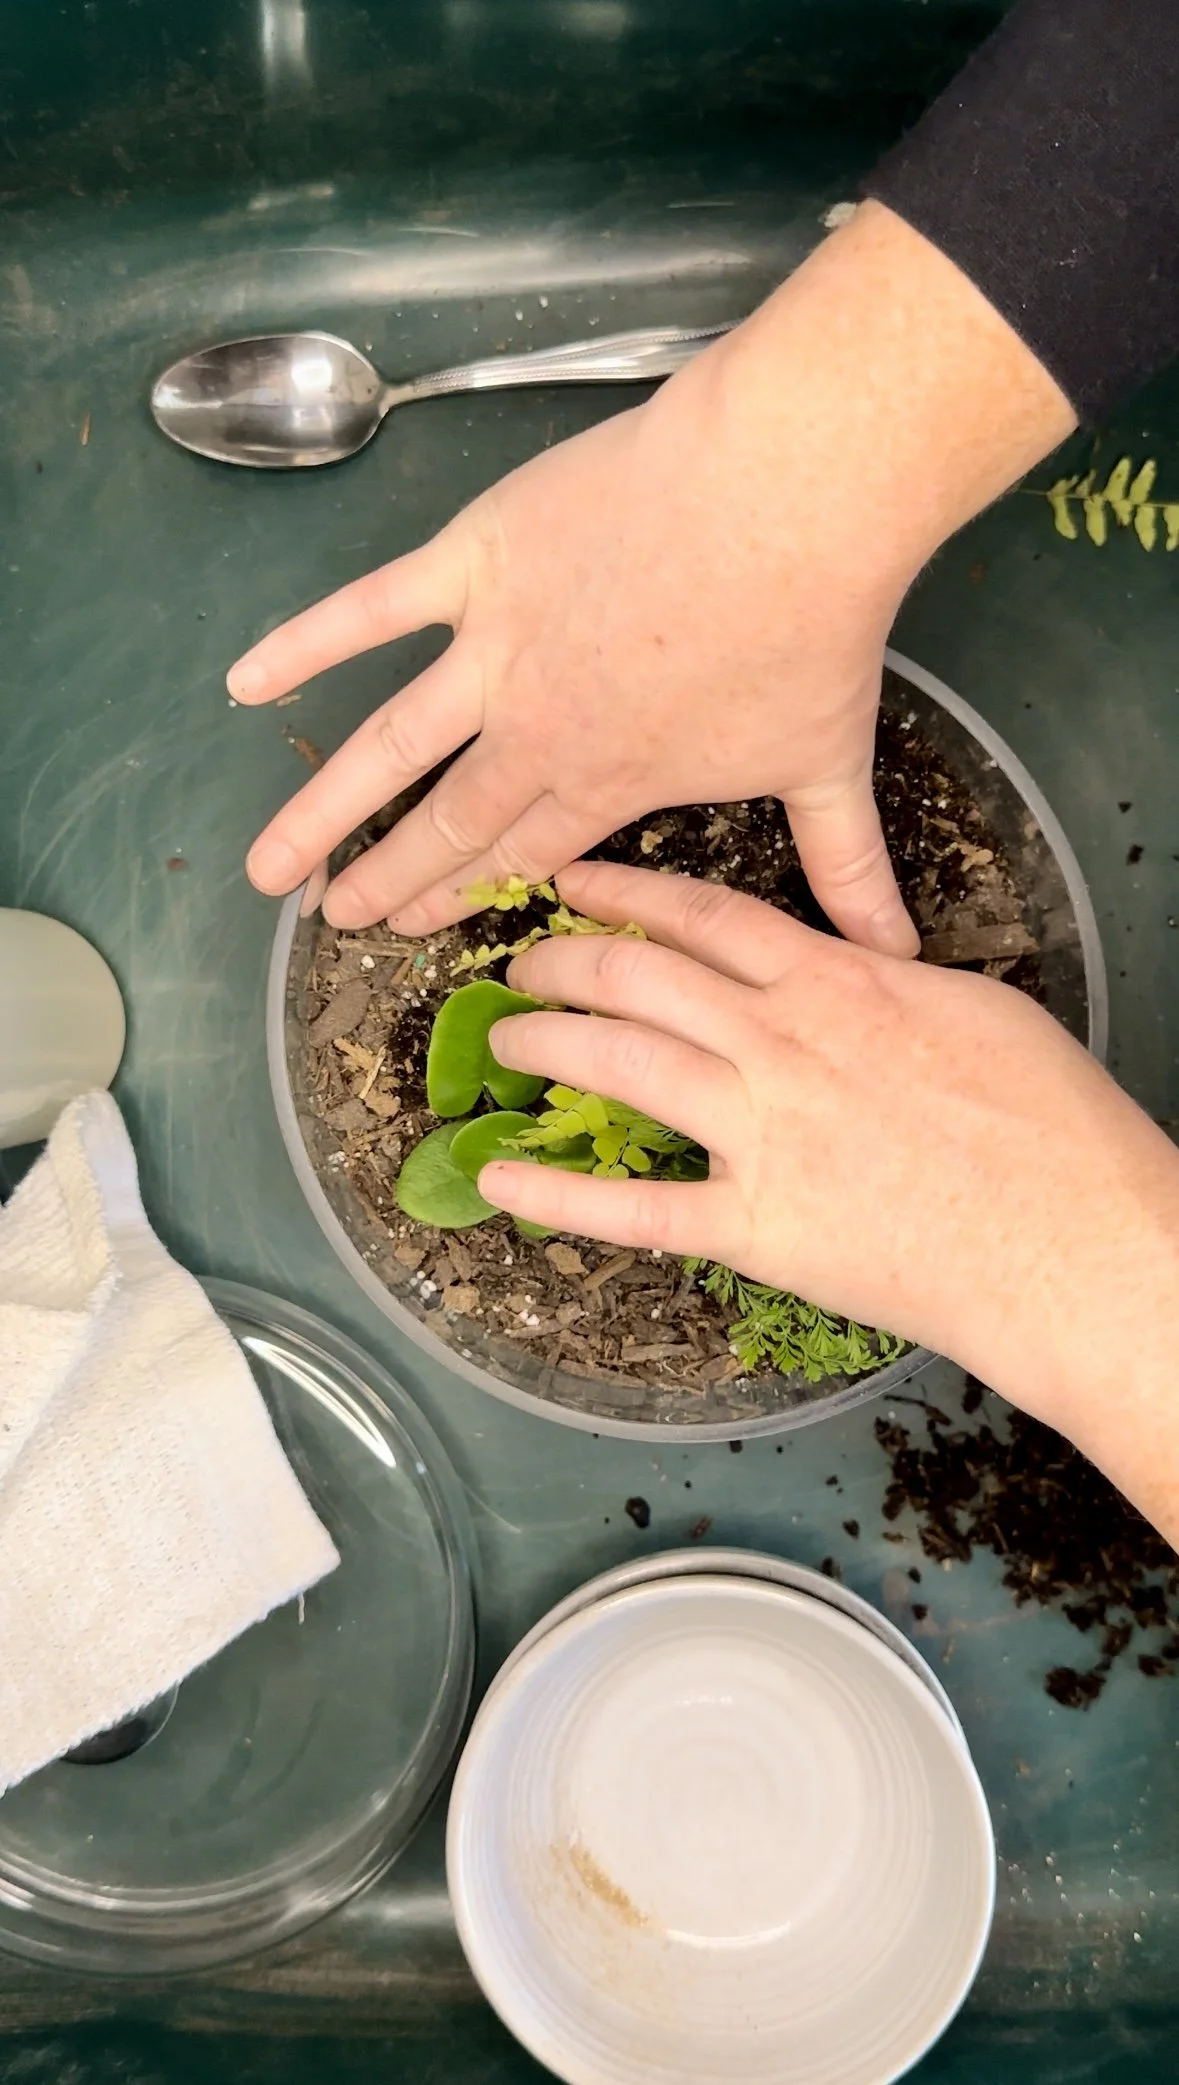
Set you plant in it’s hole and move the dirt back around it. Pack the soil just a little to keep the plant from tilting while you’re placing any other plants.
Repeat for additional plants. As your terrarium fills up, you can use a spoon to move the soil around to prevent disrupting your newly placed plants, if needed.
After all plants are placed, I like to give the inside of the glass a little wipe down to get any dirt off the sides.
(Notes on moss terrariums below)
At this point, you can add any decorations you want. You could use natural elements like rocks or bark chunks, or go for a fairy garden with clay mushrooms, gnomes and fairies. Don’t forget that you’re never too old to play.
Test the arrangement before planting
Remove some of the old soil
Soil loosened around the root ball
Move soil back around the base of the plant
Notes on Moss Terrariums
If you’re harvesting your own moss from nature, be aware that a small piece can grow to cover the whole terrarium. It’s slow growing but it’s so worth it to watch it grow to fill the space. Place a piece of harvested moss on the top of your soil and wiggle it gently into the soil surface.
If you’re using a “moss milkshake,” or ground moss, a little goes a long way. Sprinkle a light layer across the top of the soil and rake it into the soil with a fork. Then mist it down and let it be!
Be PATIENT. Moss is slow growing and takes time to root and grow. Give it a few weeks and you’ll start seeing little sprouts. Something magical about moss terrariums is being able to get a glimpse of the natural growth of moss. Often times we see it and it seems like it pops up out of nowhere. Let moss take its time and you won’t regret it as you watch it slowly cover your terrarium.
Step 4: WATER
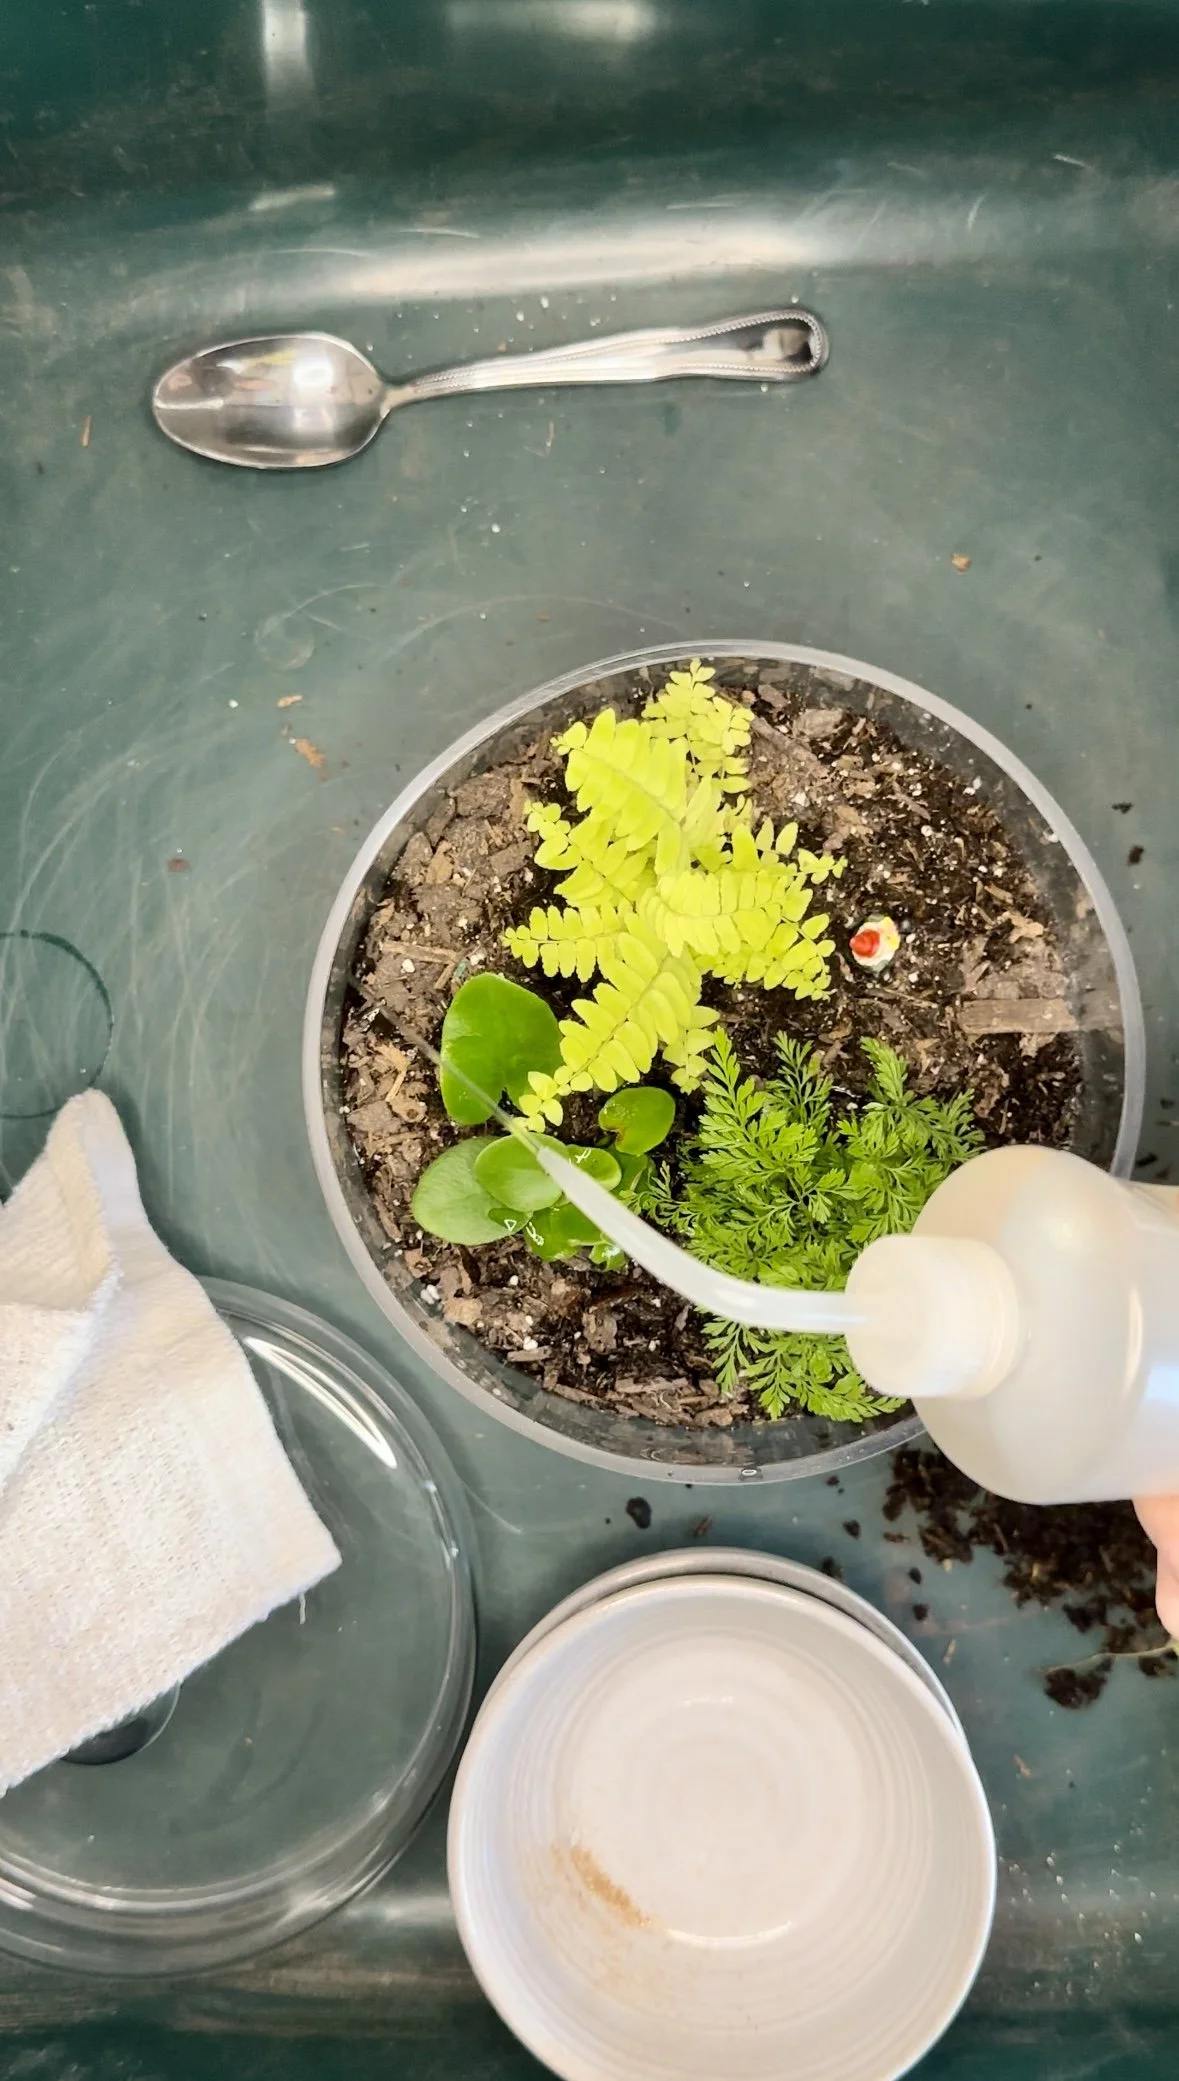
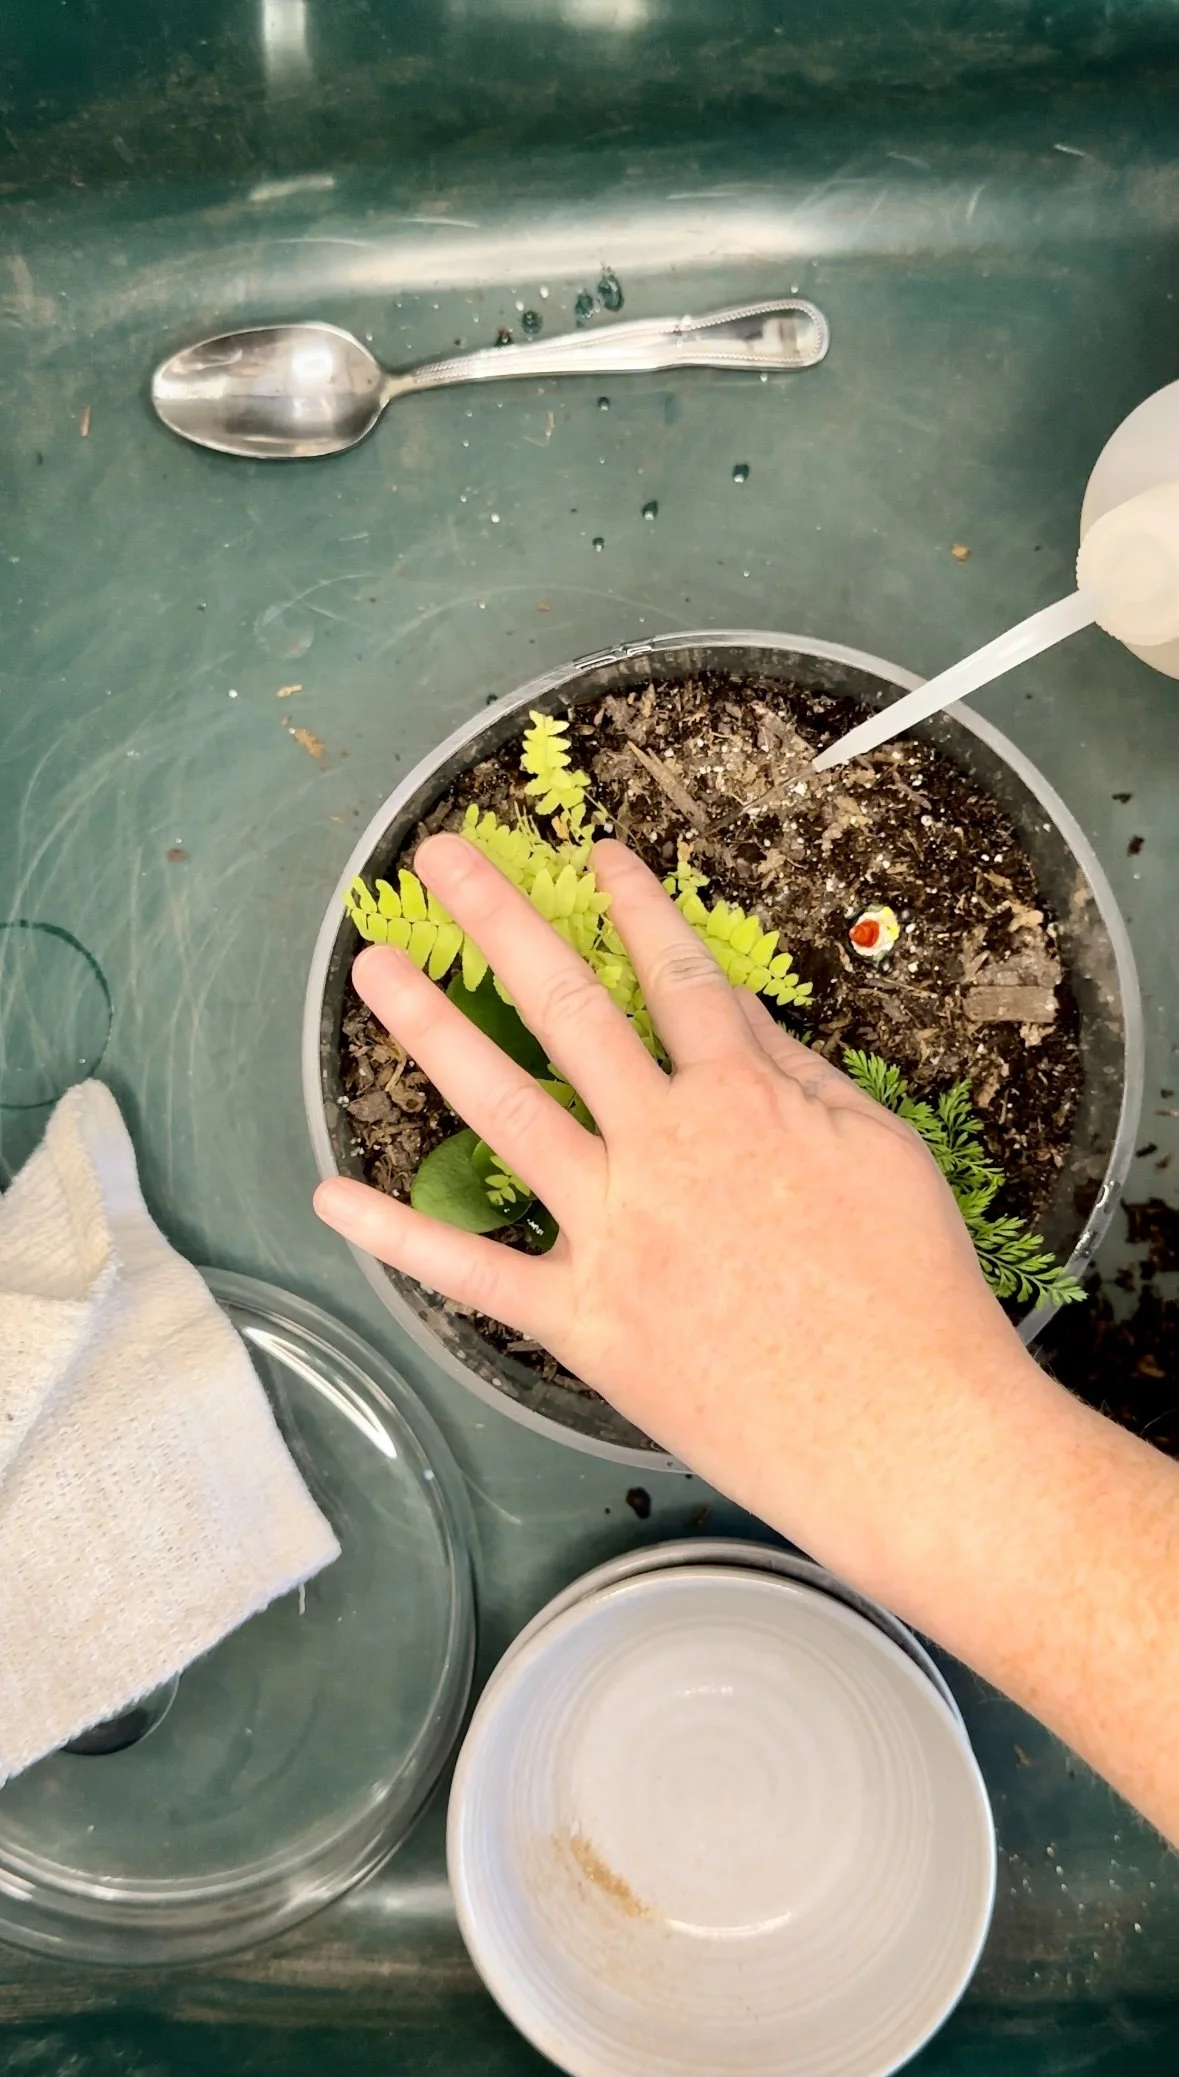
Mist the inside of your terrarium, making sure to saturate the soil well. Once the soil reaches a uniform dark brown, stop. I use a squirt bottle because I can get the base of each plant and then along the side.
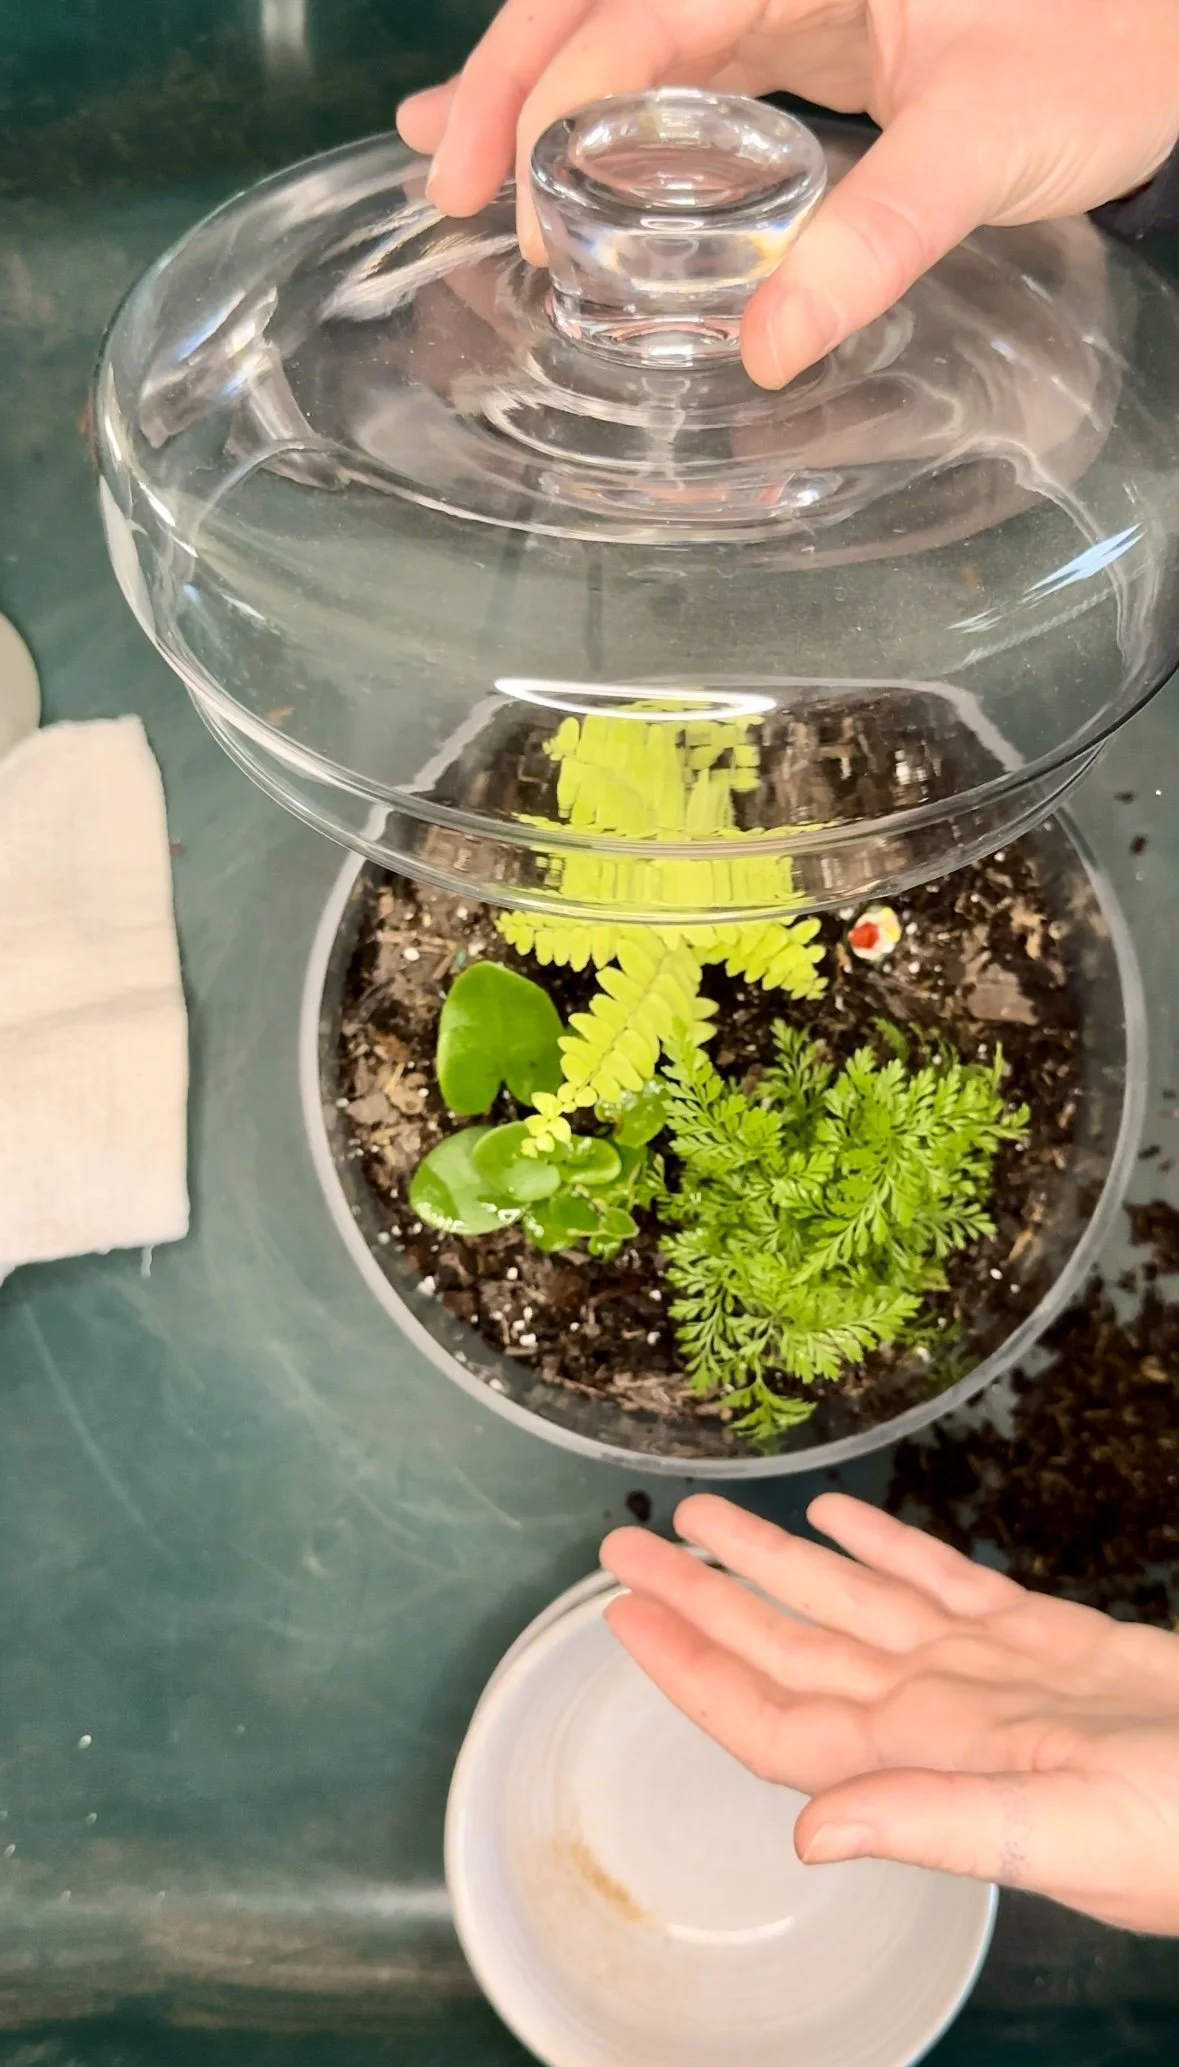
You’re done! Return your lid to the top of the container and set the finished terrarium in a location that gets indirect or filtered light.
Make sure to read my post about caring for your terrarium. I love these for the low maintenance whimsy they add to my space.
