How To: Start Herb Seeds
It’s that time of year when gardeners everywhere are starting to think about their spring and summer gardens. We work backwards from harvest dates to plan when seeds need to be started.
But, there’s no reason this can’t be a year round activity. Especially if you’re starting herb seeds. I love to have fresh herbs around for cooking, drying, cocktails, or even adding to floral arrangements!
Materials Needed:
Well draining soil
Seed tray with humidity dome
Herb seeds
Water
Plant markers and marker
STEP 1: Gather Supplies
As always, I recommend gathering everything you’ll need before beginning. I can’t tell you how many times I’ve made the mistake of not having everything close by and finding myself washing dirty hands just to get the marker I forgot, or the scissors I need, etc.
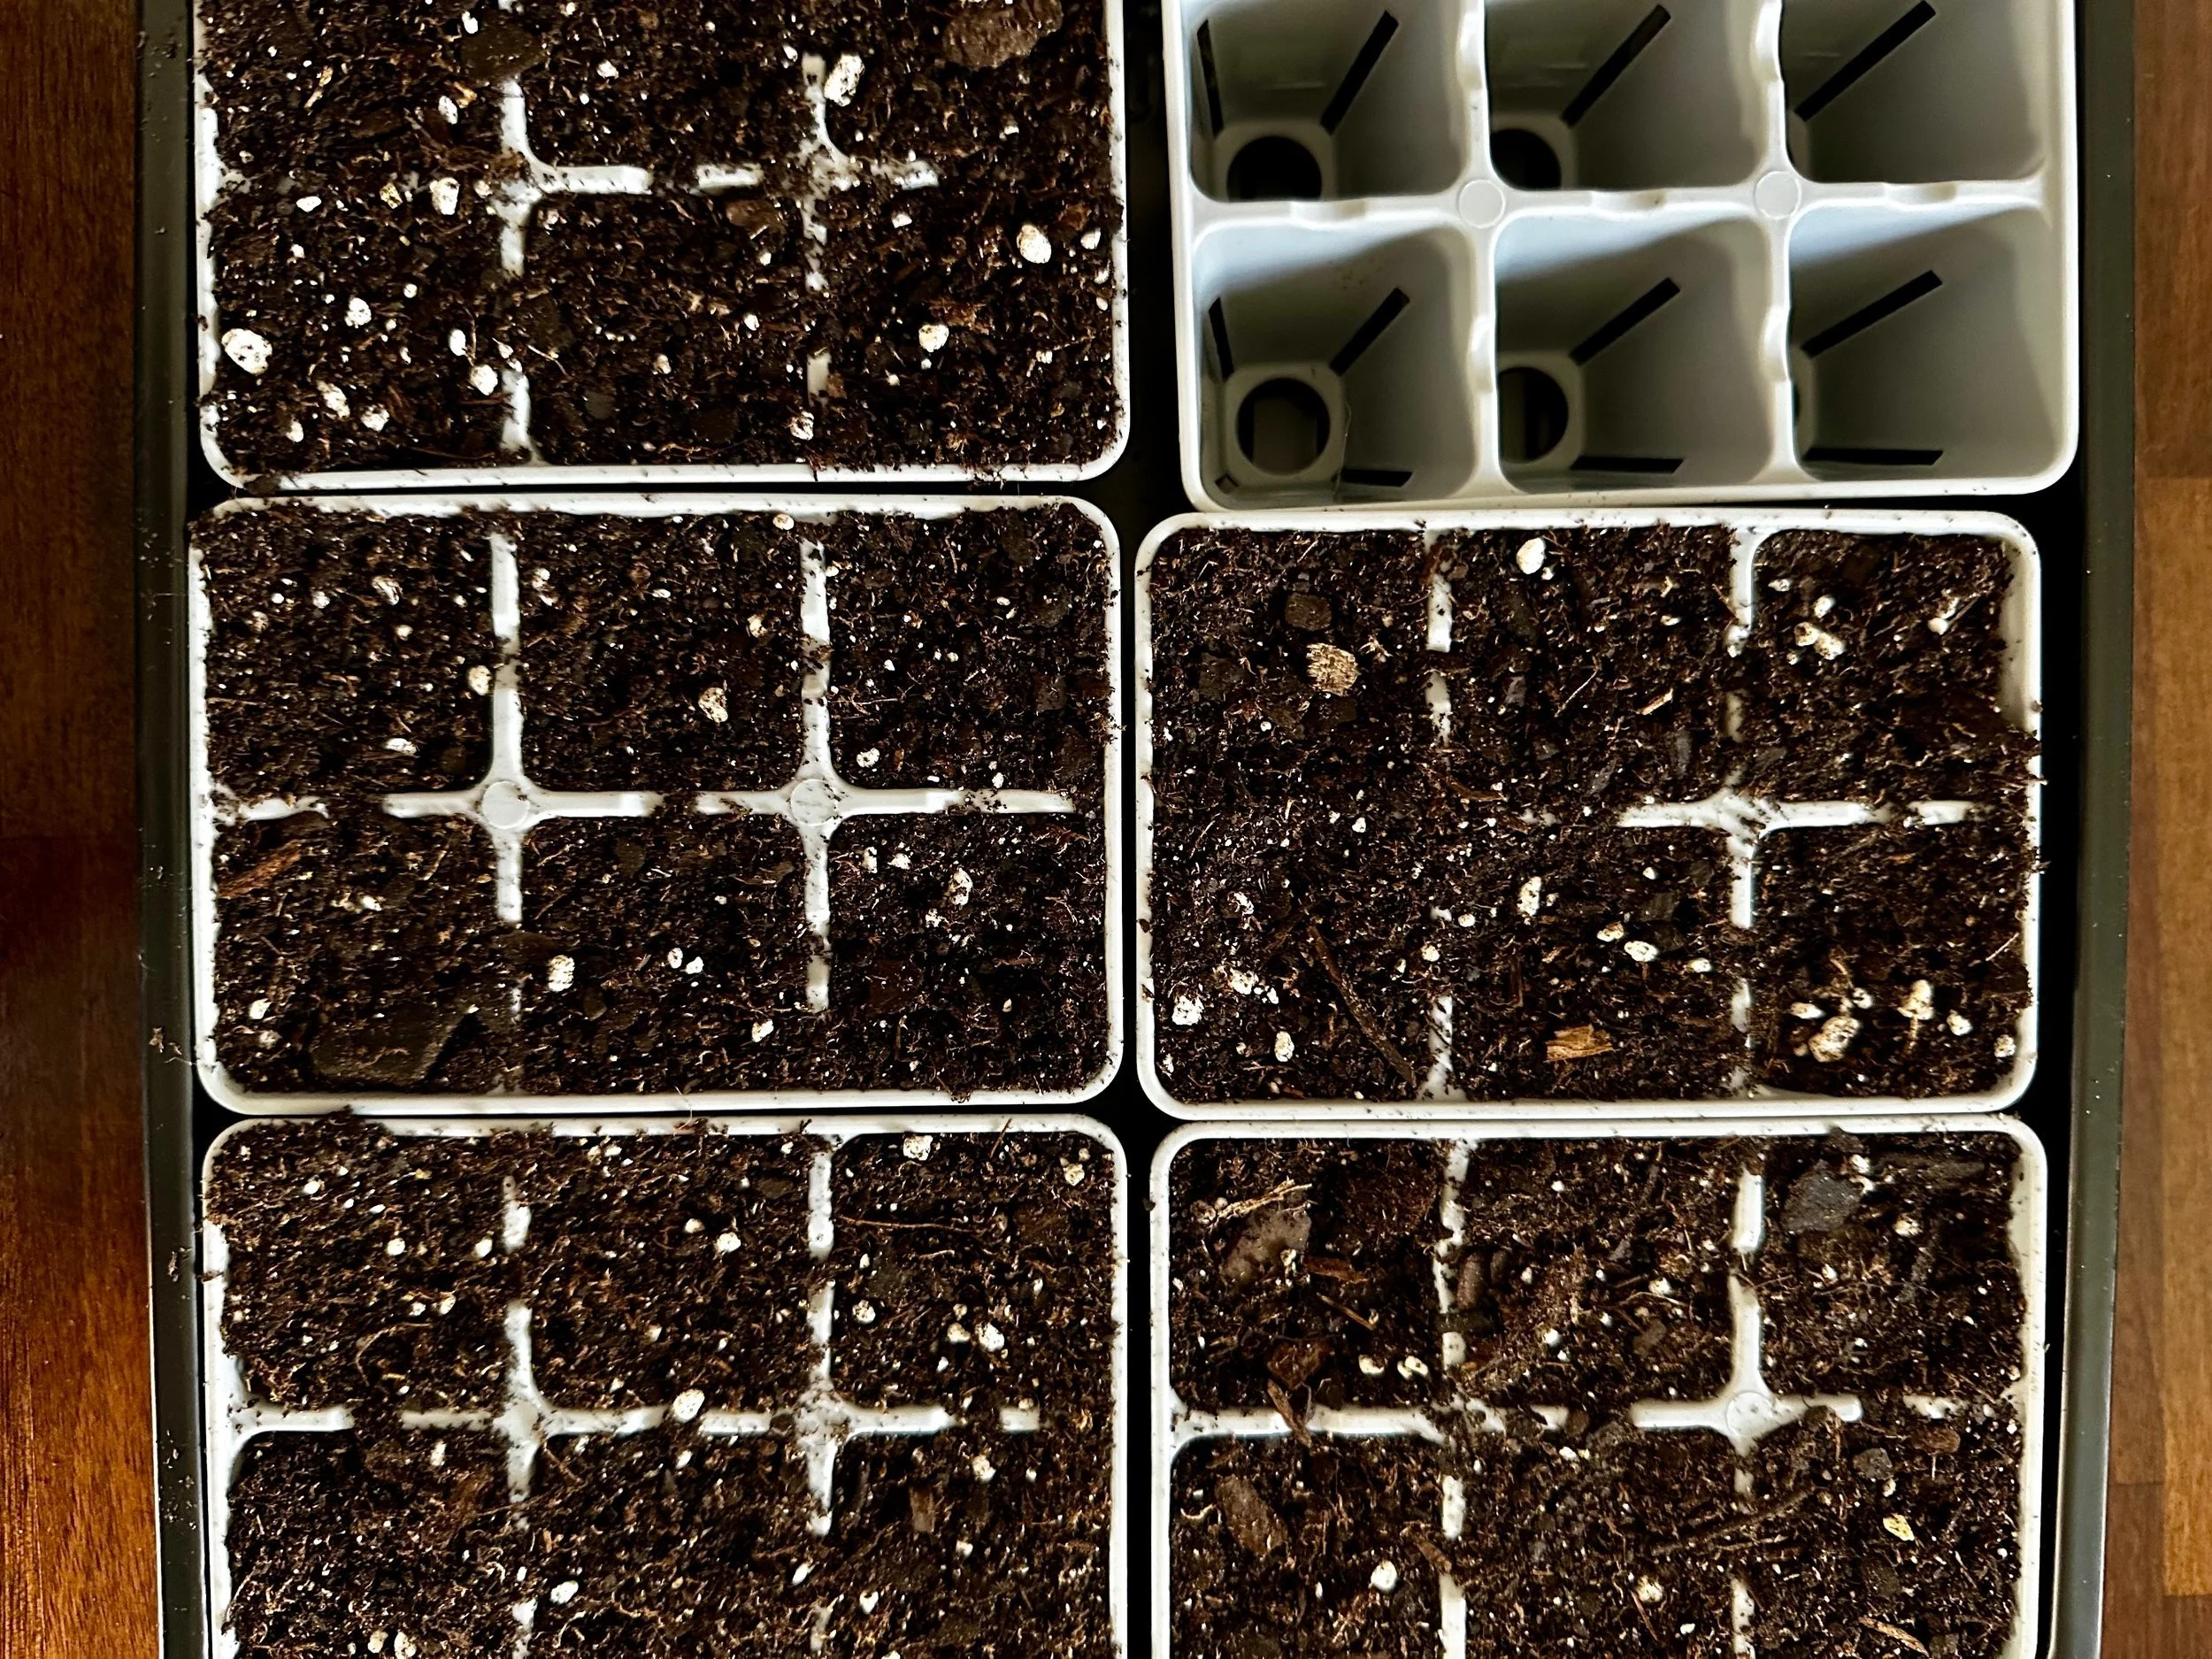
STEP 2: Fill seed tray
When filling your seed tray with soil, I suggest lightly packing the bottom half of each cell then filling the rest loosely. This allows for the germination and initial roots to have plenty of airflow and loose soil to work through but the bottom is firm enough to hold shape when transplanting. When pressing the seeds into the soil during the next step, you’ll find that the top of the cells with compact slightly.
STEP 3: Plant Seeds
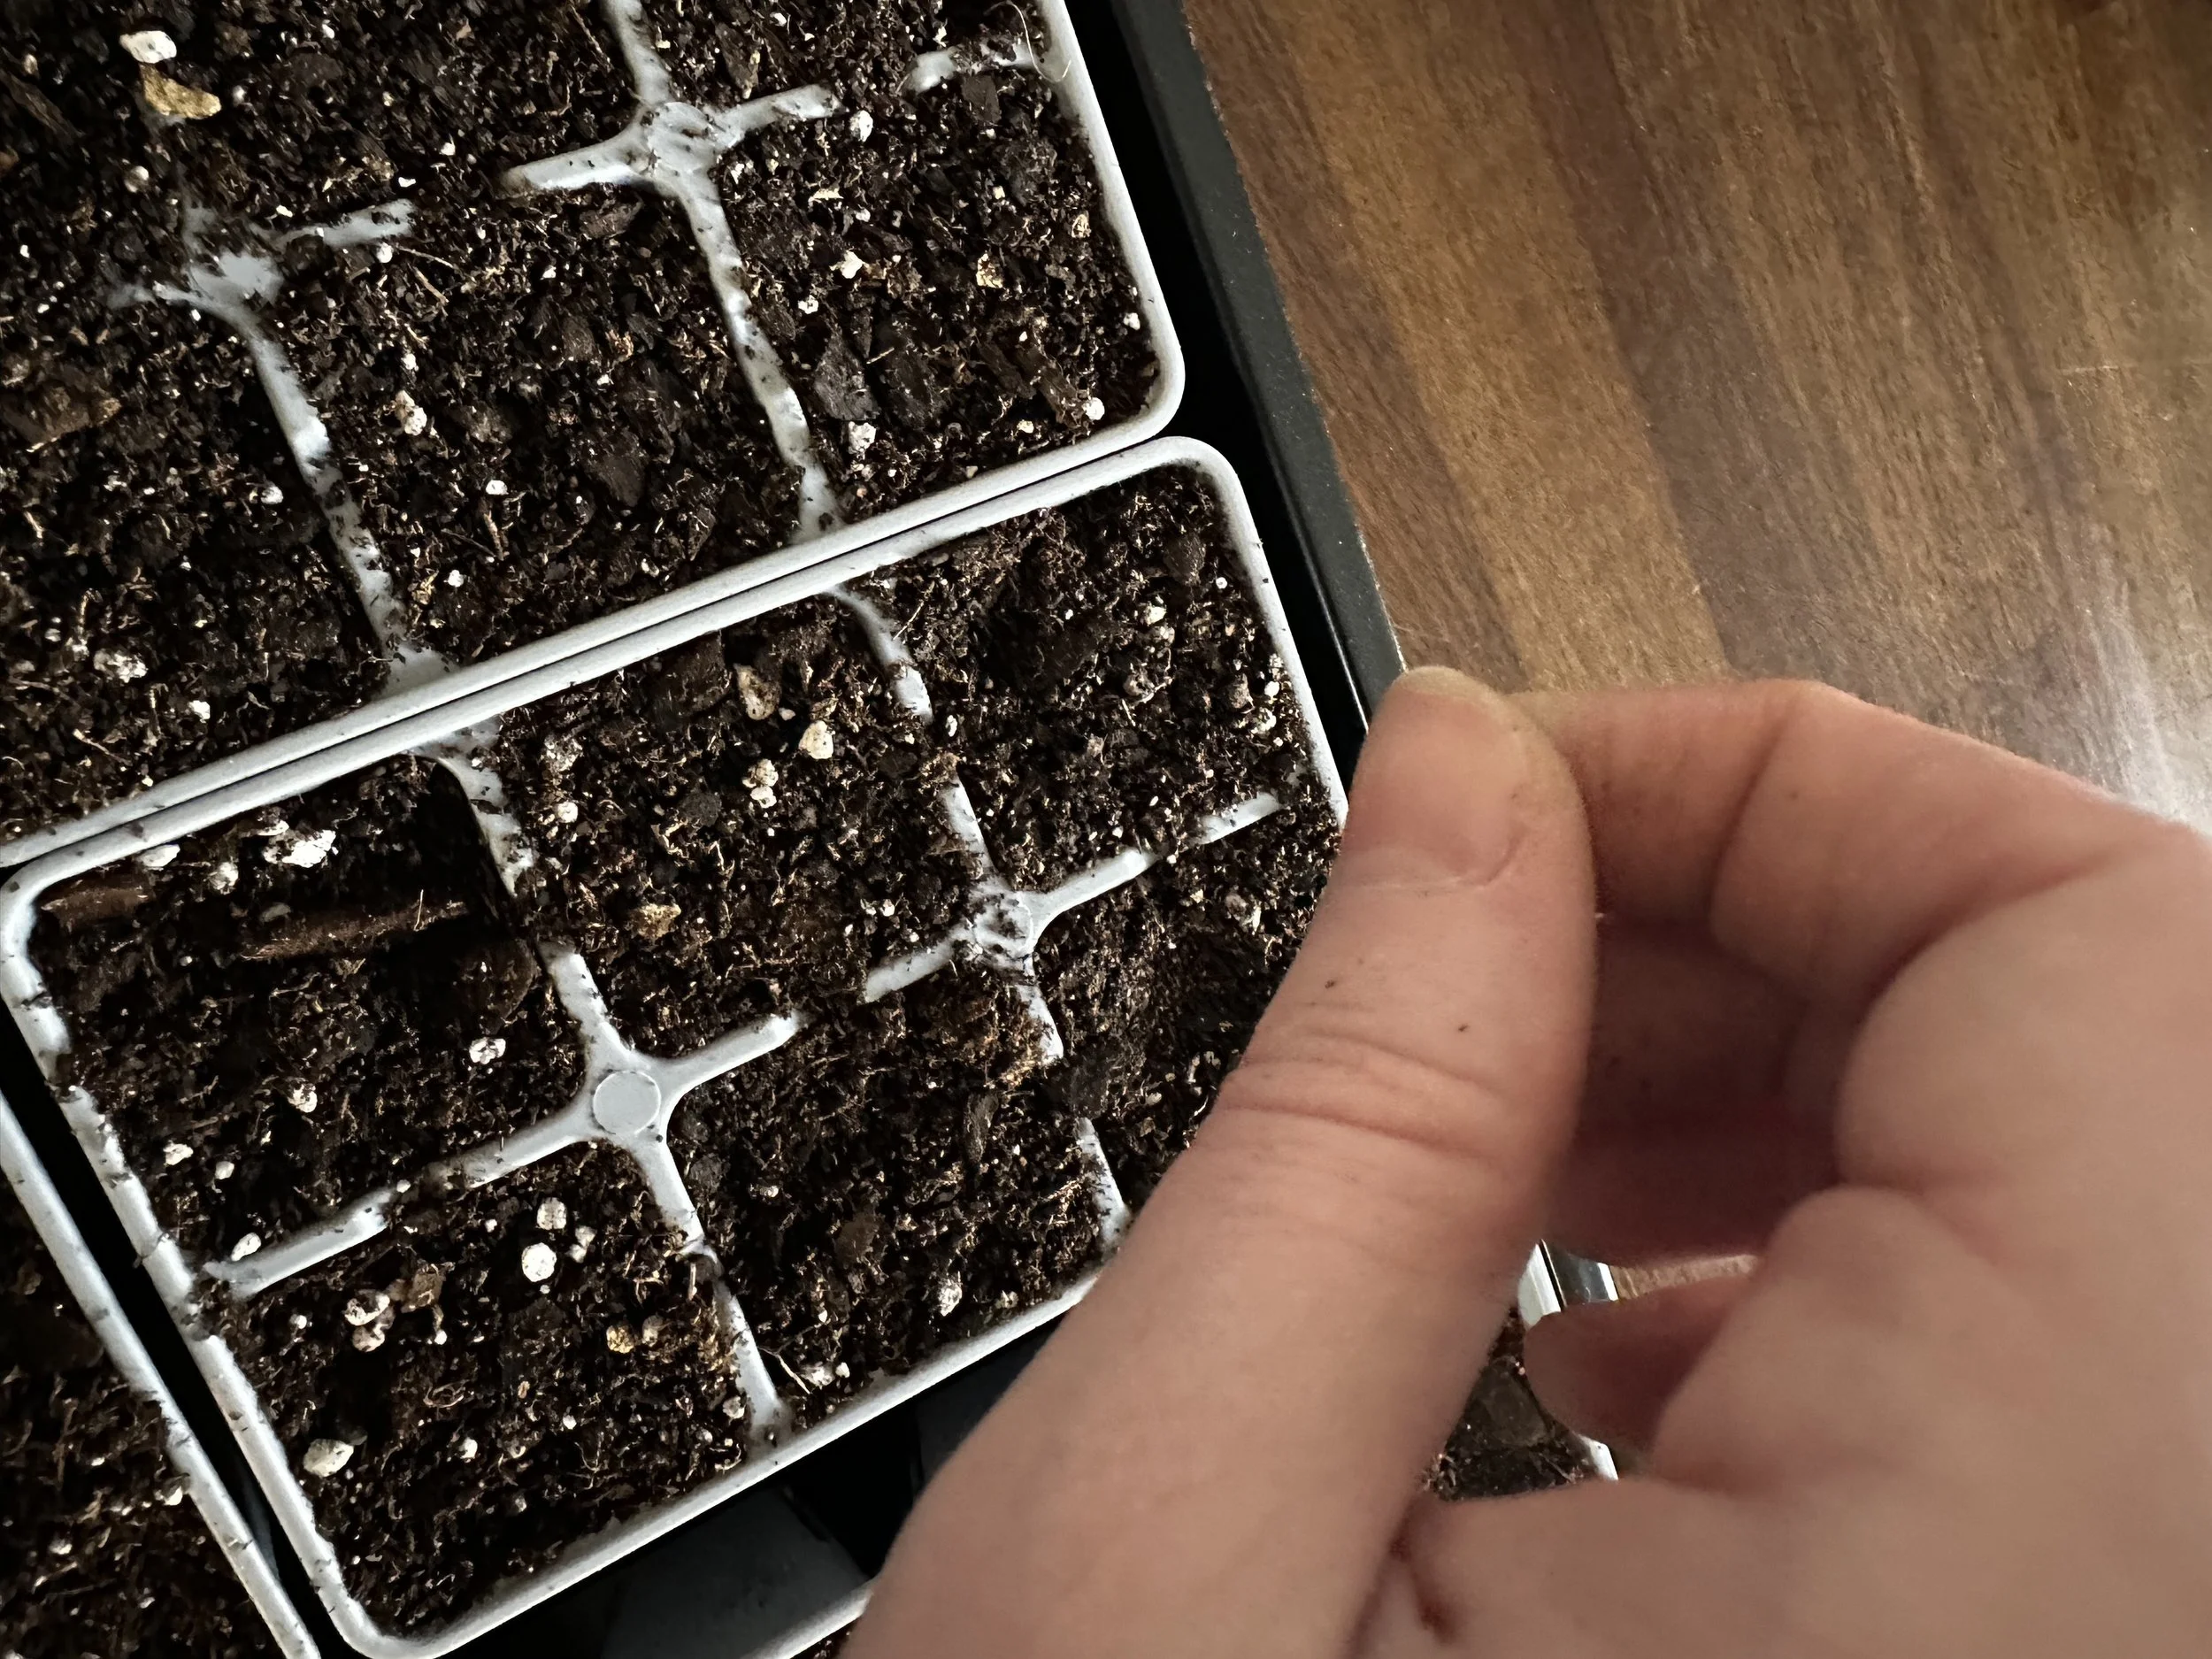
Each packet of seeds will have instructions as to how deep to plant each seed. For example, beans need to be planted deeper in the soil than herbs. For the sake of this exercise of planting herbs, most need to be planted just below the surface of the soil.
To make this easy, I sprinkle a few seeds in each cell and lightly press them into the soil. Then I shift the soil from edges of each cell to the center and cover the seeds. Because herb seeds are often small, I don’t worry about planting just one seed per cell. Especially with oregano seeds, which are slightly larger than grains of salt!
I add my plant markers when I finish planting each variety. This is because I often have different varieties in each tray and don’t want to confuse them, especially while they are too young to identify.
STEP 4: Water
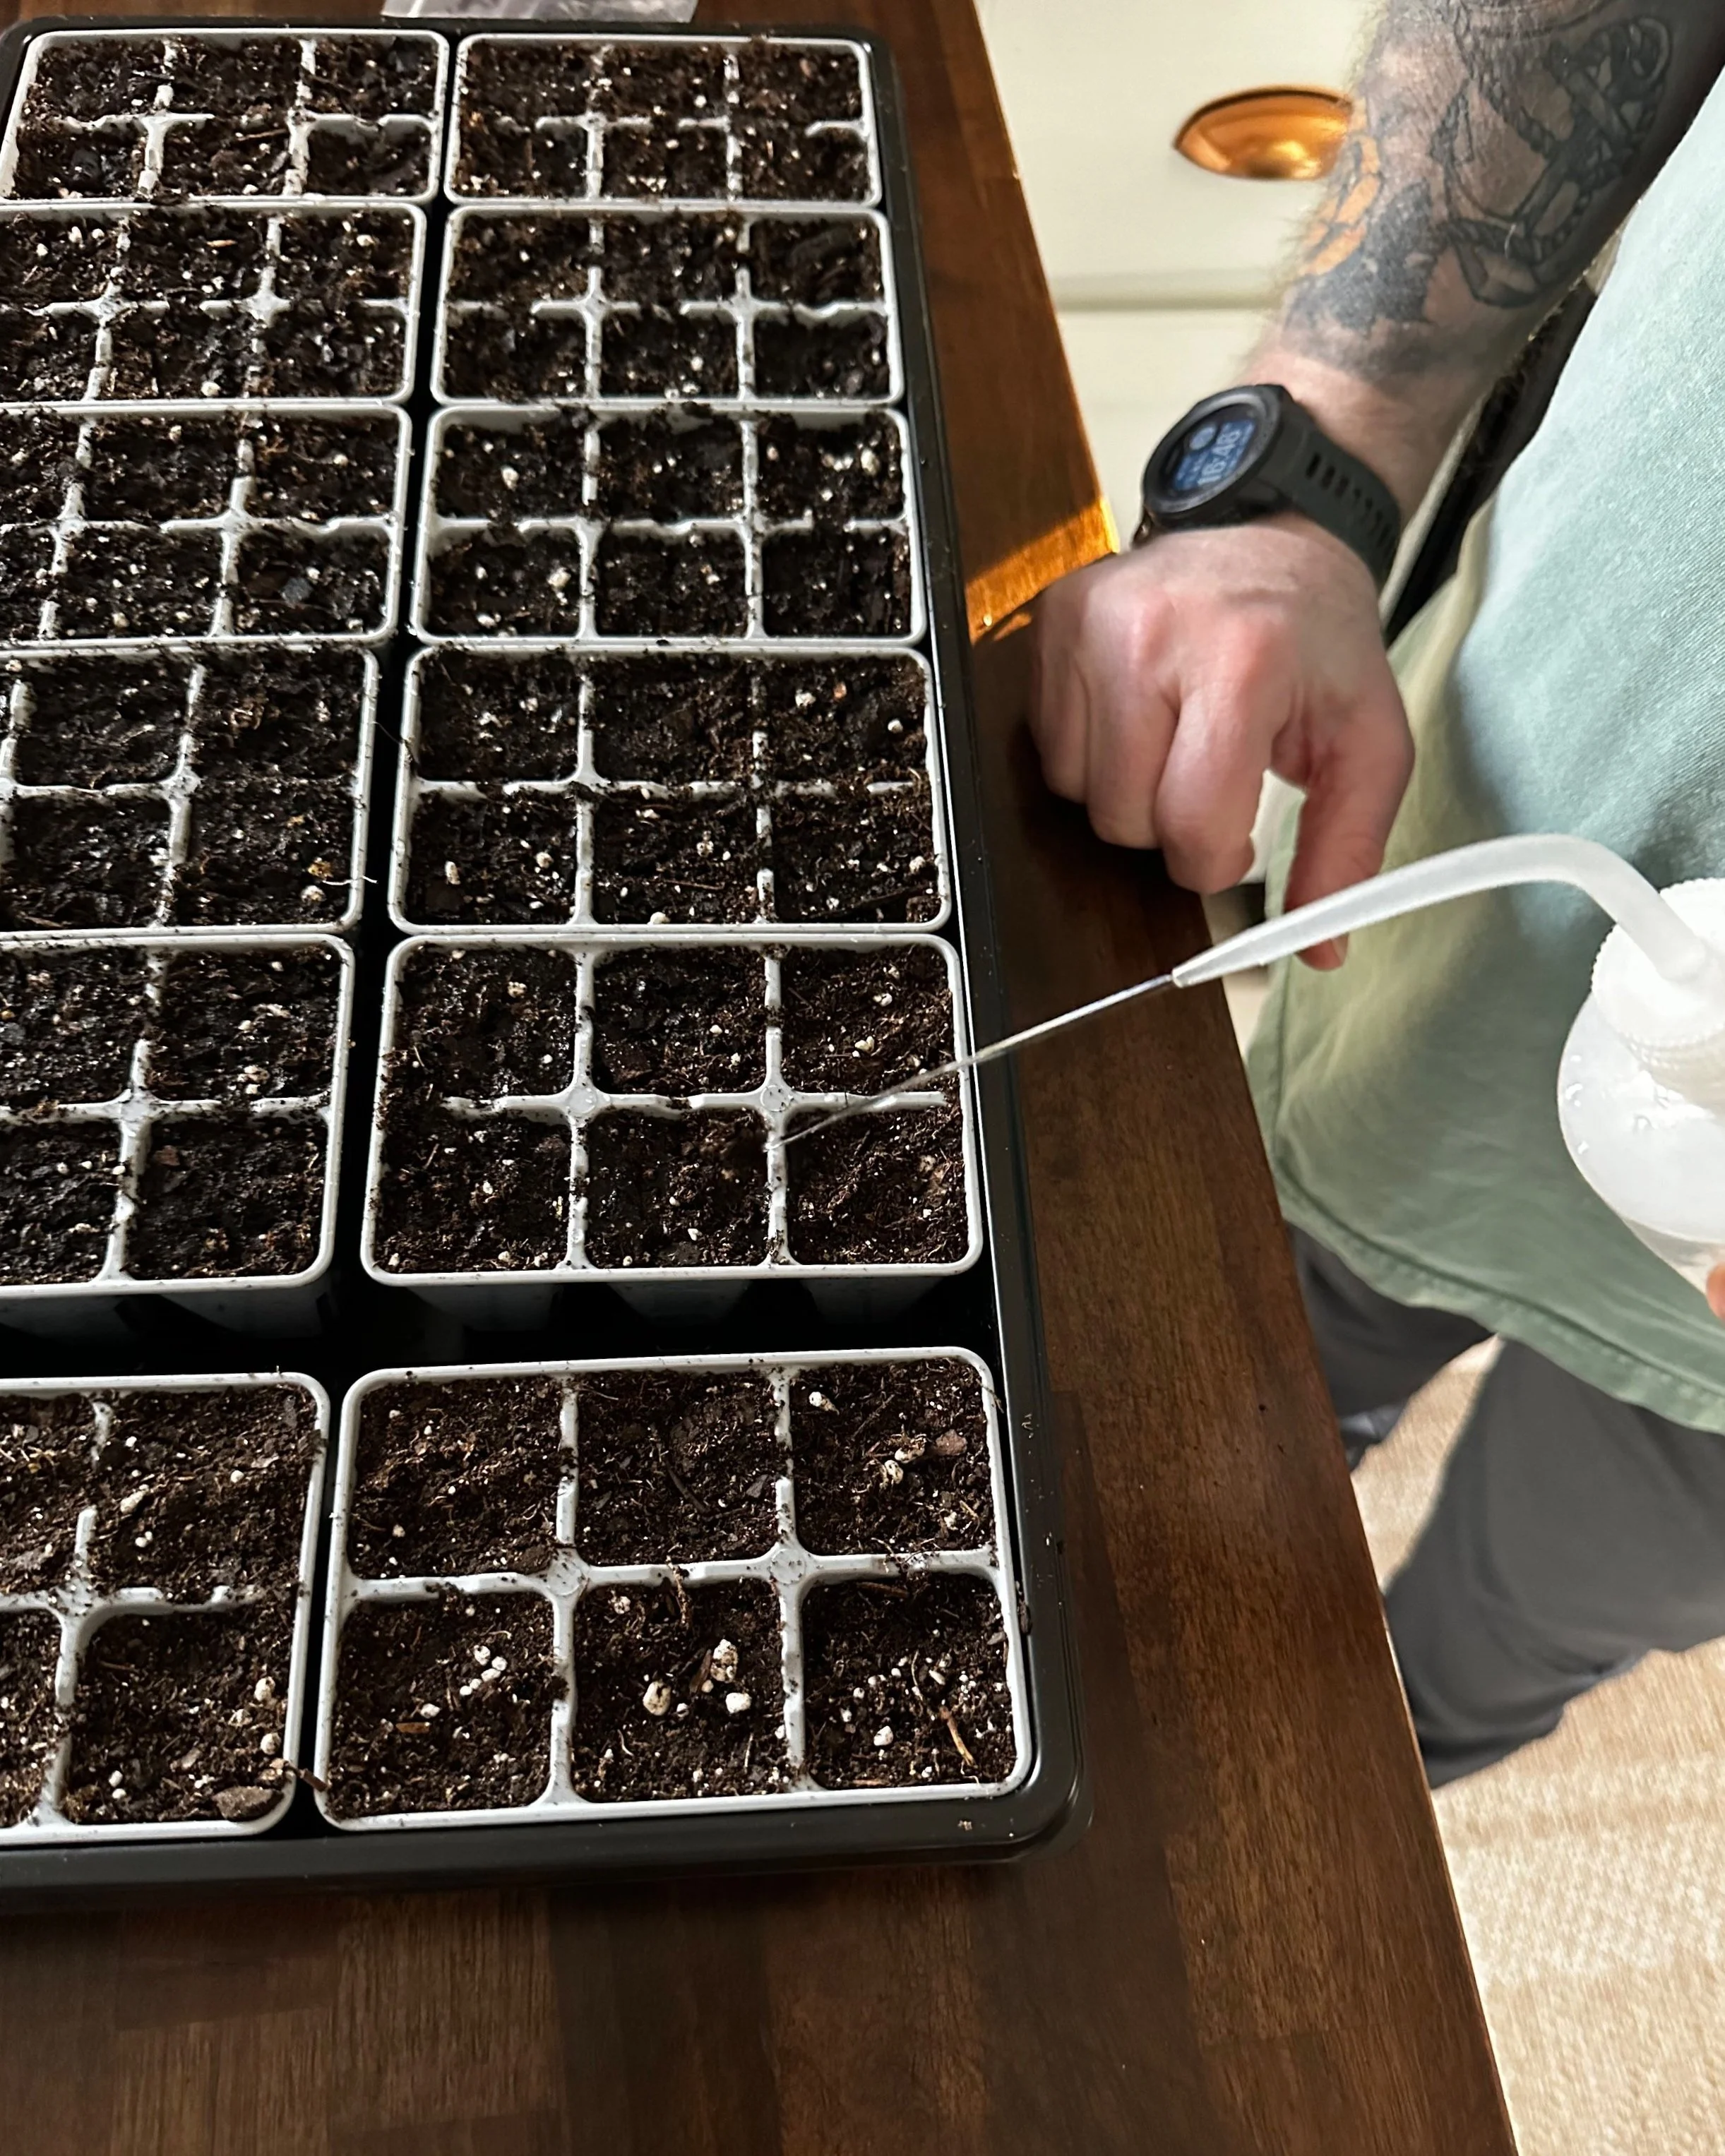
At this point, I lightly water the top of the soil to help anchor them into the soil. Then I water them thoroughly from the bottom by letting the tray sit in an inch or so of water. This allows the soil to soak up the water slowly and fully saturate itself so that the seedlings have a lasting supply of moisture.
Shout out to my dad for being my personal “a-seed-stant” during this process!
STEP 5: Cover
Cover your tray with your humidity dome so that any evaporation can return to the soil, again providing lasting moisture to the soil. If you have a dome with a vent, leave it closed until seedling emerge, then vent it so they do not mold.
That’s it!
Now we wait. The best part about planting herb seeds is the quick germination time. In as little as 5 days, you’ll start seeing seedlings emerge.
All they need is a steady source of indirect light and a warm environment. Heat is a huge part of the germination process. Water them from below as the soil dries out. With a humidity dome, you’ll find you won’t need to water too often.
As they grow
For any cells that have dense clusters of seedlings, thin them out so they don’t overcrowd each other. Ideally, you would only have one plant per cell, but I’ve found that if those seedlings are at least half an inch apart, they could both be just fine. As they mature, I transplant them into separate nursery pots to grow independently.
When your plants have two sets of true leaves (leaves that resemble the appearance of the mature plant), transplant them into 3- or 4- inch pots to give the roots plenty of room to grow.
I don’t harvest any herbs for at least a couple months. My rule of thumb, and it depends on the herb, is to wait two months from transplant before harvesting. Giving them the time to mature means that when you harvest, the plant has the root system to continue to grow and not expire.


